• blog
  • What Kat's Made
  • The Wedding Dress
  • Tambour Embroidery
    • Workshops and Teaching
    • Shop
    • Beadwork Portfolio
    • Tutorials & Guides
    • About Me
Menu

Kat Makes

Kat Waters
  • blog
  • What Kat's Made
  • The Wedding Dress
  • Tambour Embroidery
  • More
    • Workshops and Teaching
    • Shop
    • Beadwork Portfolio
    • Tutorials & Guides
    • About Me

Blog: Kat Makes

Adventures in Obsession

The Prick and Pounce Method for Tambour Embroidery

November 9, 2022

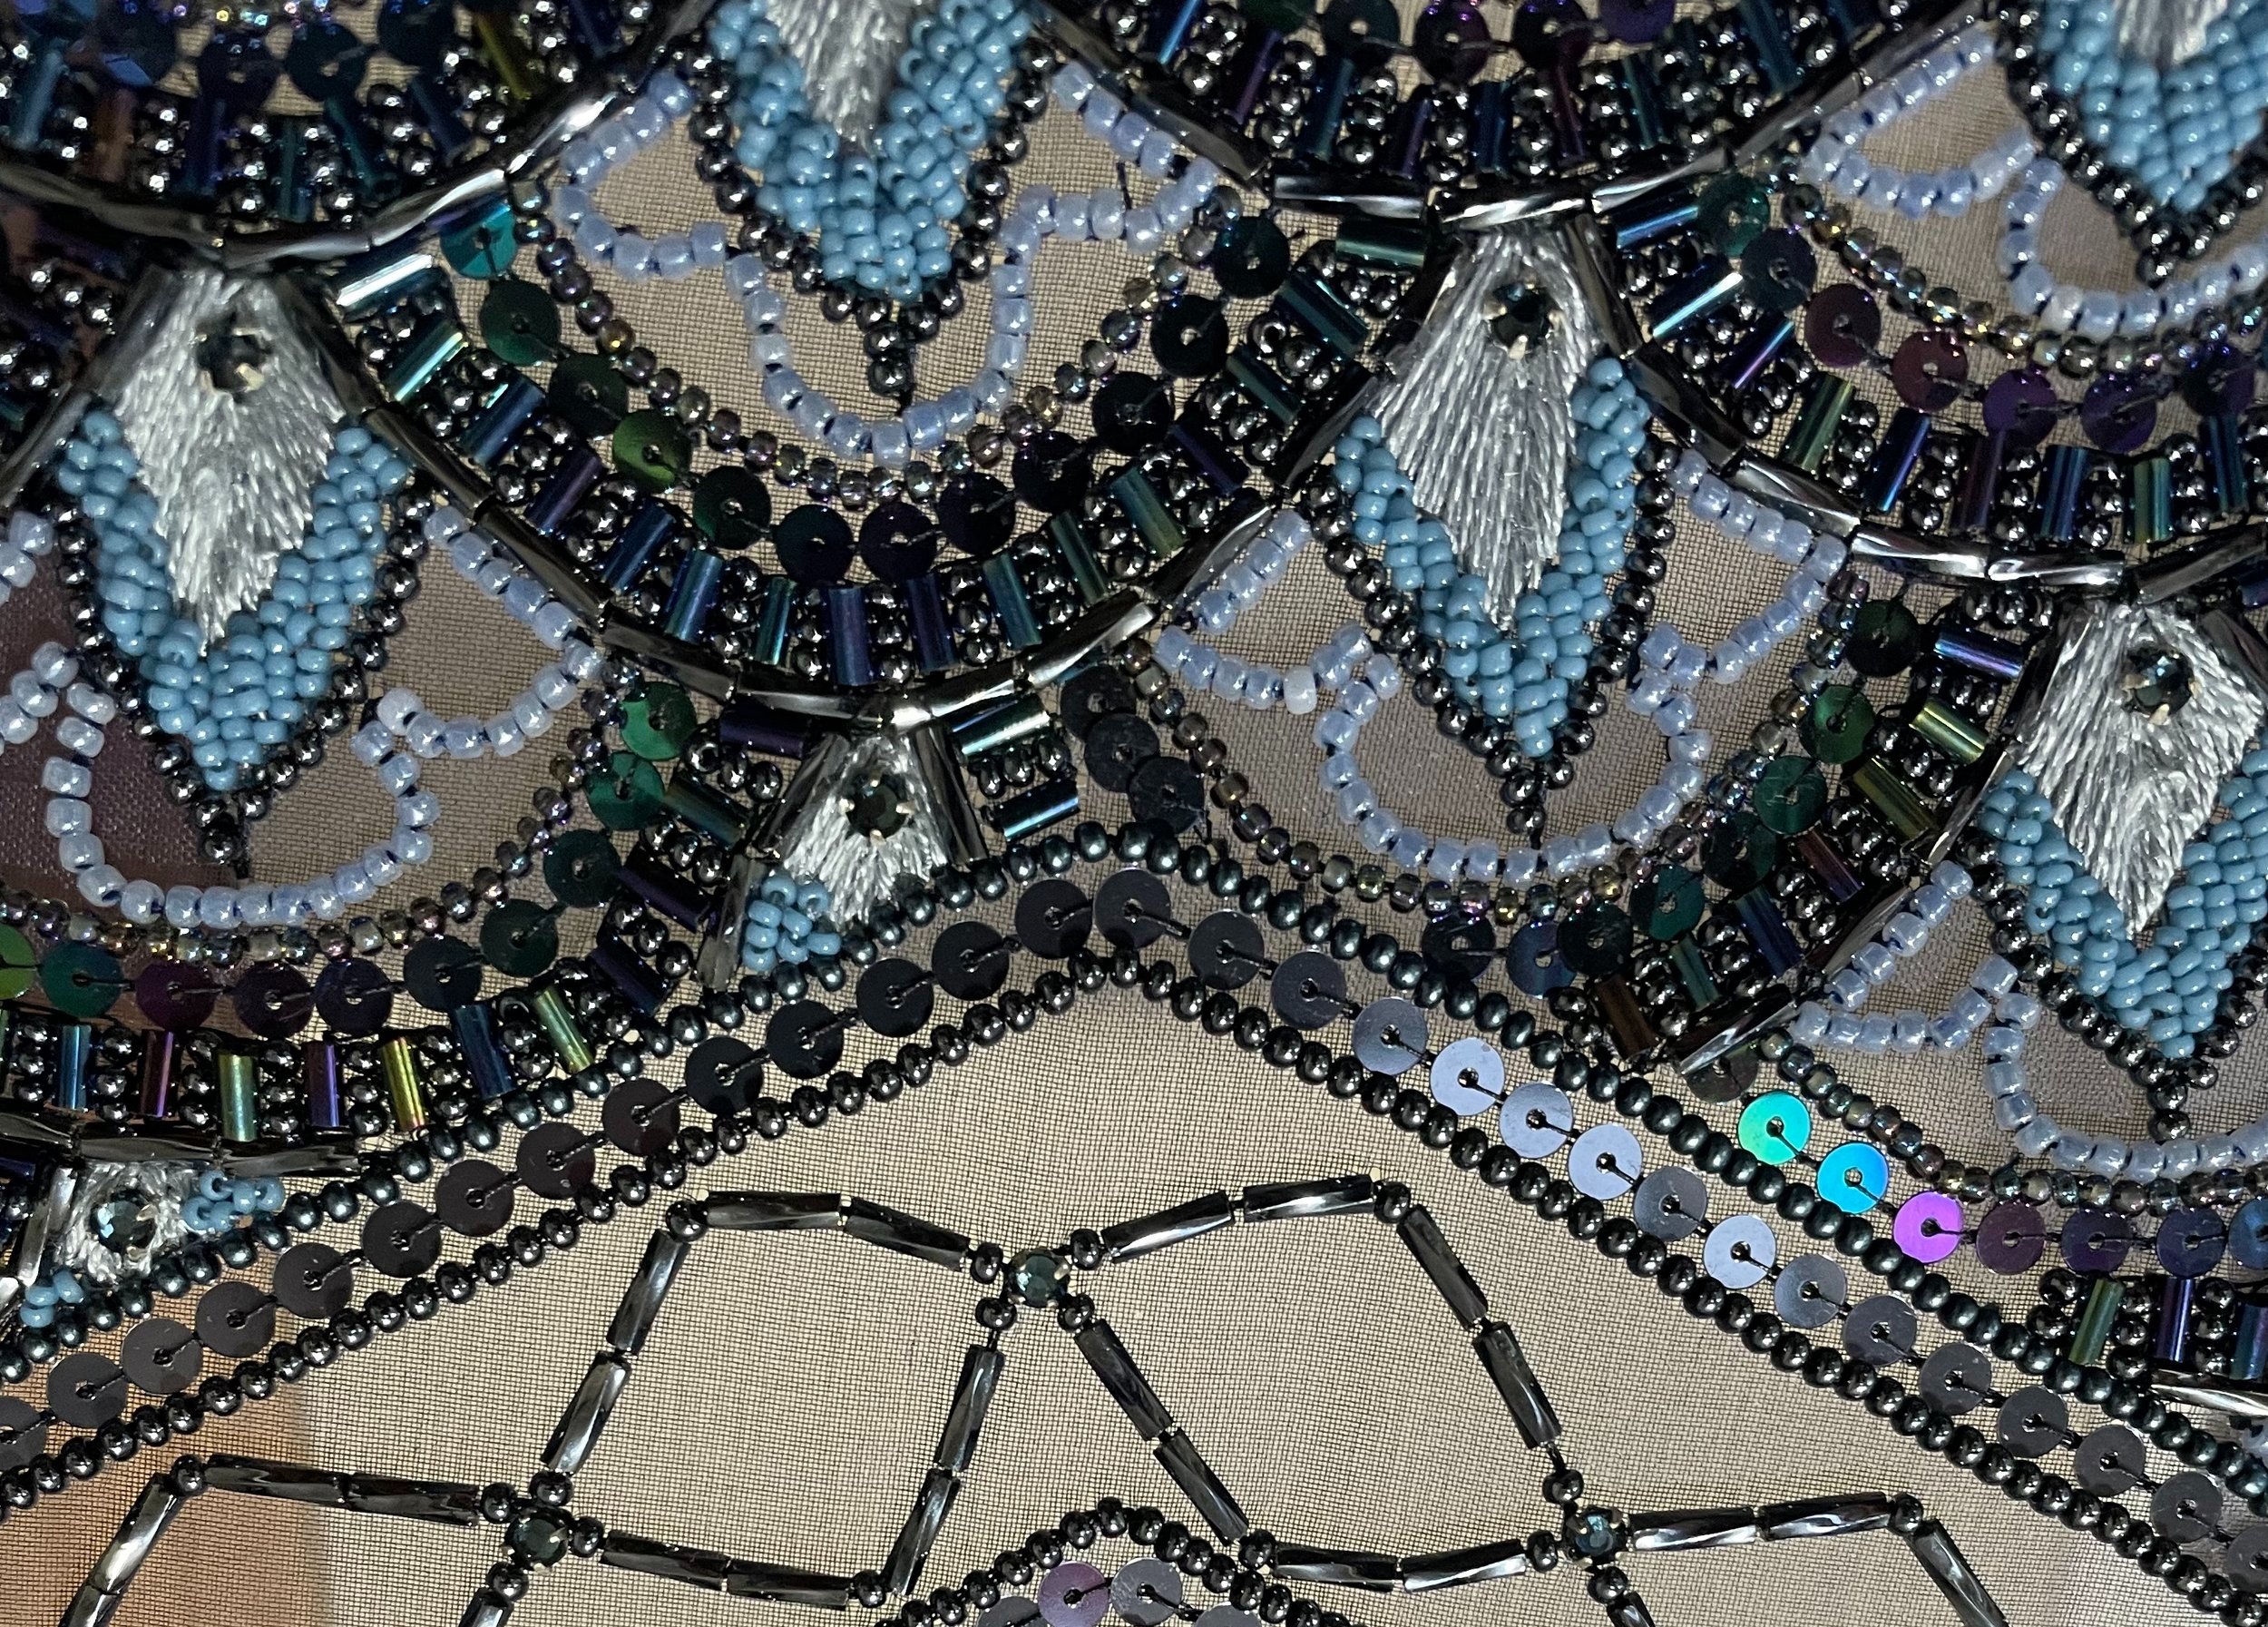
As a tambour embroidery enthusiast, I think it’s safe to say I spend more time than your average bear thinking about embroidery marking tools. My requirements - especially when beads are involved - are extremely specific, since beads can’t always be submerged in water to wash marks on fabric away. Instead, I usually opt for brush-away options involving powdered chalk, or (more regularly) steam- or heat- disappearing options like the Pilot Frixion pens we all have a love/hate relationship with.

Tambour embroidery has been around a lot longer than Frixion pens though - and they’re not always a suitable tool for the job. The Prick and Pounce method is the traditional method for transferring a design to fabric for tambour embroidery, and although the technique isn’t without its drawbacks, it’s definitely one worth exploring if you’re looking for fabric marking options.

Basically, the technique involves perforating a sheet of paper with your design and then rubbing, tapping, or dusting a layer of chalk over the top of the paper so that it falls through the holes and marks the fabric. It takes a bit of setup, but it’s an incredibly efficient method if you plan to mark multiple instances of an embroidery (for example, dotting a piece of fabric with the same feather design - if you were to use the tracing method, you’d have to trace it each time.)

What is Pounce?

Pounce is a very fine powder that is applied using a soft fabric pad or brush. There are a lot of variations on this theme, but my pounce comes in a self contained box with a refillable reservoir which I’m quite a fan of. Aside from styles of brushes, pounce also comes in a couple of different colors and styles. There’s brush-away, which comes in blue and white (I have this brush-away in blue), you can make your own out of finely ground charcoal (this sounds like fun but super messy!) and you can also get iron-away disappearing pounce, which I’m so excited to try!

If you’re looking for a really fun experiment, I also came across a costumer who used a pounce that glows under a blacklight but is invisible to the naked eye. She worked with a blacklight handy and since her costumes wouldn’t ever be used under a blacklight, the powder was basically invisible. Lastly, in Aari embroidery (the Indian name for the technique popular in Kashmir and Kutch, which the French co-opted and called “Luneville” and “Tambour”) the pouncing method is nearly identical except the pounce powder is mixed with kerosene (!) before being applied through the pricked design. This limits the dusty mess, of course, and the Kerosene evaporates from the fabric, leaving the pounced design. I find this fascinating and would love to try it some day!

How to prepare an embroidery design for Prick and Pounce

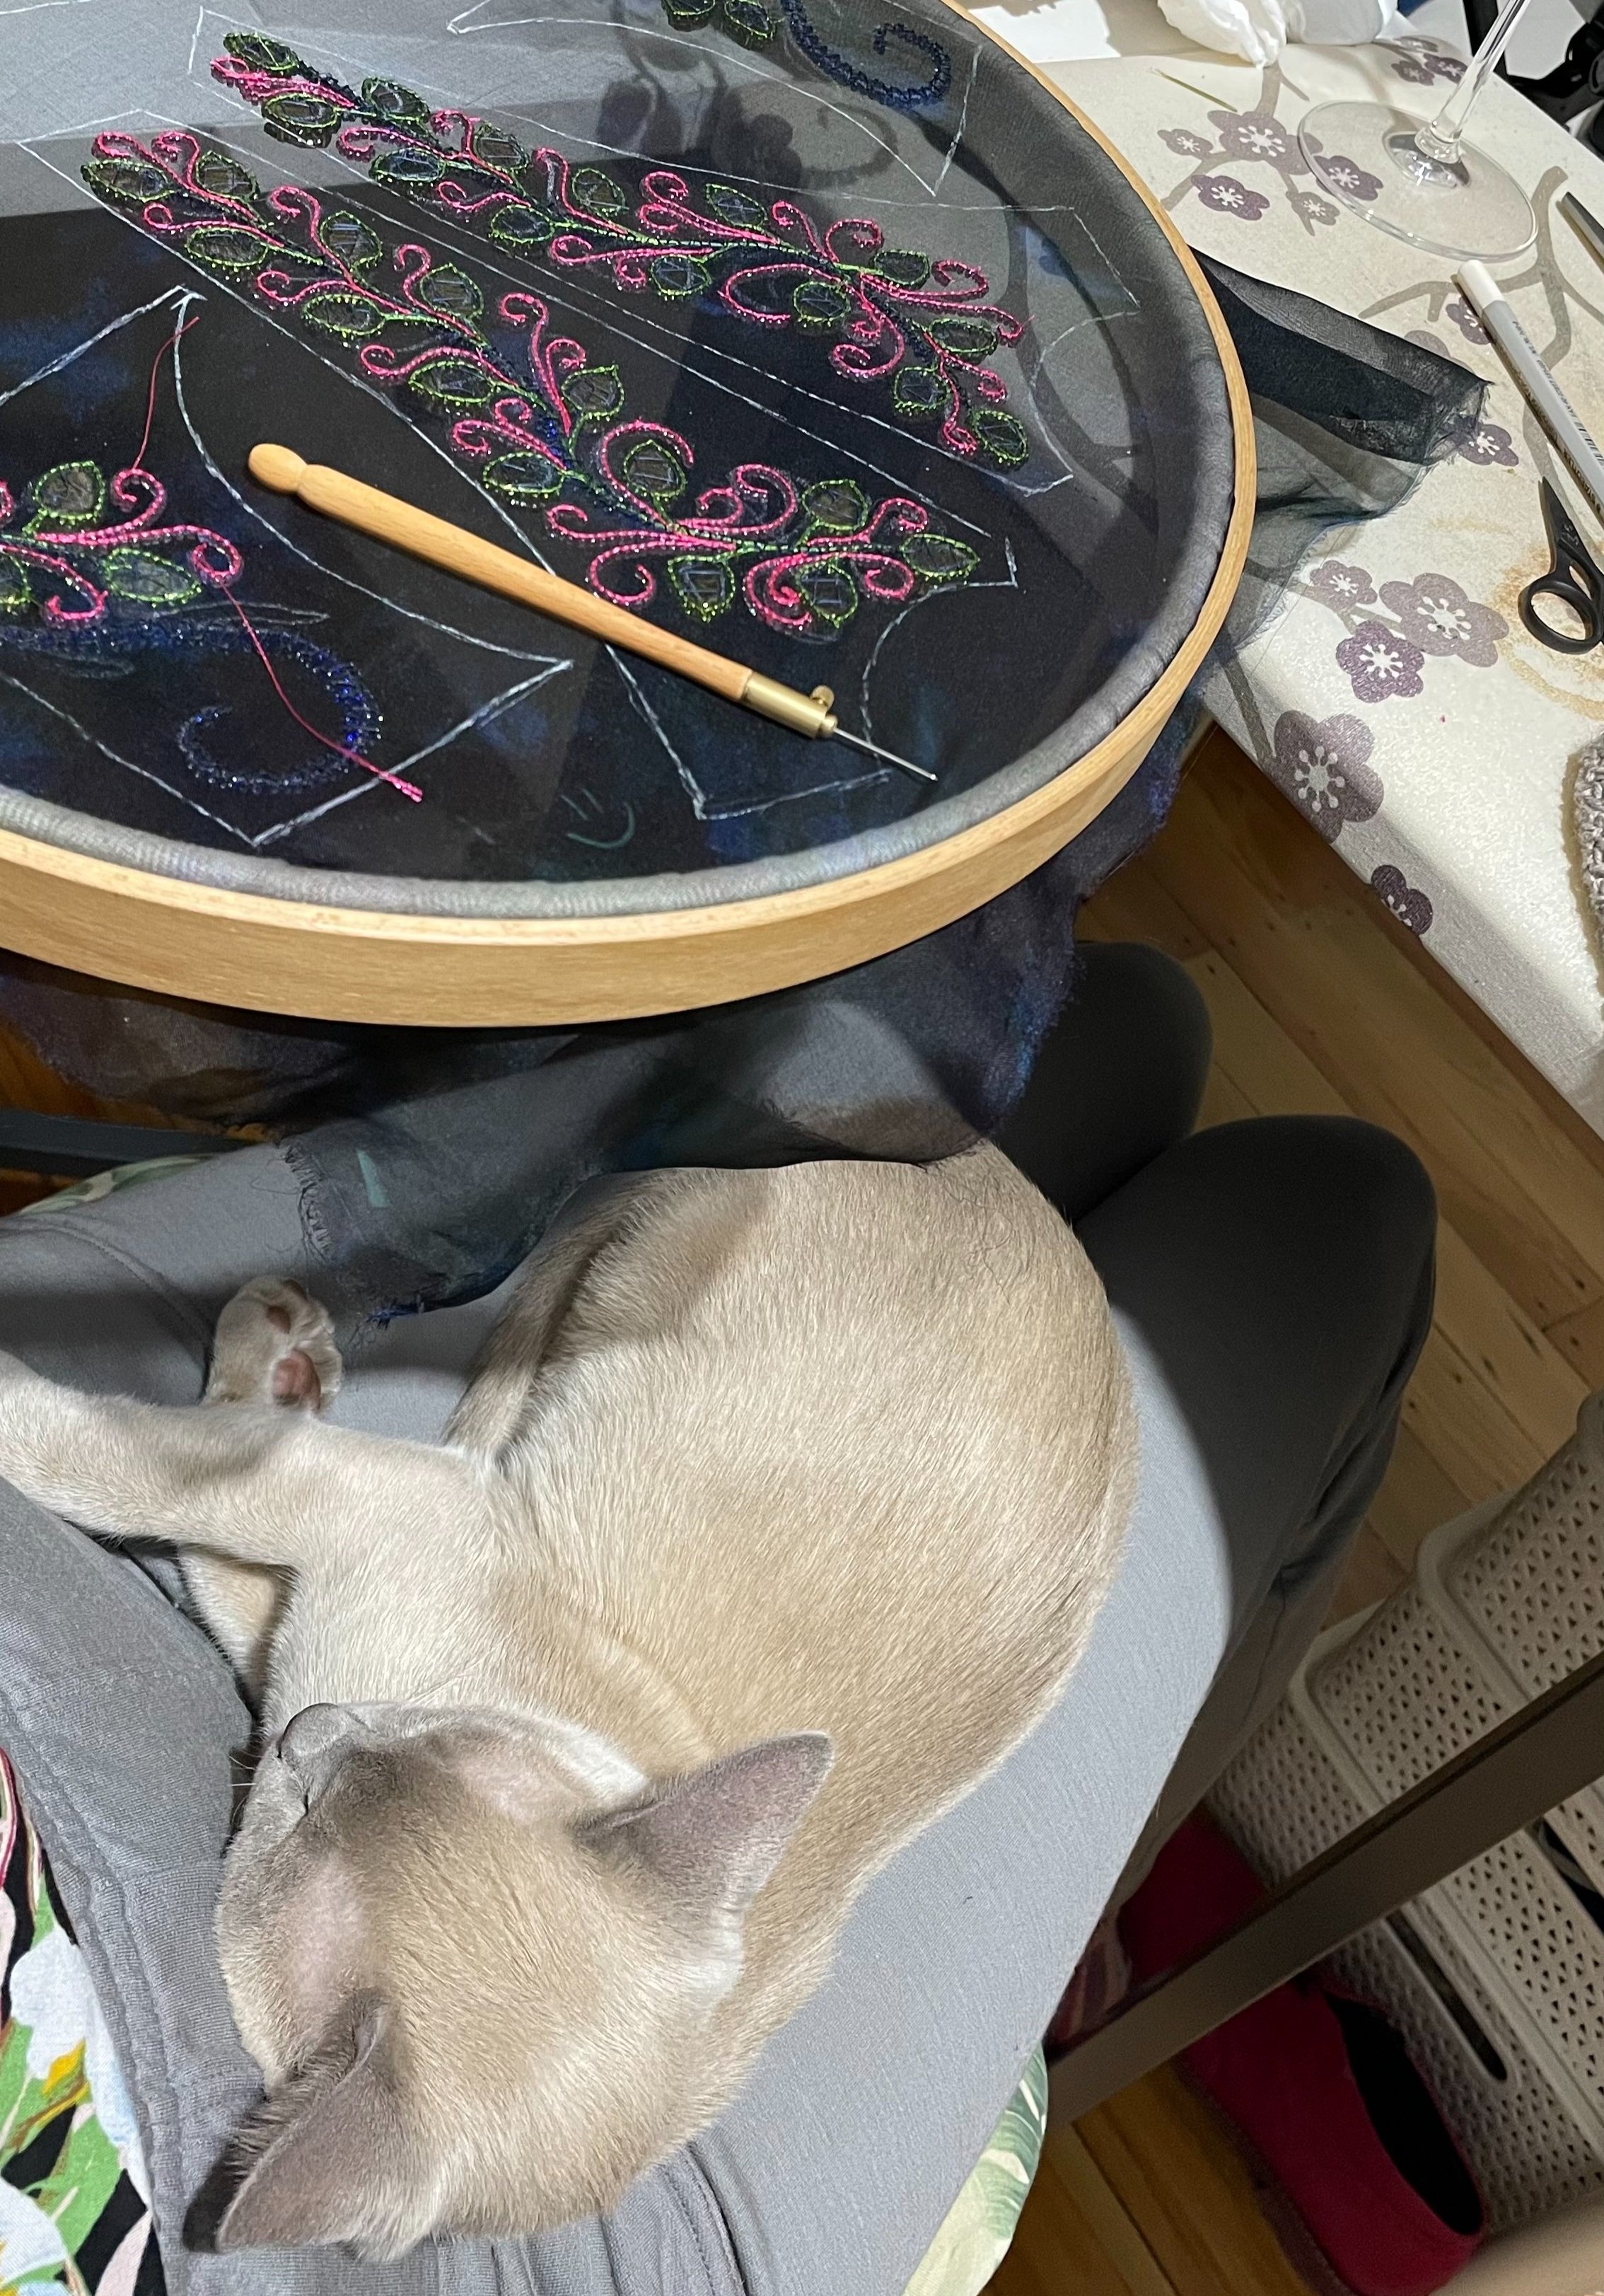
This, dear reader, is the ‘prick’ part of the assignment. You’ll want your design drawn on a fairly sturdy piece of smooth paper - I like to use tracing paper. Make sure you have a margin on all sides of the design that is at least 5” - this is going to help protect the areas of the fabric you’re not interested in marking with chalk. Then, carefully prick around your design.

For the pricking, I usually have a variety of tools on hand. I like to use my needle-point pattern tracing wheel, my awl (be careful with this one - you can end up with holes that are too big and things start to get messy), and also a needle mounted into my tambour embroidery tool.

Your spacing is really up to personal preference - you’re looking for a good balance between having enough holes that there’s no question about what your design looks like when it’s on the fabric, and having few enough that the pounce doesn’t try to blend all together when it’s on your fabric. It’s worth doing a complete trial run-through of this technique before you go for it on your final project because it does take a bit of practice to get right!

How to add Pounce

If it’s a nice day, I highly suggest going outside for this step! When you’re practicing, chalk can get a little bit messy - all you have to do is sneeze and it’ll go everywhere!

Mount your fabric in whatever hoop you’re using for your embroidery, and then place the pricked design on top. You want your paper design to be making really good contact with the fabric - no gaps - so you can weigh it down around the edges if you like, and add something (like a book) under the fabric if you’re using a hoop that leaves a gap between the fabric and the table. For my demo, I didn’t mount the fabric in a hoop, I just transferred directly on my table.

Application is, again, personal preference. Some people like to tap the chalk pad on the surface of the design, others insist the only correct way is to brush it. I find that tapping deposits more chalk than brushing, so I tend to tap on larger areas with less dense design, and brush in the detail areas where I want to be more delicate. Regardless, the right way is the way that works best for you!

Once you’ve covered all the holes in your design, carefully lift the paper off the fabric to reveal the transferred design! I like to roll my paper up to transfer the excess chalk back into the reservoir of my pounce kit, but you can also just shake it into a trash can if you can’t get it back into the container.

If you can see the pounce powder sitting on the surface of your design you can blow on it to get rid of some of the excess, but other than that, you’re good to go! That’s all there is to it!

Pros and Cons of the Prick and Pounce Method

I mentioned Frixion pens earlier - to be honest, they’re totally suitable in so many cases. They do sometimes have issues with ghosting - leaving marks after the ink is supposed to have disappeared - so as with any marking tool, they’re definitely worth testing first. Pens are easier for one-off designs or for planning an embroidery directly on the fabric. Prick and pounce can get a little messy and it takes a bit of practice to get your motions right for pounce application (To be fair, it takes a bit of practice to get drawing with the pen right, but you’ve likely already done that work in primary school!)

Prick and pounce is an amazing method for transferring a single design multiple times in different places, and it’s also more accurate than tracing a design. It works well on a huge variety of fabric types (I find that pens sometimes struggle with particularly sheer fabrics) although I’m not sure it would be my method of choice for something as open as tulle. It’s also reliably easy to remove the pounce from the fabric - although please, PLEASE always test your marking tools on a swatch before you commit to your good fabric!

Overall, I really recommend you consider giving the prick and pounce method a try for embroidery transfer - tambour or otherwise. It’s a handy and versatile technique, and although it takes a bit of practice it’s a handy trick to have up your sleeve!

In Tutorials, Projects, Tambour and Beadwork Tags tambour embroidery, tambour beading, begin tambour beading, prick and pounce, luneville embroidery, embroidery transfer methods, beadwork, bead embroidery
← Tutorial: Pullover Hoodie with Cat PocketTambour Embroidery and Sewing with Silicone Sheets →

Support me on Patreon

Hi! I'm Kat, I don't have any cats, and this is organized chaos. If you'd like to chat about catlessness, sewing, knitting, or other forms of world domination, I'd love to hear from you!katherine.klebenow@gmail.com

Hi! I'm Kat, I FINALLY have a cat, and this is organized chaos. If you'd like to chat about cats, sewing, knitting, or other forms of world domination, I'd love to hear from you!

hellokat.makes@gmail.com

Category
  • Bernina
  • Bramaking
  • Machine Embroidery
  • Making Clothes
  • Pattern Sewing
  • Project Wedding Dress
  • Projects
  • Self Drafted Sewing
  • Shoemaking
  • Tambour and Beadwork
  • The Monthly Draft
  • Travel
  • Tutorials
  • Yarn and Handknits
Subscribe on YouTube
Featured
Tutorial: Sewing a custom Cat Carrier Cover for your cat's travel box
Oct 9, 2024
Tutorial: Sewing a custom Cat Carrier Cover for your cat's travel box
Oct 9, 2024

Today's project is a cover, custom made to fit over my cats' travel carrier. This project has everything - custom drafting, magnets, hardware installation, problem solving: All in the name of keeping my kitties happy in transit! It's a long one - you've been warned.

Oct 9, 2024
Weaving your First Project on a Rigid Heddle Loom
Apr 26, 2023
Weaving your First Project on a Rigid Heddle Loom
Apr 26, 2023

My very first project on my new rigid heddle loom! I so enjoyed learning this new skill - here are a collection of tips as well as links to tutorials I found helpful as I made my first project!

Apr 26, 2023
DIY, Sewing, and Craft Supply Shops in New Zealand
Apr 13, 2023
DIY, Sewing, and Craft Supply Shops in New Zealand
Apr 13, 2023

Ever wondered where to get a weirdly specific hardware? supplies for making shoes, bags, or embroidered tea towels? Dye supplies or fancy zips? I've compiled a list of my favourite sources!

Apr 13, 2023
Sewing the Haptic Lab Constellation Quilt (again)
Mar 30, 2023
Sewing the Haptic Lab Constellation Quilt (again)
Mar 30, 2023

I’m making a northern stars constellation quilt to match my southern stars one! This one has started quite a bit differently from the last one - so I’ve shared my process in case it helps you with a similar project!

Mar 30, 2023
The Tambour Embroidery Hoop Holder: A Woodworking DIY
Mar 23, 2023
The Tambour Embroidery Hoop Holder: A Woodworking DIY
Mar 23, 2023

In which our intrepid tambour embroidery fanatic once again attempts woodworking in the name of beads. (Also, in which fortunately the attempt is once again successful!)

Mar 23, 2023
The Home Sewist's Guide to Snap Fasteners for baby clothes, bag making, and more
Mar 15, 2023
The Home Sewist's Guide to Snap Fasteners for baby clothes, bag making, and more
Mar 15, 2023

A deep dive into the world of snap fasteners! Did you know there were so many options to choose from? We go through five popular options for fasteners and discuss the pros and cons, as well as applications, of each

Mar 15, 2023
Lillian's Embroidered Wedding Veil
Mar 1, 2023
Lillian's Embroidered Wedding Veil
Mar 1, 2023

Making Lill’s cathedral length floral embroidered wedding dress - all in one monster post!

Mar 1, 2023
Art Deco Wardrobe Collection
Feb 19, 2023
Art Deco Wardrobe Collection
Feb 19, 2023

This was going to be the year I finally attended the Art Deco festival in Napier - here’s everything I made to wear for the weekend, all in one place!

Feb 19, 2023
Tutorial: Pullover Hoodie with Cat Pocket
Nov 9, 2022
Tutorial: Pullover Hoodie with Cat Pocket
Nov 9, 2022

Do you have a velcro kitty like me? I made my very own cat-pocket hoodie so I can carry my little guy around wherever he wants to go, and it’s a tutorial now so you can make one yourself!

Nov 9, 2022
The Prick and Pounce Method for Tambour Embroidery
Nov 9, 2022
The Prick and Pounce Method for Tambour Embroidery
Nov 9, 2022

Today we’re exploring one of the oldest methods of embroidery design transfer - the prick and pounce method!

Nov 9, 2022

Get the Updates!

Customize Updates
choose 'Blog Updates' to get an email whenever I publish a new post, and 'Newsletter' for the newsletter. Or choose both!
Thank you!

Instagram

Woven scarf number two! For this one, I tried weaving with laceweight which I was *certain* would require a 15 dent heddle but the wpi math said 12.5 so I went with it. Woven on my @ashford_wheels_looms 16” rigid heddle loom using alpaca yarn w
Pink scenes from a weekend of sewing: I’m having a summer birthday for the first time in almost a decade, and the occasion calls for a summer birthday dress! I’m tackling the bustier style, which i anticipate may be a bit of a mission bec
Happy first Gotcha Day to this little dude! It’s been so fun to watch him grow up from a tiny little puffball into a Whole Cat, who is somehow also just a tiny human fellow in a cat suit 💕 here’s to another 365, and may the future, perha
Finished Scarf!! It took a while for the weather to cooperate for these photos but that’s all good because it gave me time to write my blog post! 

This is my Very First Ever project on a rigid heddle loom- mine is the @ashford_wheels_looms 16&
Archive
  • October 2024
  • April 2023
  • March 2023
  • February 2023
  • November 2022
  • March 2022
  • January 2022
  • November 2021
  • September 2021
  • July 2021
  • January 2021
  • April 2020
  • March 2020
  • August 2019
  • July 2019
  • June 2019
  • May 2019
  • April 2019
  • March 2019
  • February 2019
  • December 2018
  • November 2018
  • October 2018
  • September 2018
  • August 2018
  • July 2018
  • June 2018
  • May 2018
  • April 2018
  • March 2018
  • February 2018
  • January 2018
  • December 2017
  • November 2017
  • October 2017
  • September 2017
  • August 2017
  • July 2017
  • June 2017
  • May 2017
  • April 2017
  • March 2017
  • February 2017
  • January 2017
  • December 2016
  • November 2016
  • October 2016
  • September 2016
  • August 2016
  • July 2016
  • June 2016
  • January 2016
  • December 2015
  • May 2015
  • April 2015
  • March 2015
  • December 2014
  • November 2014
  • October 2014
  • August 2014
  • June 2014
  • March 2014
  • January 2014

Get the Updates!

Put your Email Address in the box, and I'll ask the friendly internet robots to send you a message when I post an update!

I'll send an email for each new post.

Thank you!