
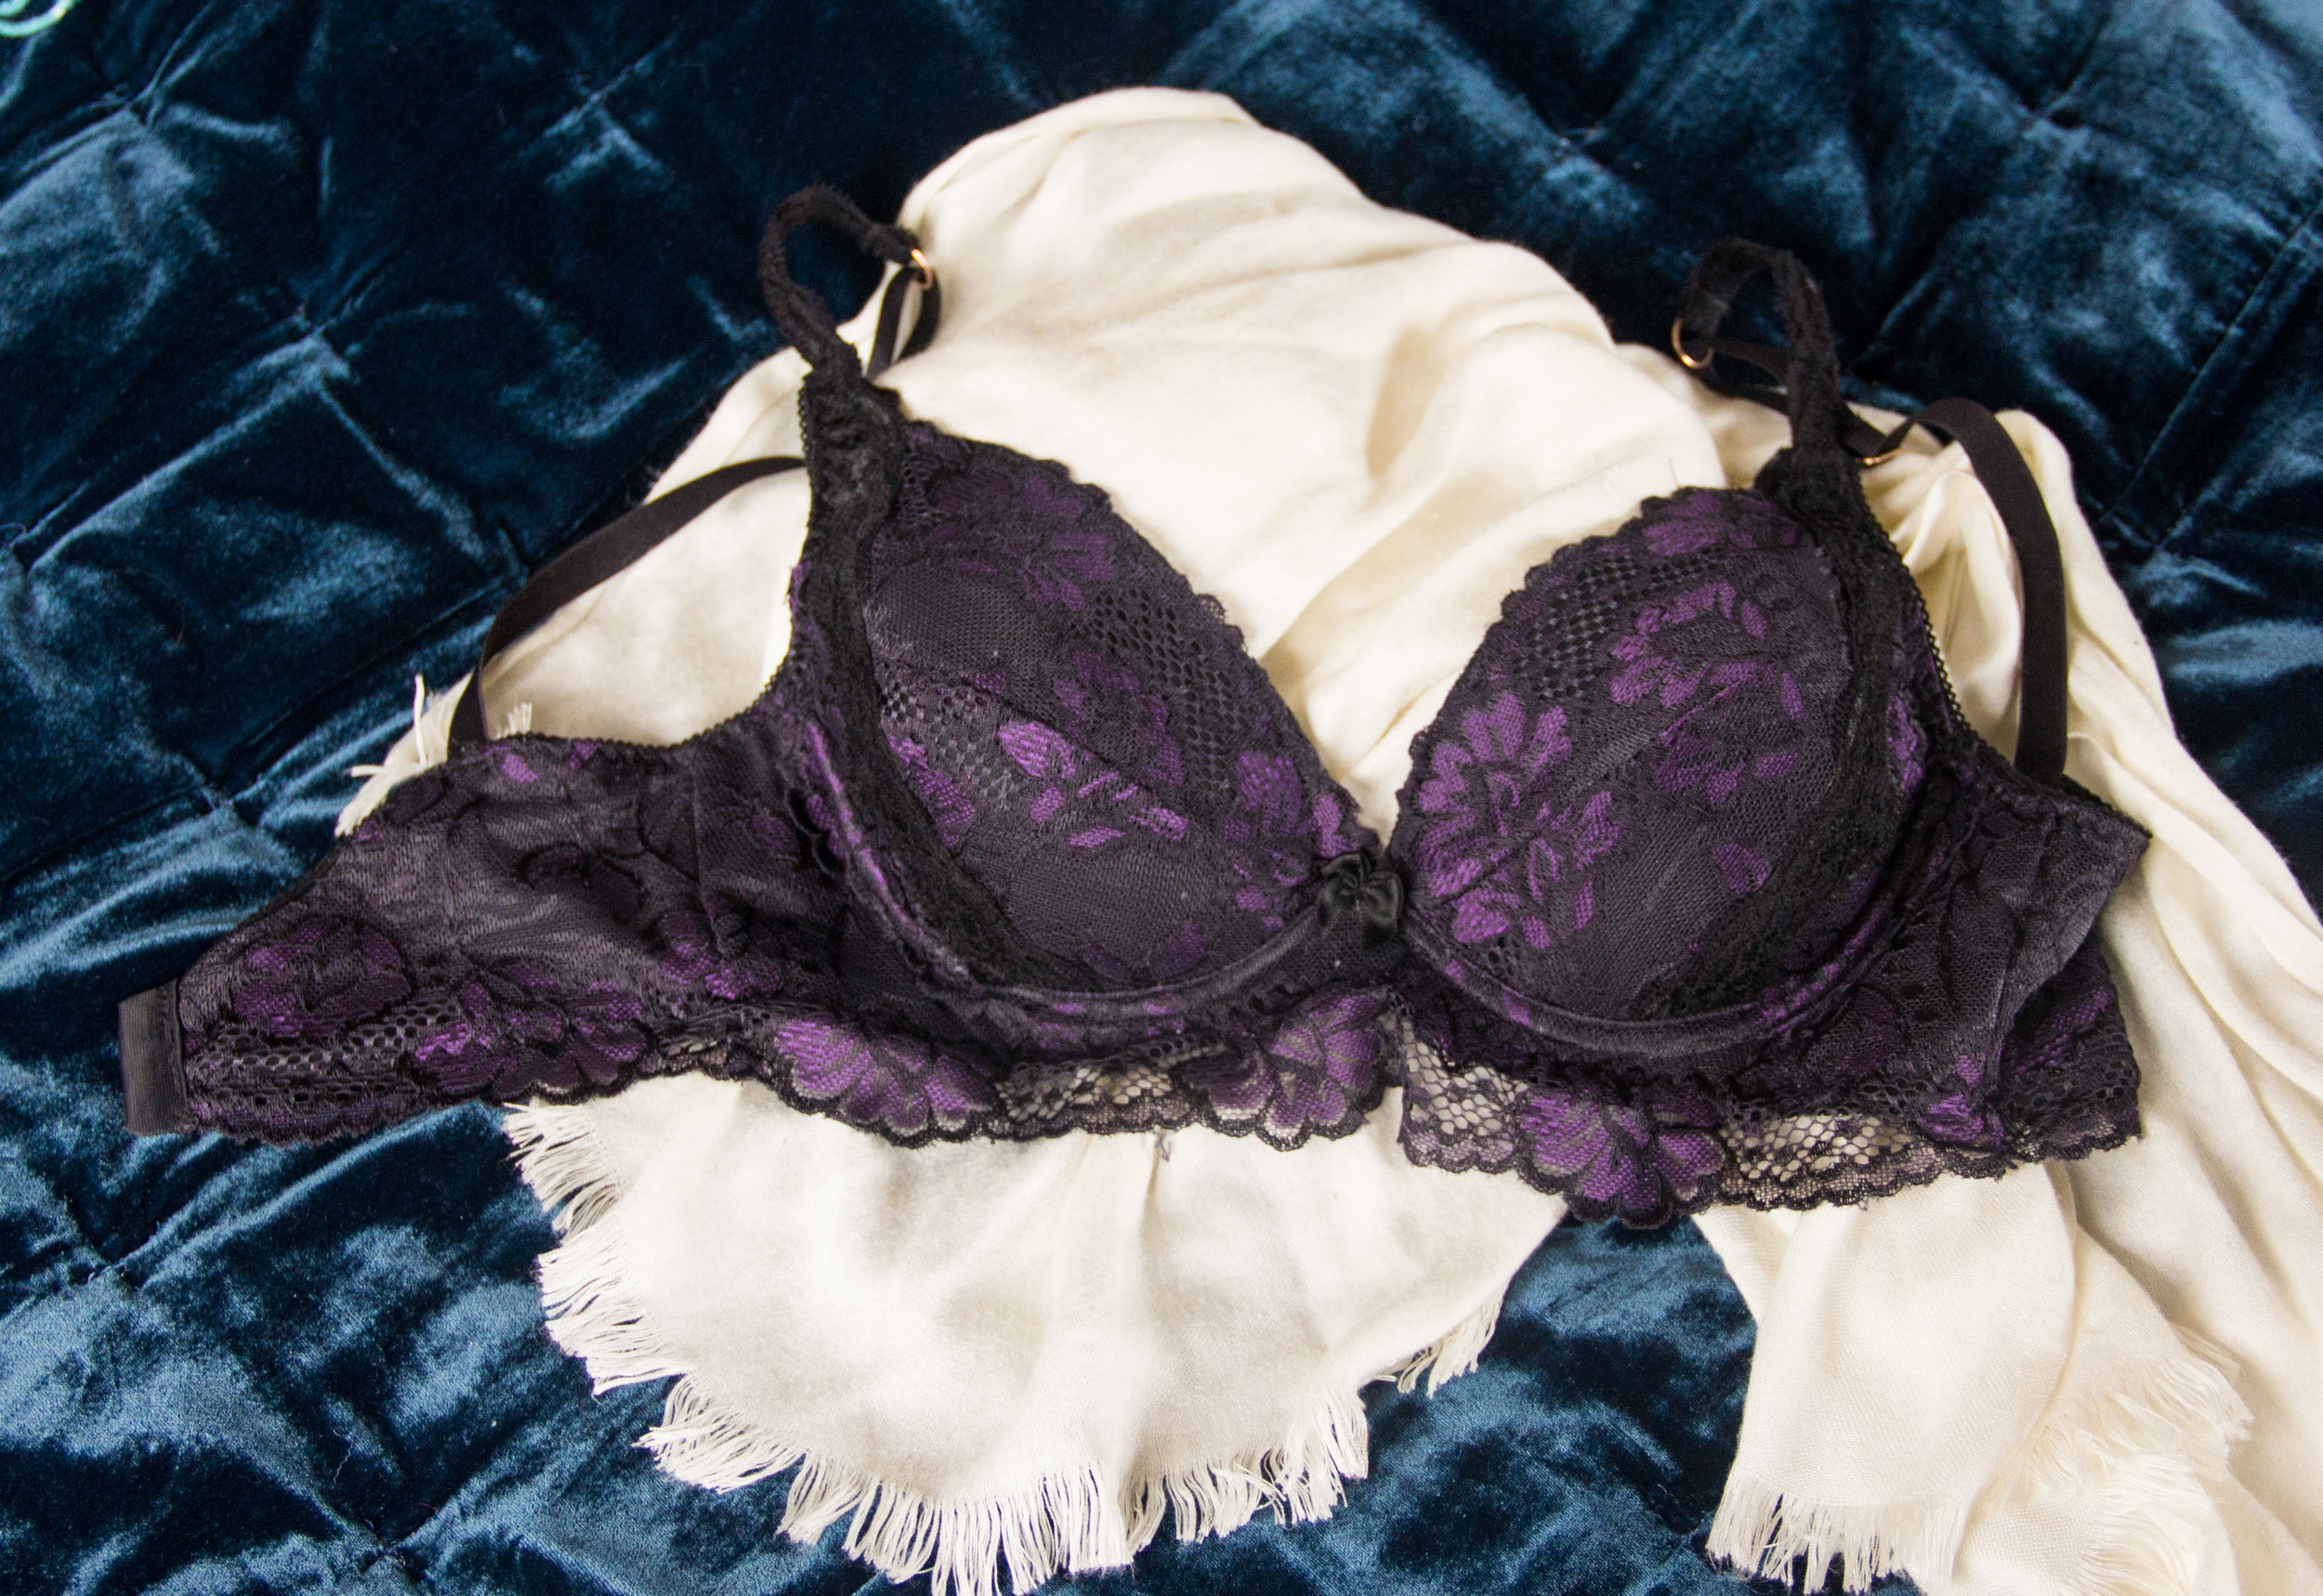
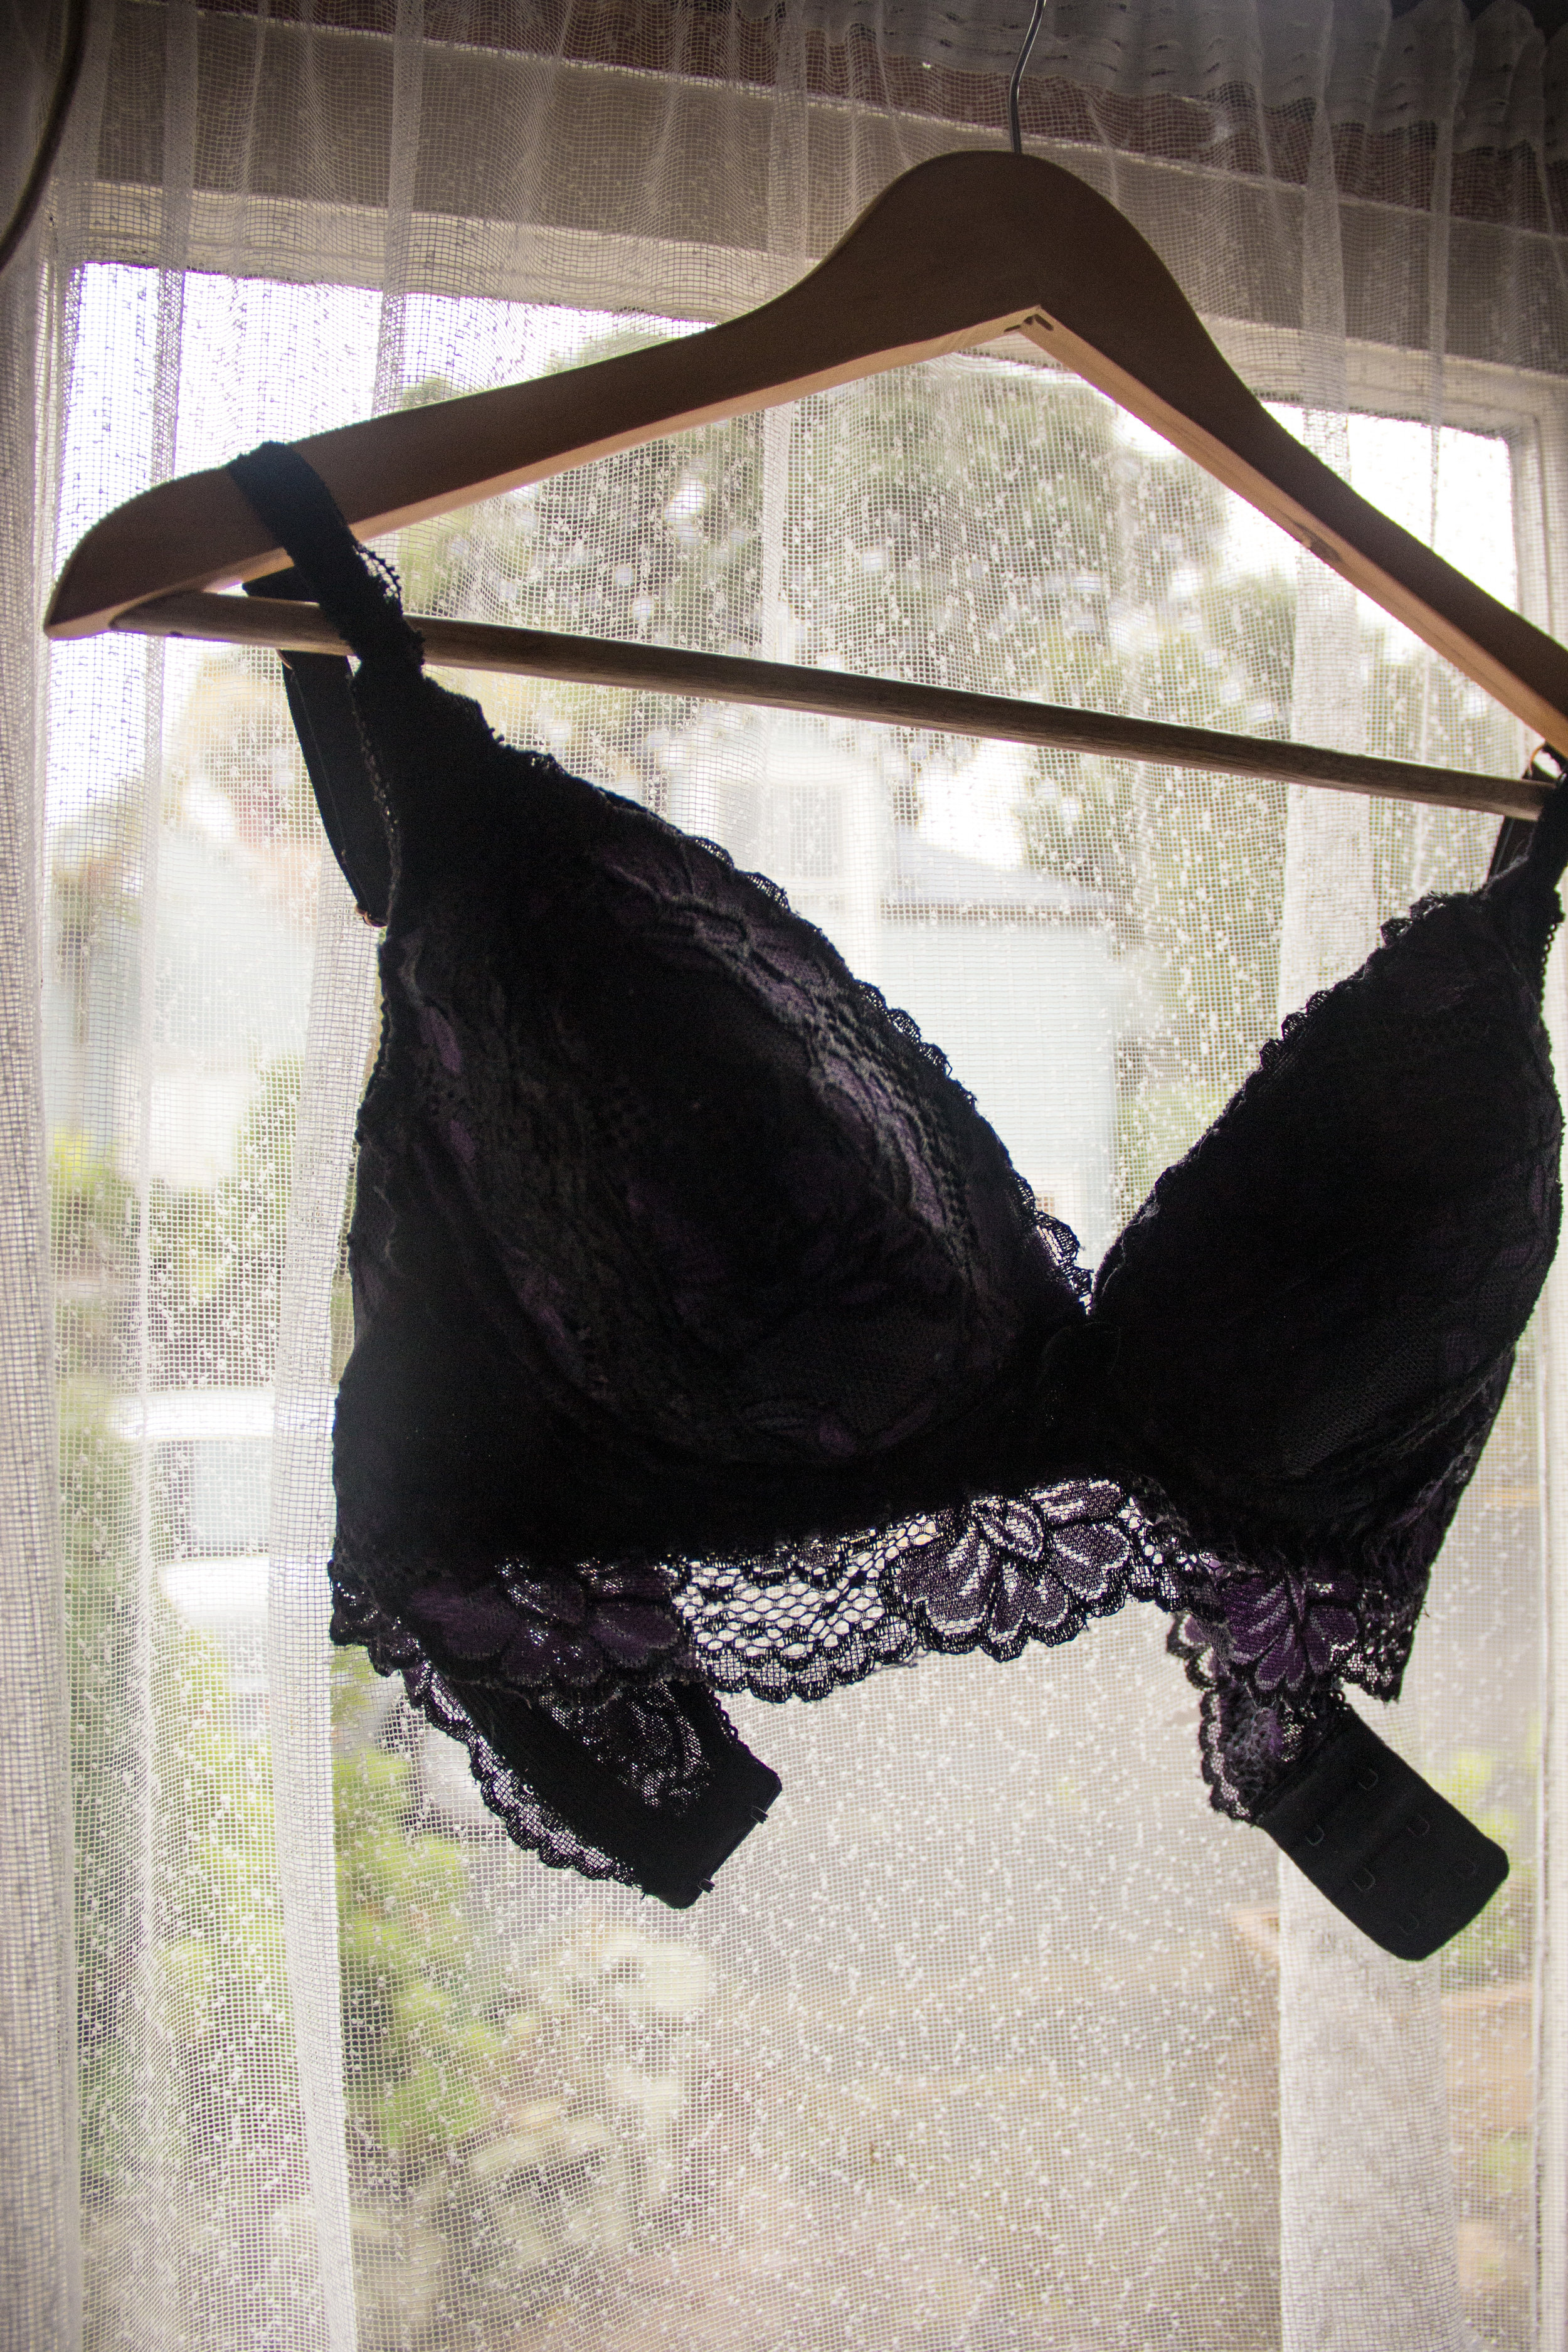
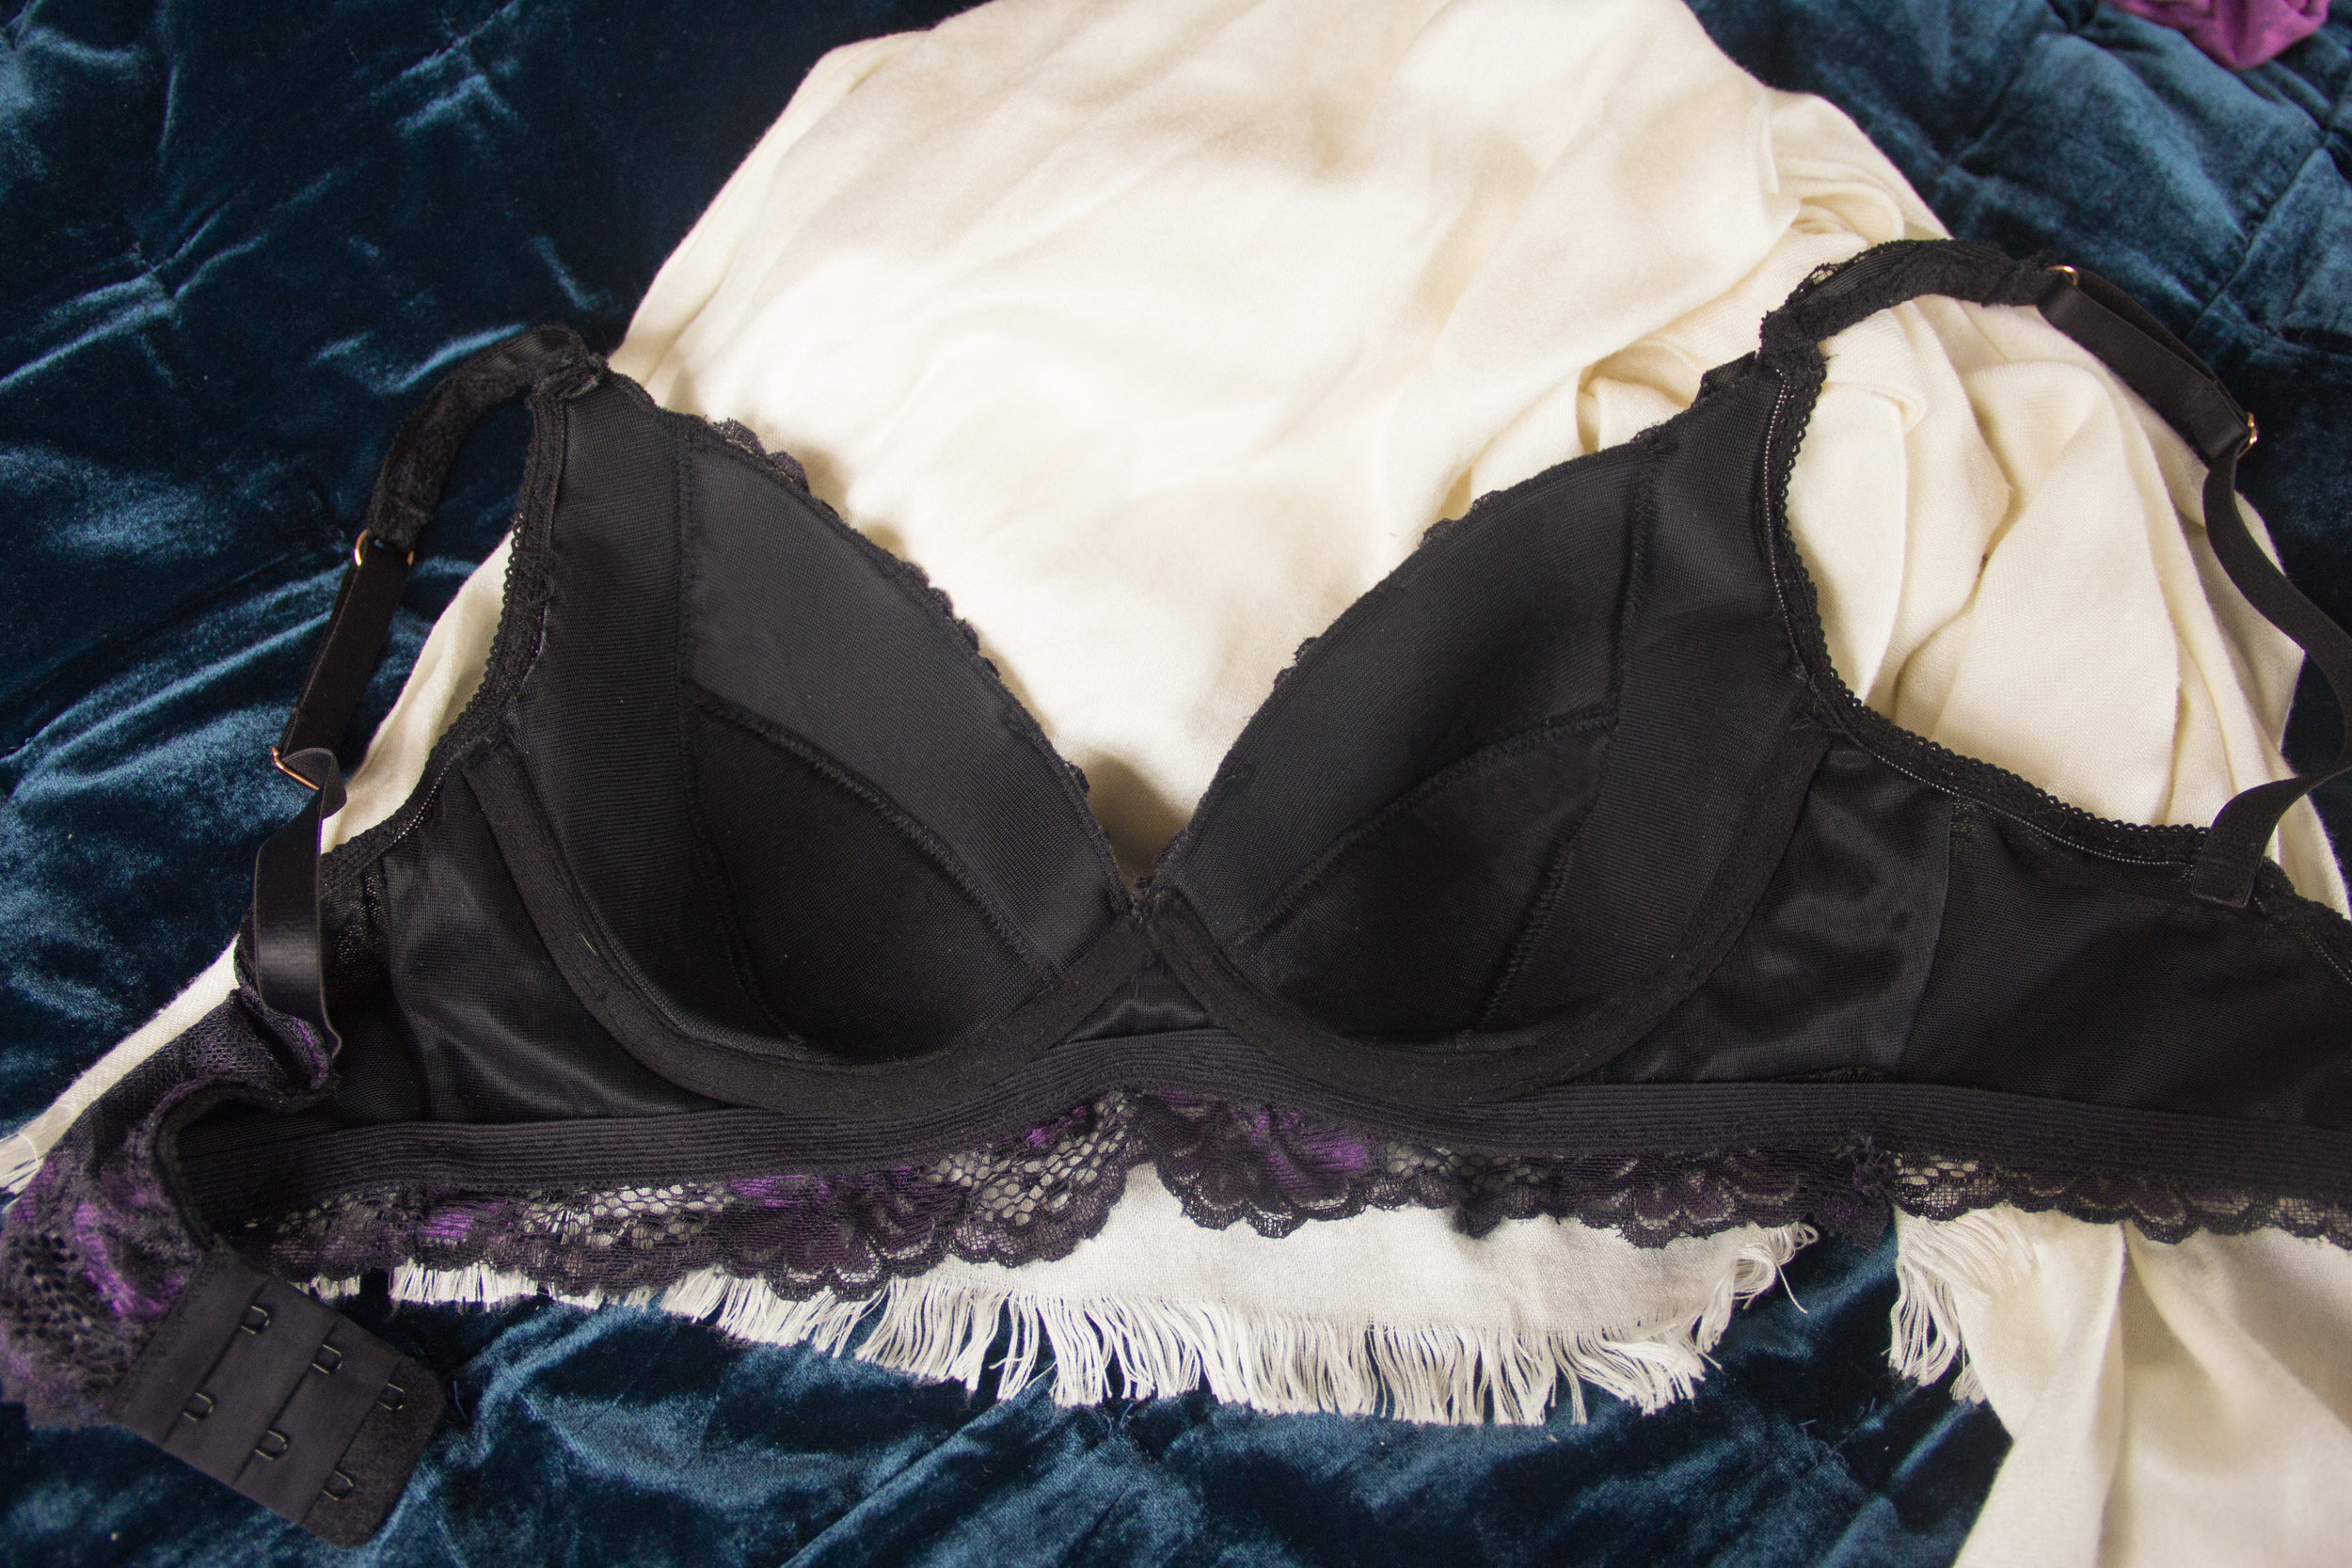
I hadn't come down from the high of successfully sewing my first bra before digging my fingers into the second one. In fact, I wasn't even halfway finished with the first one before I knew exactly how I wanted to make the second one. I wanted to achieve a bit more lift by bringing the wires closer together in the front, and I wanted the thing to be covered in lace. And I mean covered.
My first bra was amazing, and it took a lot of internal convincing for me to not wear it four days in a row right after I finished it - it was so much better than the RTW ones in my lingerie drawer (I'm lying to you, it's a box. My lingerie drawer is a cardboard box on a shelf and we're not talking about it) - and I nearly couldn't bear to be without it. I pretty much immediately started in on Me-Made Bra #2, using the rest of the purple and black lace from Elle Joan's shop and more of the black duoplex/lining/straps.
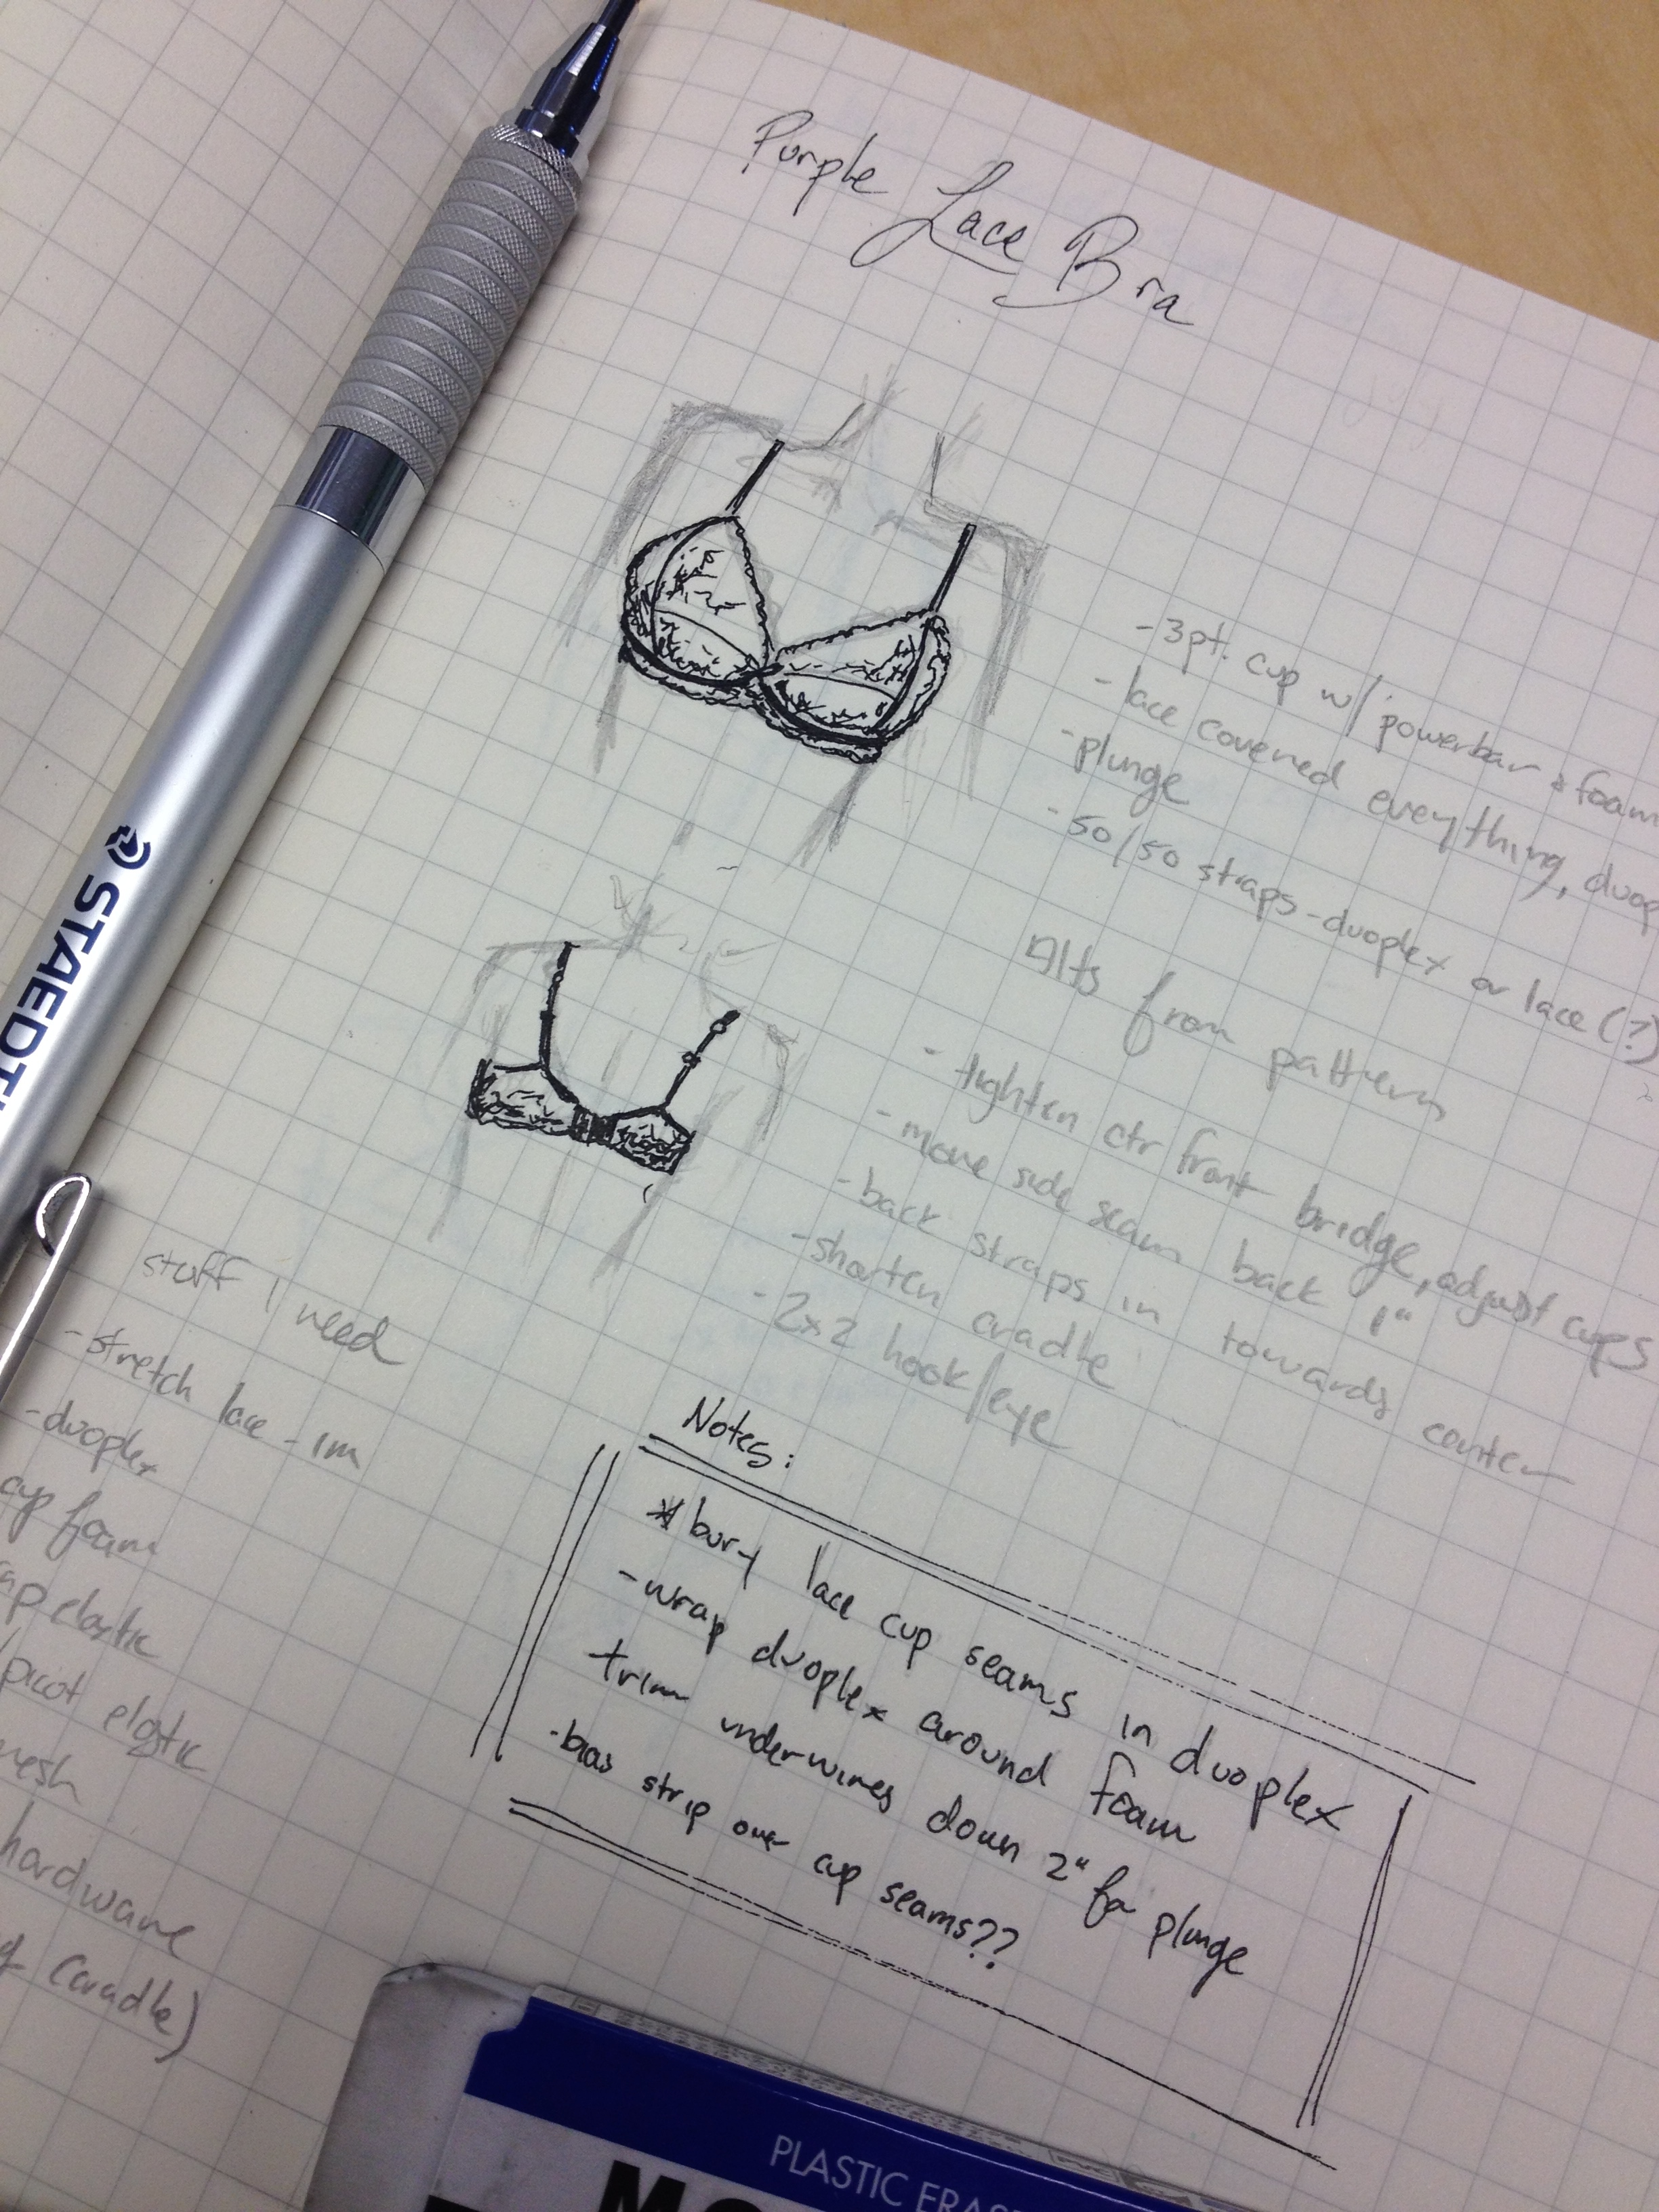
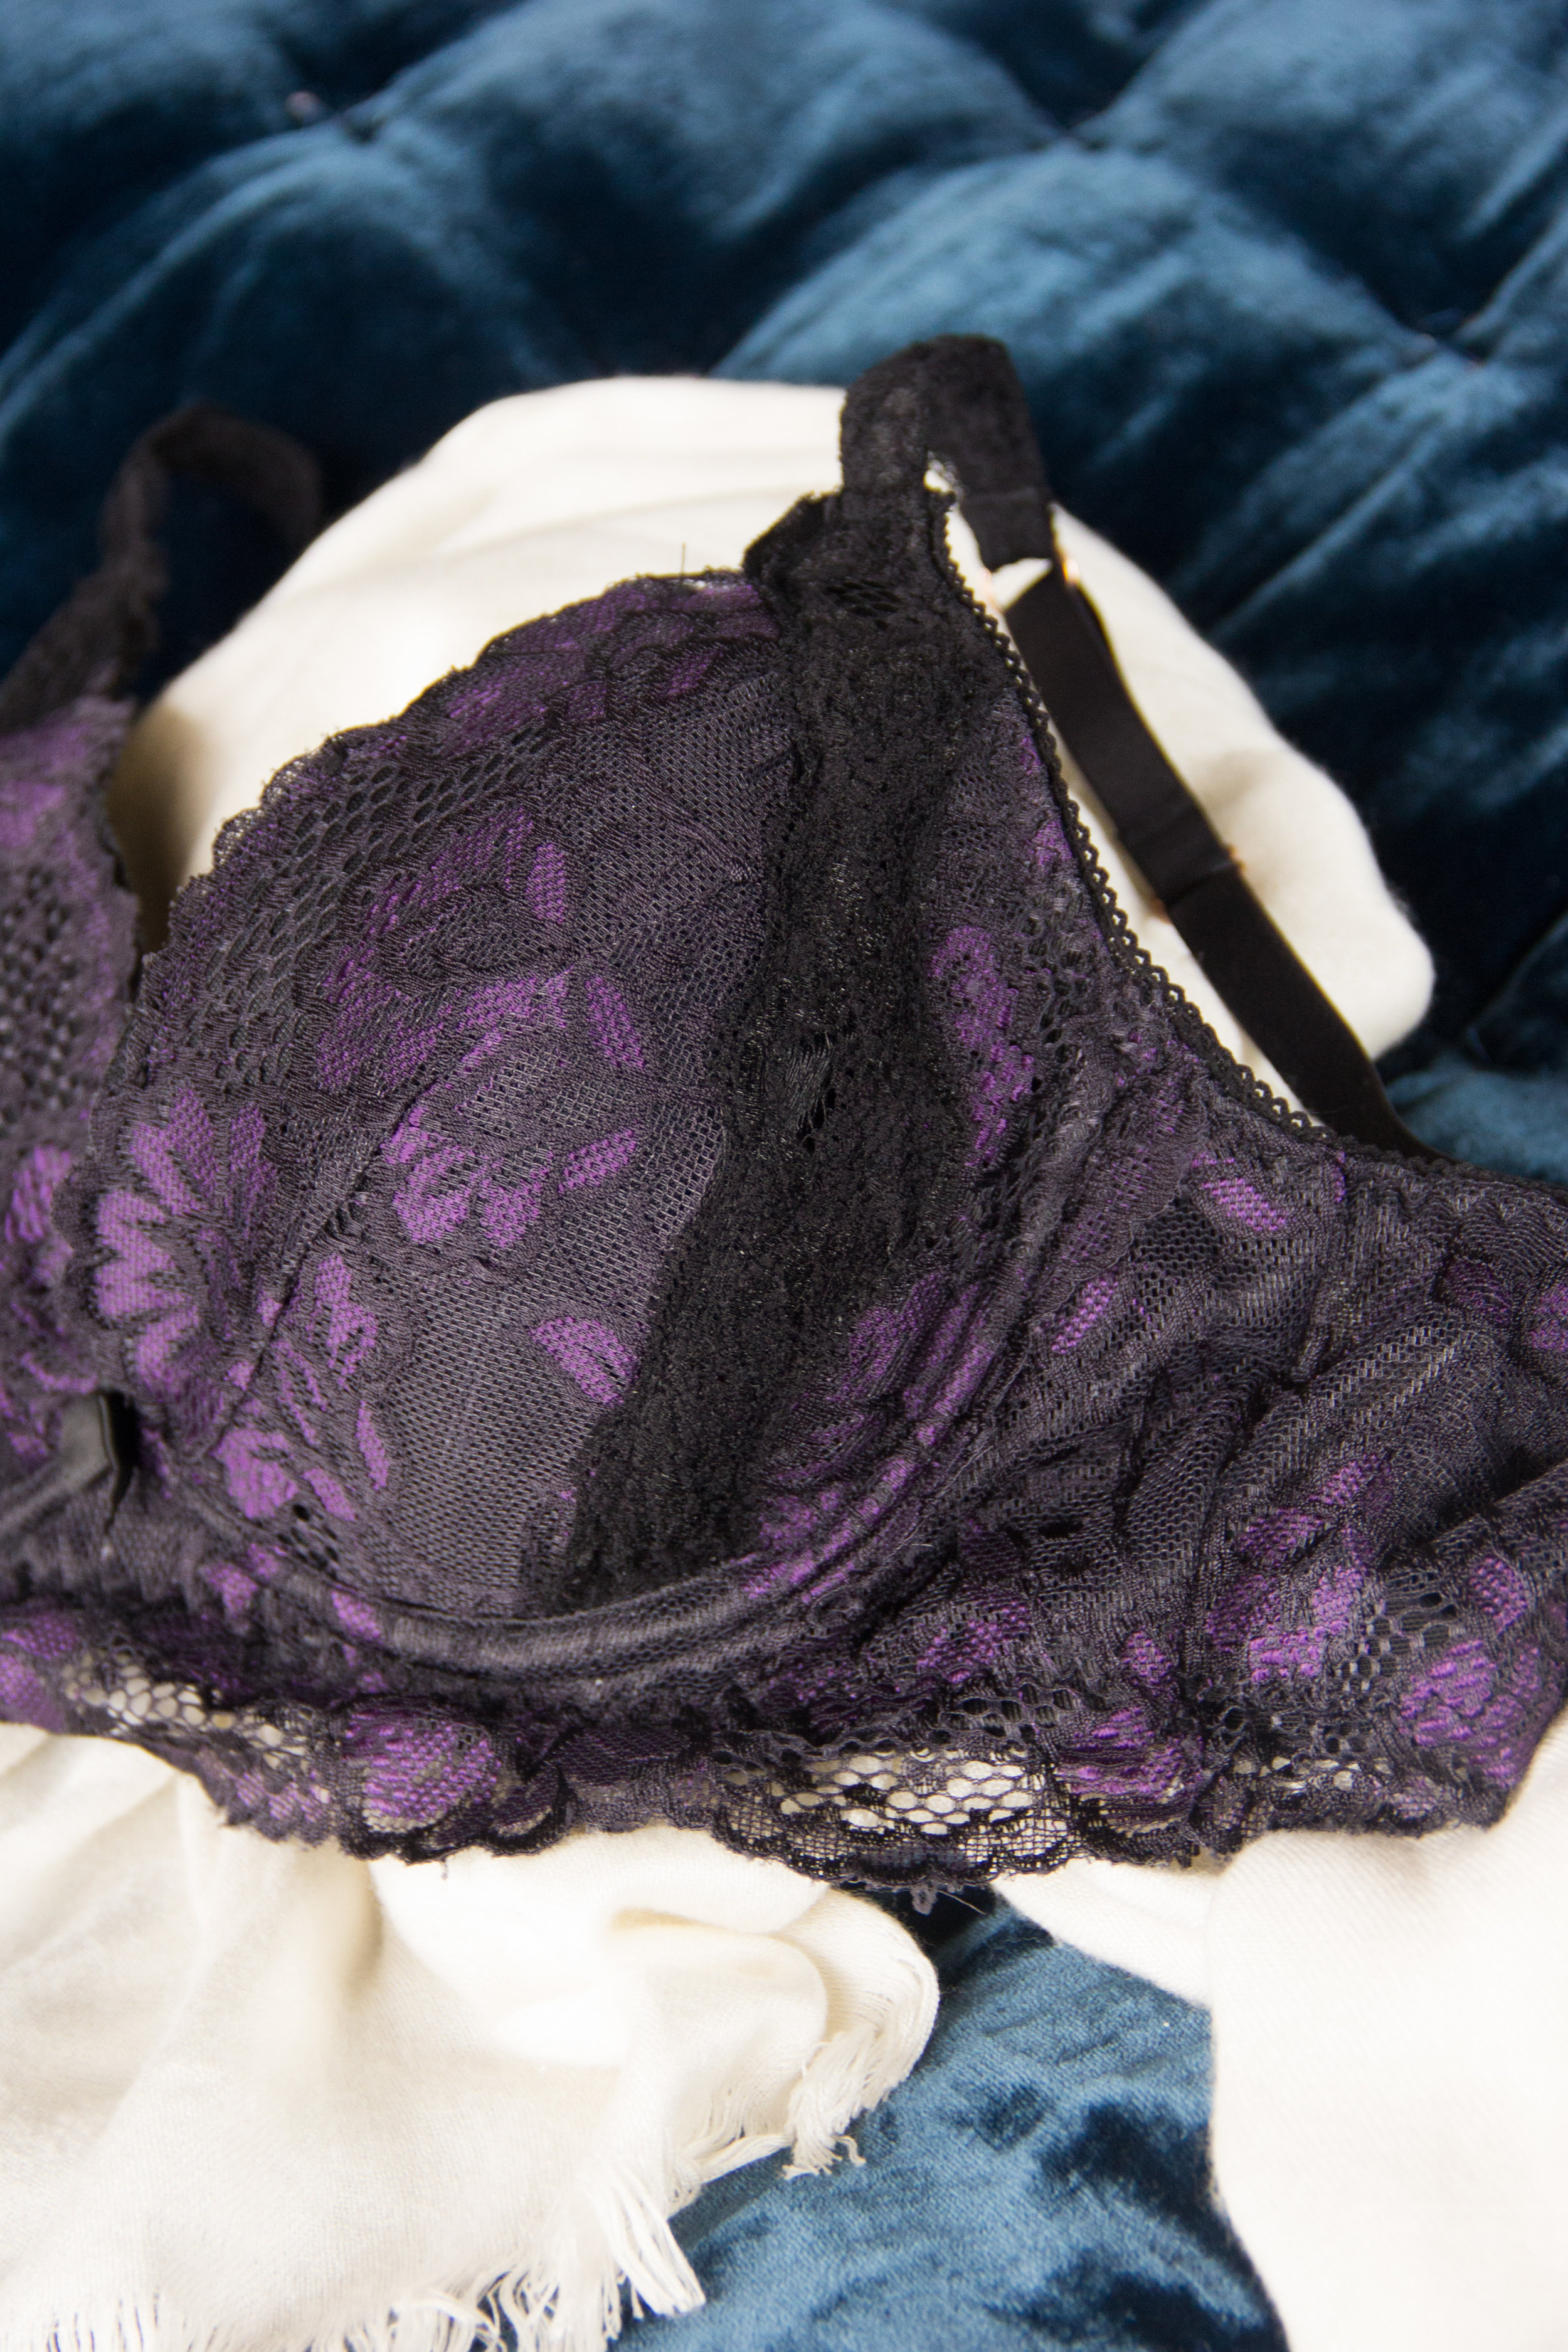
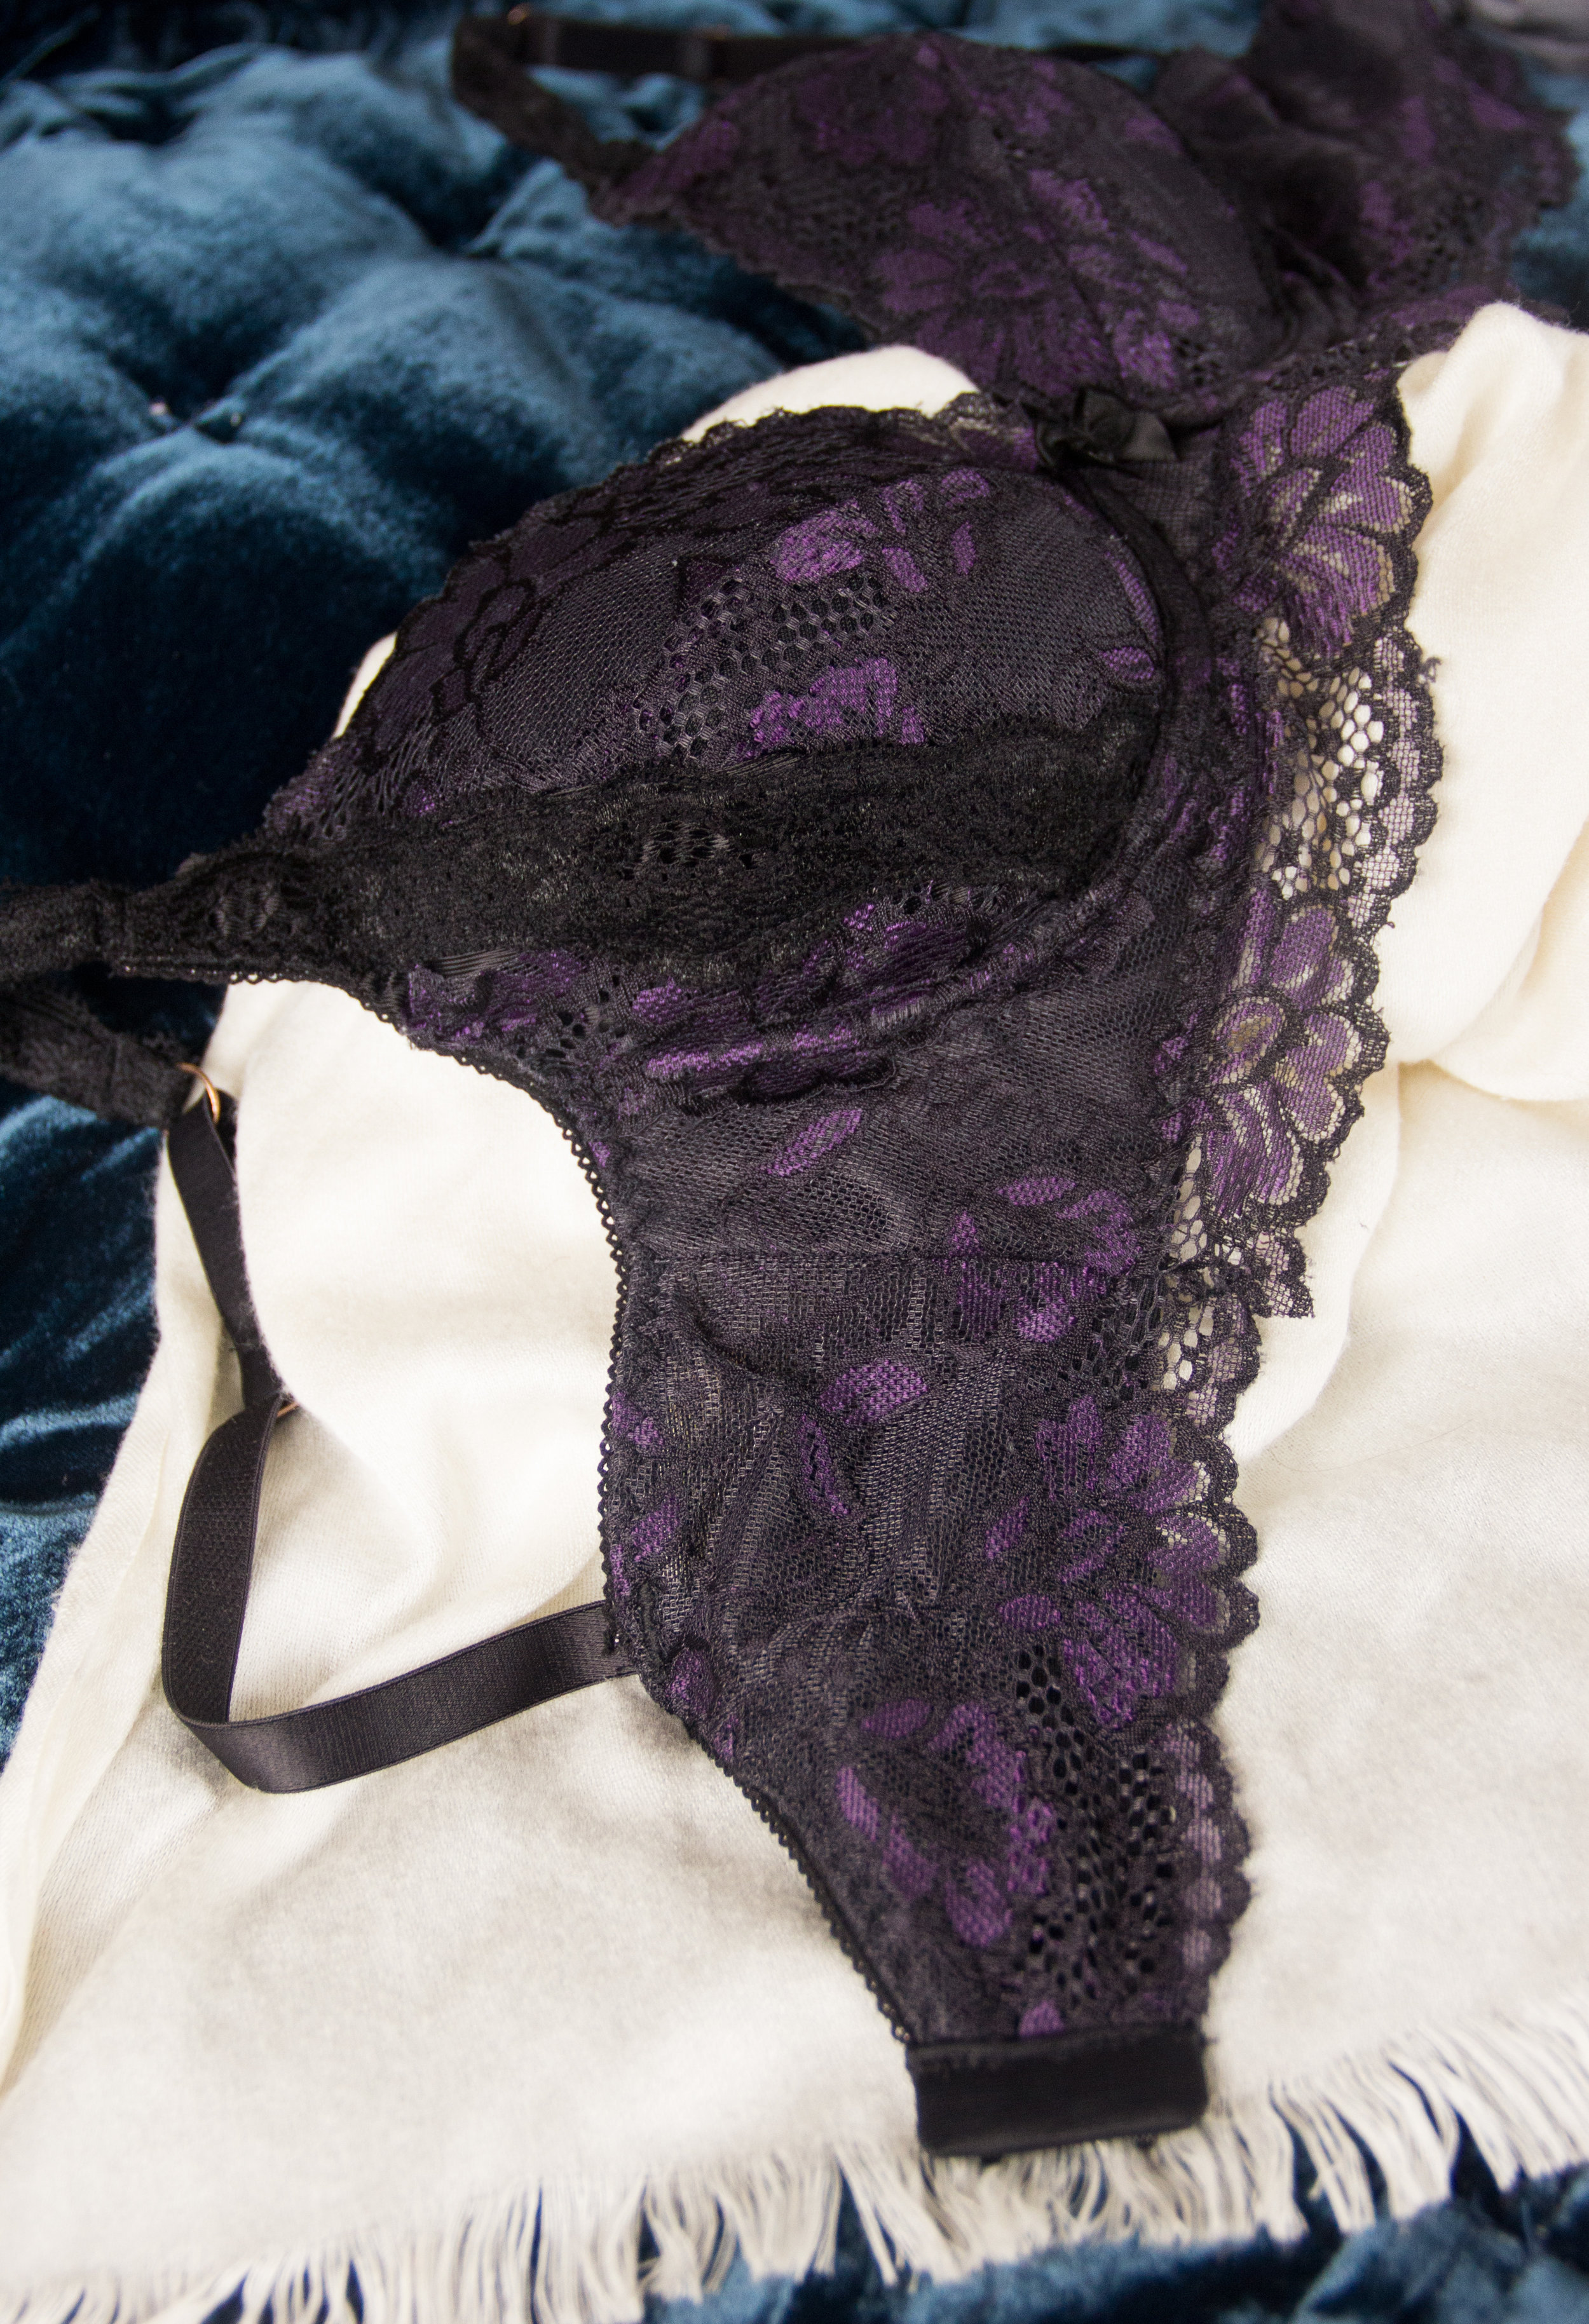
Alterations to my original draft included flattening the powerbar seam to add slight lift, removing 1/2" from the center of the cradle and adding 1/4" to each side of the cradle (to push the girls closer together, hopefully further out of The Armpit Zone), and scooting the back strap attachment point a bit towards the center. I remembered only after cutting out my pieces that I wanted to shorten the cradle as well, and although I could have just chopped off the bottom of the fabric, there was lace involved, so I improvised. The lace is the original length, but the duoplex and lining (the actual structure) is shortened as much as it can be without turning it into a partial-band bra. This ended up looking pretty cool, because you can see a bit of skin through the lace in the band. Oh la la!
Halfway through cutting the lace out - disaster! I wasn't going to have enough lace. Especially not if I wanted the pieces to be mirrored. Thankfully I stumbled upon some 2" black stretch lace at Spotlight, and did a little improvisational piecing with the powerbar to make my scraps work out.
Crisis averted, I carried on. Things went much more smoothly this time around, presumably because I knew what was going on - until, gasp! Crisis number two! The underwires I bought (From Spotlight, in case you're wondering where Never to shop for lingerie supplies) weren't the same size as my first set! They were a solid 1.5cm narrower. They were labelled the same, and had the same color coded tips as the first set I bought, but those suckers were much smaller than the boobs I purchased them for. Drat. Still riding the high, I decided to go for it and see what happened. Worst case scenario I can unpick the channeling and replace them with wider set ones. The cradle was still the same shape, after all - just a bit lower in the center. The rest of the construction proceeded as planned, ending in a bit of improv with the front strap, because I was short on strap elastic due to a mistake on Bra #1 that cut into my supply.

It is well known in the world of people with boobs, that boobs do not comply with the traditional laws of physics. Trying to wrangle a boob in a particular direction is much like trying to herd cats. It seems that by in my attempt to slightly engineer my second bra into...herding my cats... a little more towards center front, I've unleashed a few unforeseen issues.
The first one was easy to solve. I knew my underwires were small when I put them in, but I forged ahead. I should not have forged ahead. The wires aren't necessarily uncomfortable to wear, but they don't so much cradle the boob as they do just kind of sit on top of it. extra boob squishes out everywhere, especially as I start moving. It would be an understatement to say this bra provides no support. The whole reason I chose to use them, though, was because I could see them in person before I committed to the purchase. Fortunately, the underwires from Elle Joans are the same as Bra Makers Supply - and they have a handy chart. I compared the wire from my first bra, and ripped into a bar tack on my favorite RTW bra to extract its underwire to compare as well. I settled on the size 38 - thanking the internet gods because based on cup size estimates alone I'd have been a 36... much too small. See:

Interestingly, comparison to the new underwires is more than just visual. The new ones are much stronger and less susceptible to bending than the old ones, and they more closely approximate the strength of my RTW bras. I can't help but wonder if the reason the too-small underwire was remotely comfortable is because it was bending like a sad, useless little twig, instead of keeping its shape like a proper underwire should.

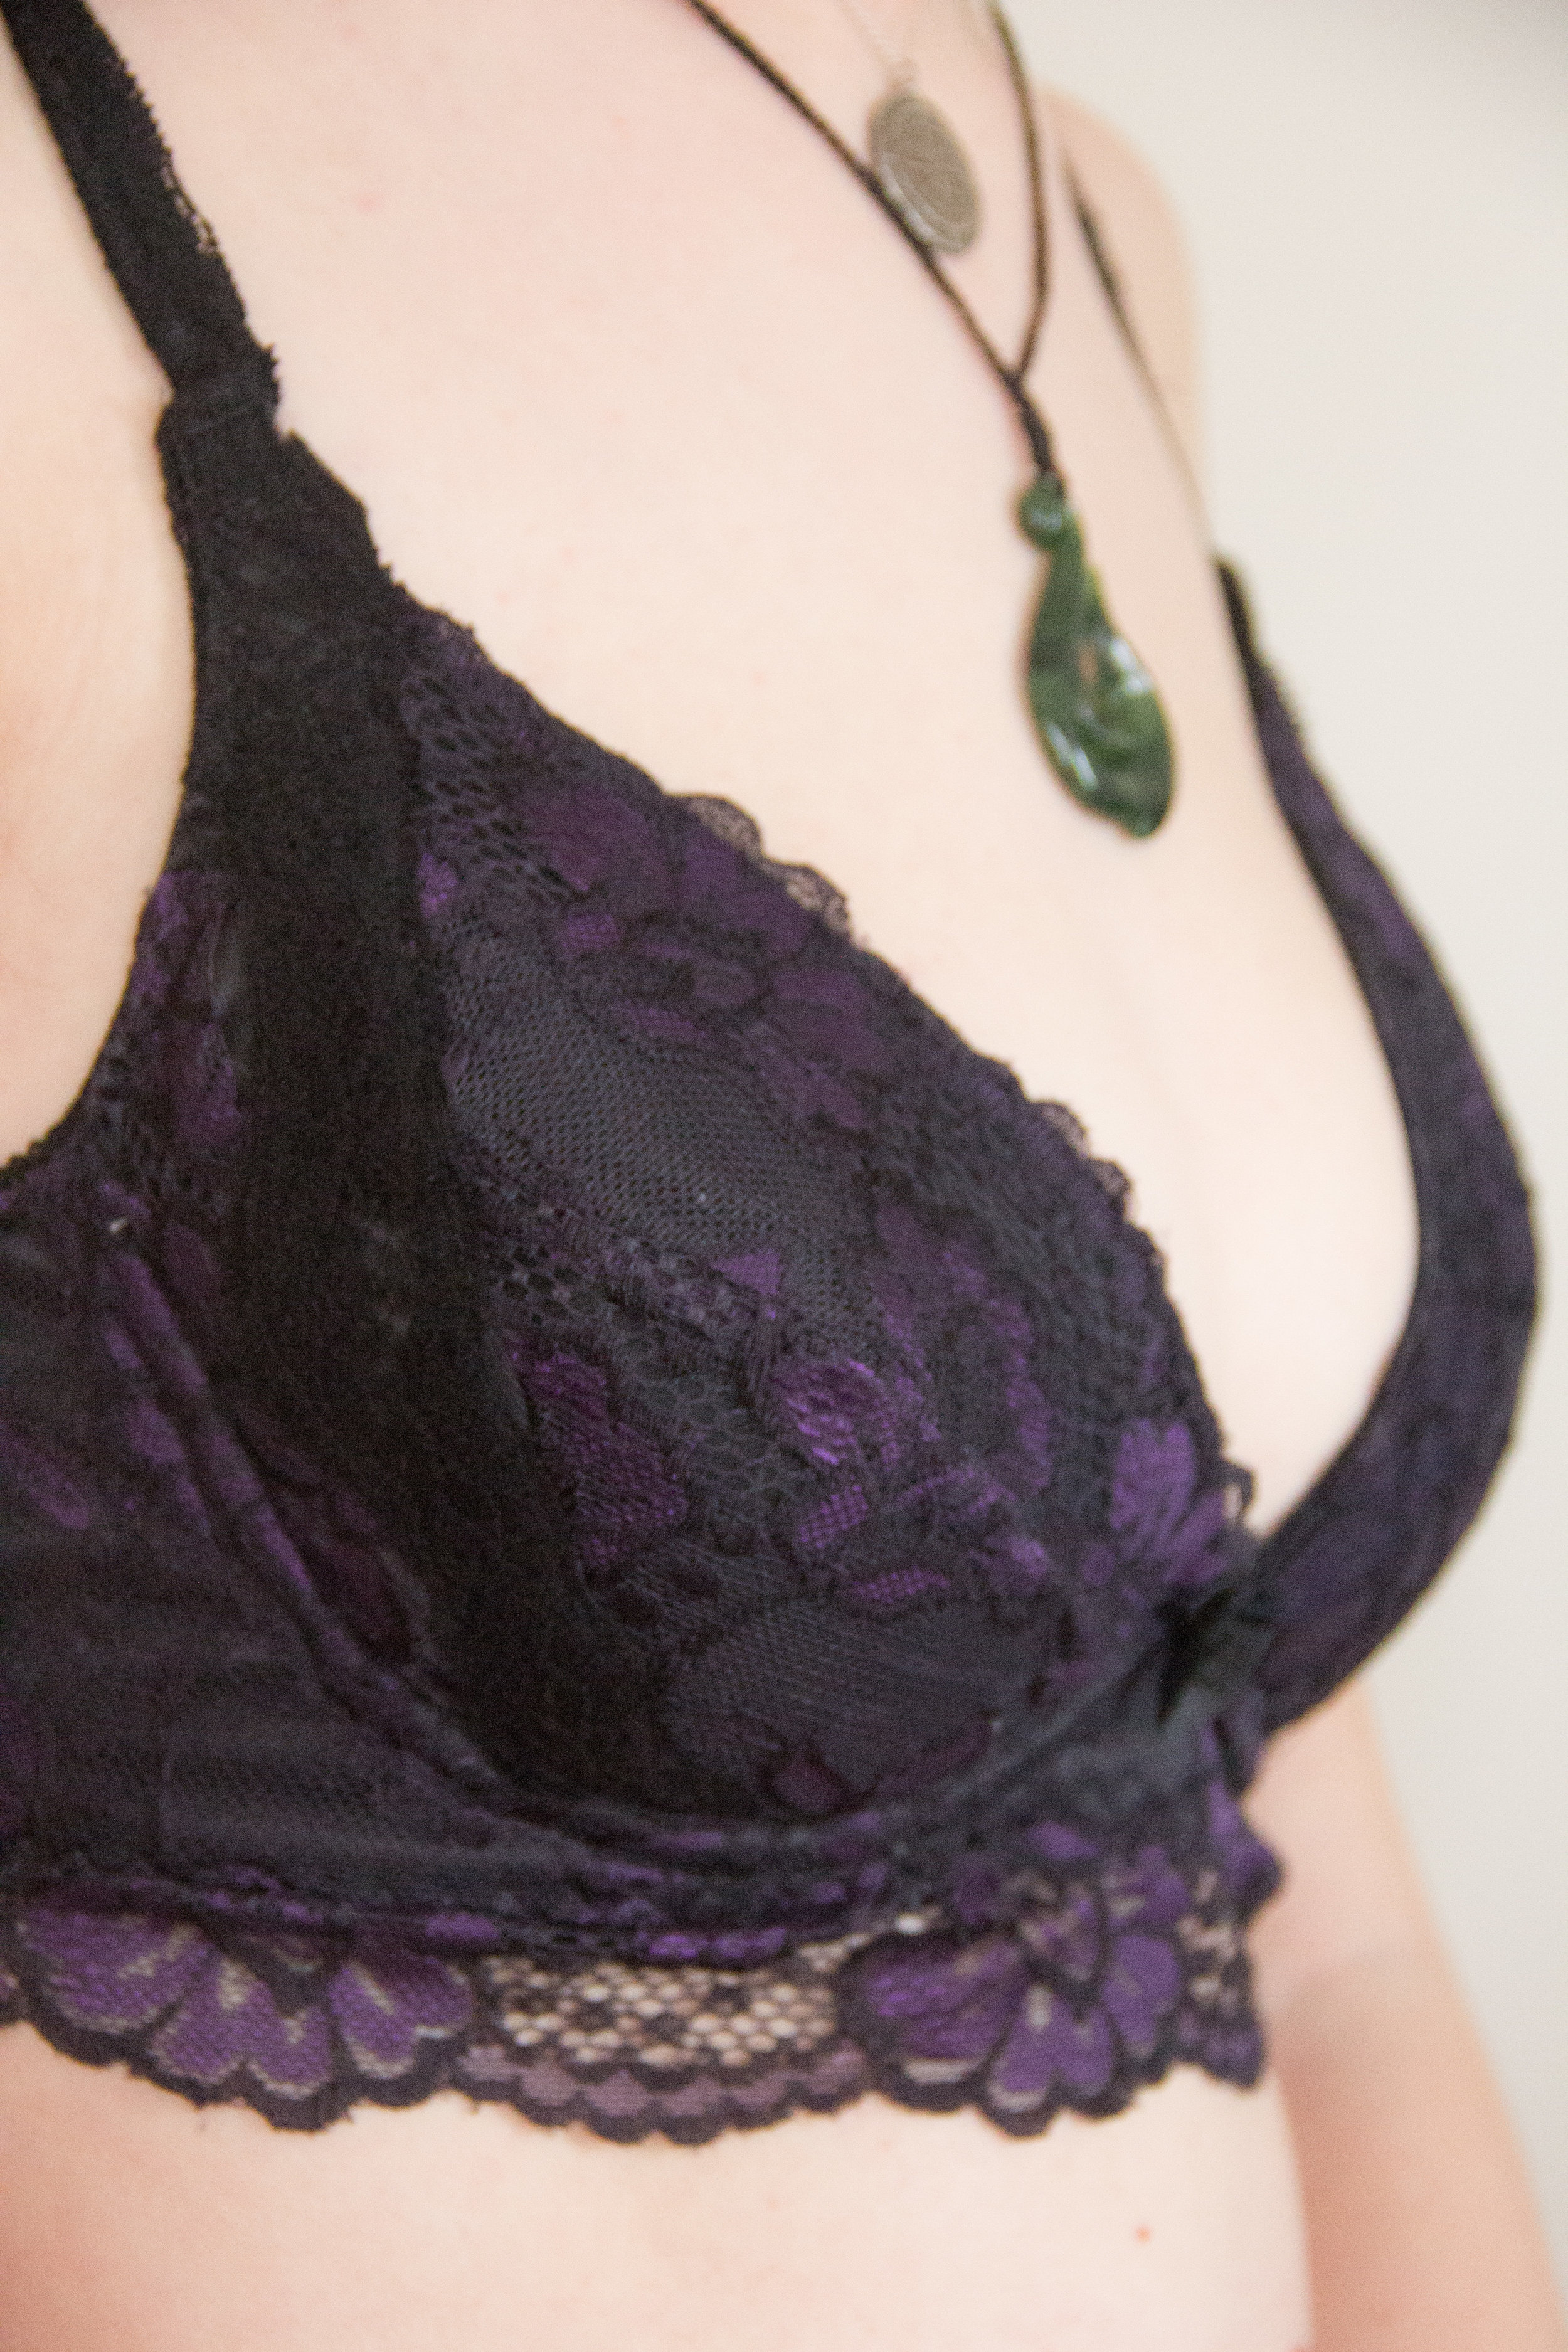
The second problem is a bit harder to solve, and it became much more apparent once the correct underwires were in place. Apparently, decreasing the height of the cradle at the center front, therefore decreasing cup coverage in that area, causes Muffin Boob. The usual culprit which causes muffin boob is that the cup size is too small, but in this case, having used exactly the same cup as the more-successful bra#1, I believe the issue is more of a coverage one. I've herded the cats toward center front with my lower bridge and narrow-set underwires, but I've failed to provide them with any support in their new position. Although visible, fortunately this case of Muffin Boob isn't a serious one. In fact, under most shirts and in favorable lighting, it's fairly invisible.

While wearing, the lace at the cradle pulls a bit, but seeing as I can't actually see under my boobs while it's on, I'm counting that as a learning experience. Maybe I'll add boning or some lightweight stretch mesh if I make another bra with this feature?

And the details:
Materials Used: Purple and Black 6" stretch lace, black duoplex, sheer black nylon lining, black powermesh, 2-hook bra closure, black strap elastic (18"), black picot plush elastic (1 meter-ish) black laminated foam, and one set of rose gold findings.
The pattern, as mentioned, is my own draft - a three part cup with powerbar. The side seams are enclosed, easy since the cradle is lined. The band is powermesh with the lace overlay. The cups are cut and sew foam, which I stitched together with my widest zig zag (not a 3 step, per Amy at Cloth Habit's suggestion, although I know some people have success at that). The lace for the cups isn't topstitched... I just didn't think it needed it. The underwires are size 38, but cut down about 1.5" in the center front to clear my sternum. I'll show you in a future blog post how I trim underwires, but it's just the plasti-dip method, nothing too exciting. The most inconvenient part is that our house has gas-powered everything so I'm not allowed to open my can of plasti-flammable-fumes in the house. Pilot lights and all... ALSO. if you find the plasti-dip to be too grippy, Jon's brilliant suggestion was to try painting it with nail polish (clear or otherwise) to make it slide into the channeling better. Definitely a thing to try.
The straps are half lace-covered duoplex, and convert to elastic at the top of the shoulder with rose gold hardware (which I am in love with), and then elastic in the back. I knew full well that the bulky metal ring connection might cause issues right on the top of my shoulder, but it was so pretty I couldn't resist! I haven't actually even noticed it there since I've been wearing it.
Although this bra wasn't as quantifiably successful as the first one, it's still totally wearable, and I learned a lot from the alterations! I've got big plans for my next one already, but it's going to take a little longer because this time, I'm gonna practice what I preach and make a muslin first. Also, I'm just super pleased to be back to sewing pretty things. Here's a sneaky peek of the next one, to leave you fabric lovers salivating:

See you next week, lovelies!