(Alternate Post Title: "Satan's Yellow Raincoat")
This project goes against every single opinion I have about sewing, fabric, and what I aspire to create by sewing my wardrobe. It is a coated fabric (blech) that happens to be synthetic (double blech) it creases like crazy but doesn't hold a press (what am I doing) and it's a color (the only color) that I actively despise. It also fought me tooth and nail the entire time I was sewing with it.
And yet I love it.

My mom has this yellow rain jacket that she got secondhand from an army surplus store in the 70's. My sisters and I used to fight over who got to wear it - from rolled-up sleeves to too-short sleeves, we'd each try to hoard it in our own closets instead of letting it hang in the coat closet by the door so that when it rained we'd have an advantage. That coat has been well loved throughout its long life - some of its snaps are missing, it has a few tears and it definitely leaks at the seams, but we all have such fond memories of it - the classic yellow rubber raincoat!

I was content with my memories of that rain jacket until I happened into the Fabric Store during their semi annual sale and discovered the exact same raincoat fabric right before my eyes. I swear, it's identical. A bit brighter of a blue on the inside, perhaps, but years of wear will dull colors a bit. The yellow was just how I remembered it, and I immediately wanted nothing more than to recreate that yellow raincoat... with a couple of modifications. It was 60% off in the sale and I bought the last 2 and a bit meters of it. How could I resist?

I'd make better pockets, add a zipper in addition to the snaps, reshape the hood, add some waterproof tape to the seams, and... well. I eventually realized that what I really wanted was the Kelly Anorak from Closet Case Patterns in classic yellow rain jacket form.

The fabric is a densely woven navy cotton poplin that's been coated in a layer of urethane. Urethane is perhaps the very definition of old technology - it was popularized during WWII as a replacement for rubber (which explains the army surplus origins of Mom's jacket). Unlike rubber, it doesn't degrade over time, and unlike plastic it's not brittle and has good recovery. I'm making it sound like a really amazing product here (it does have some cool applications to be fair: shoe soles, mattresses, adhesives...) but the fact of the matter is it's still a synthetic that melts if you look sideways at it with an iron, and demands specialized attention and tools.
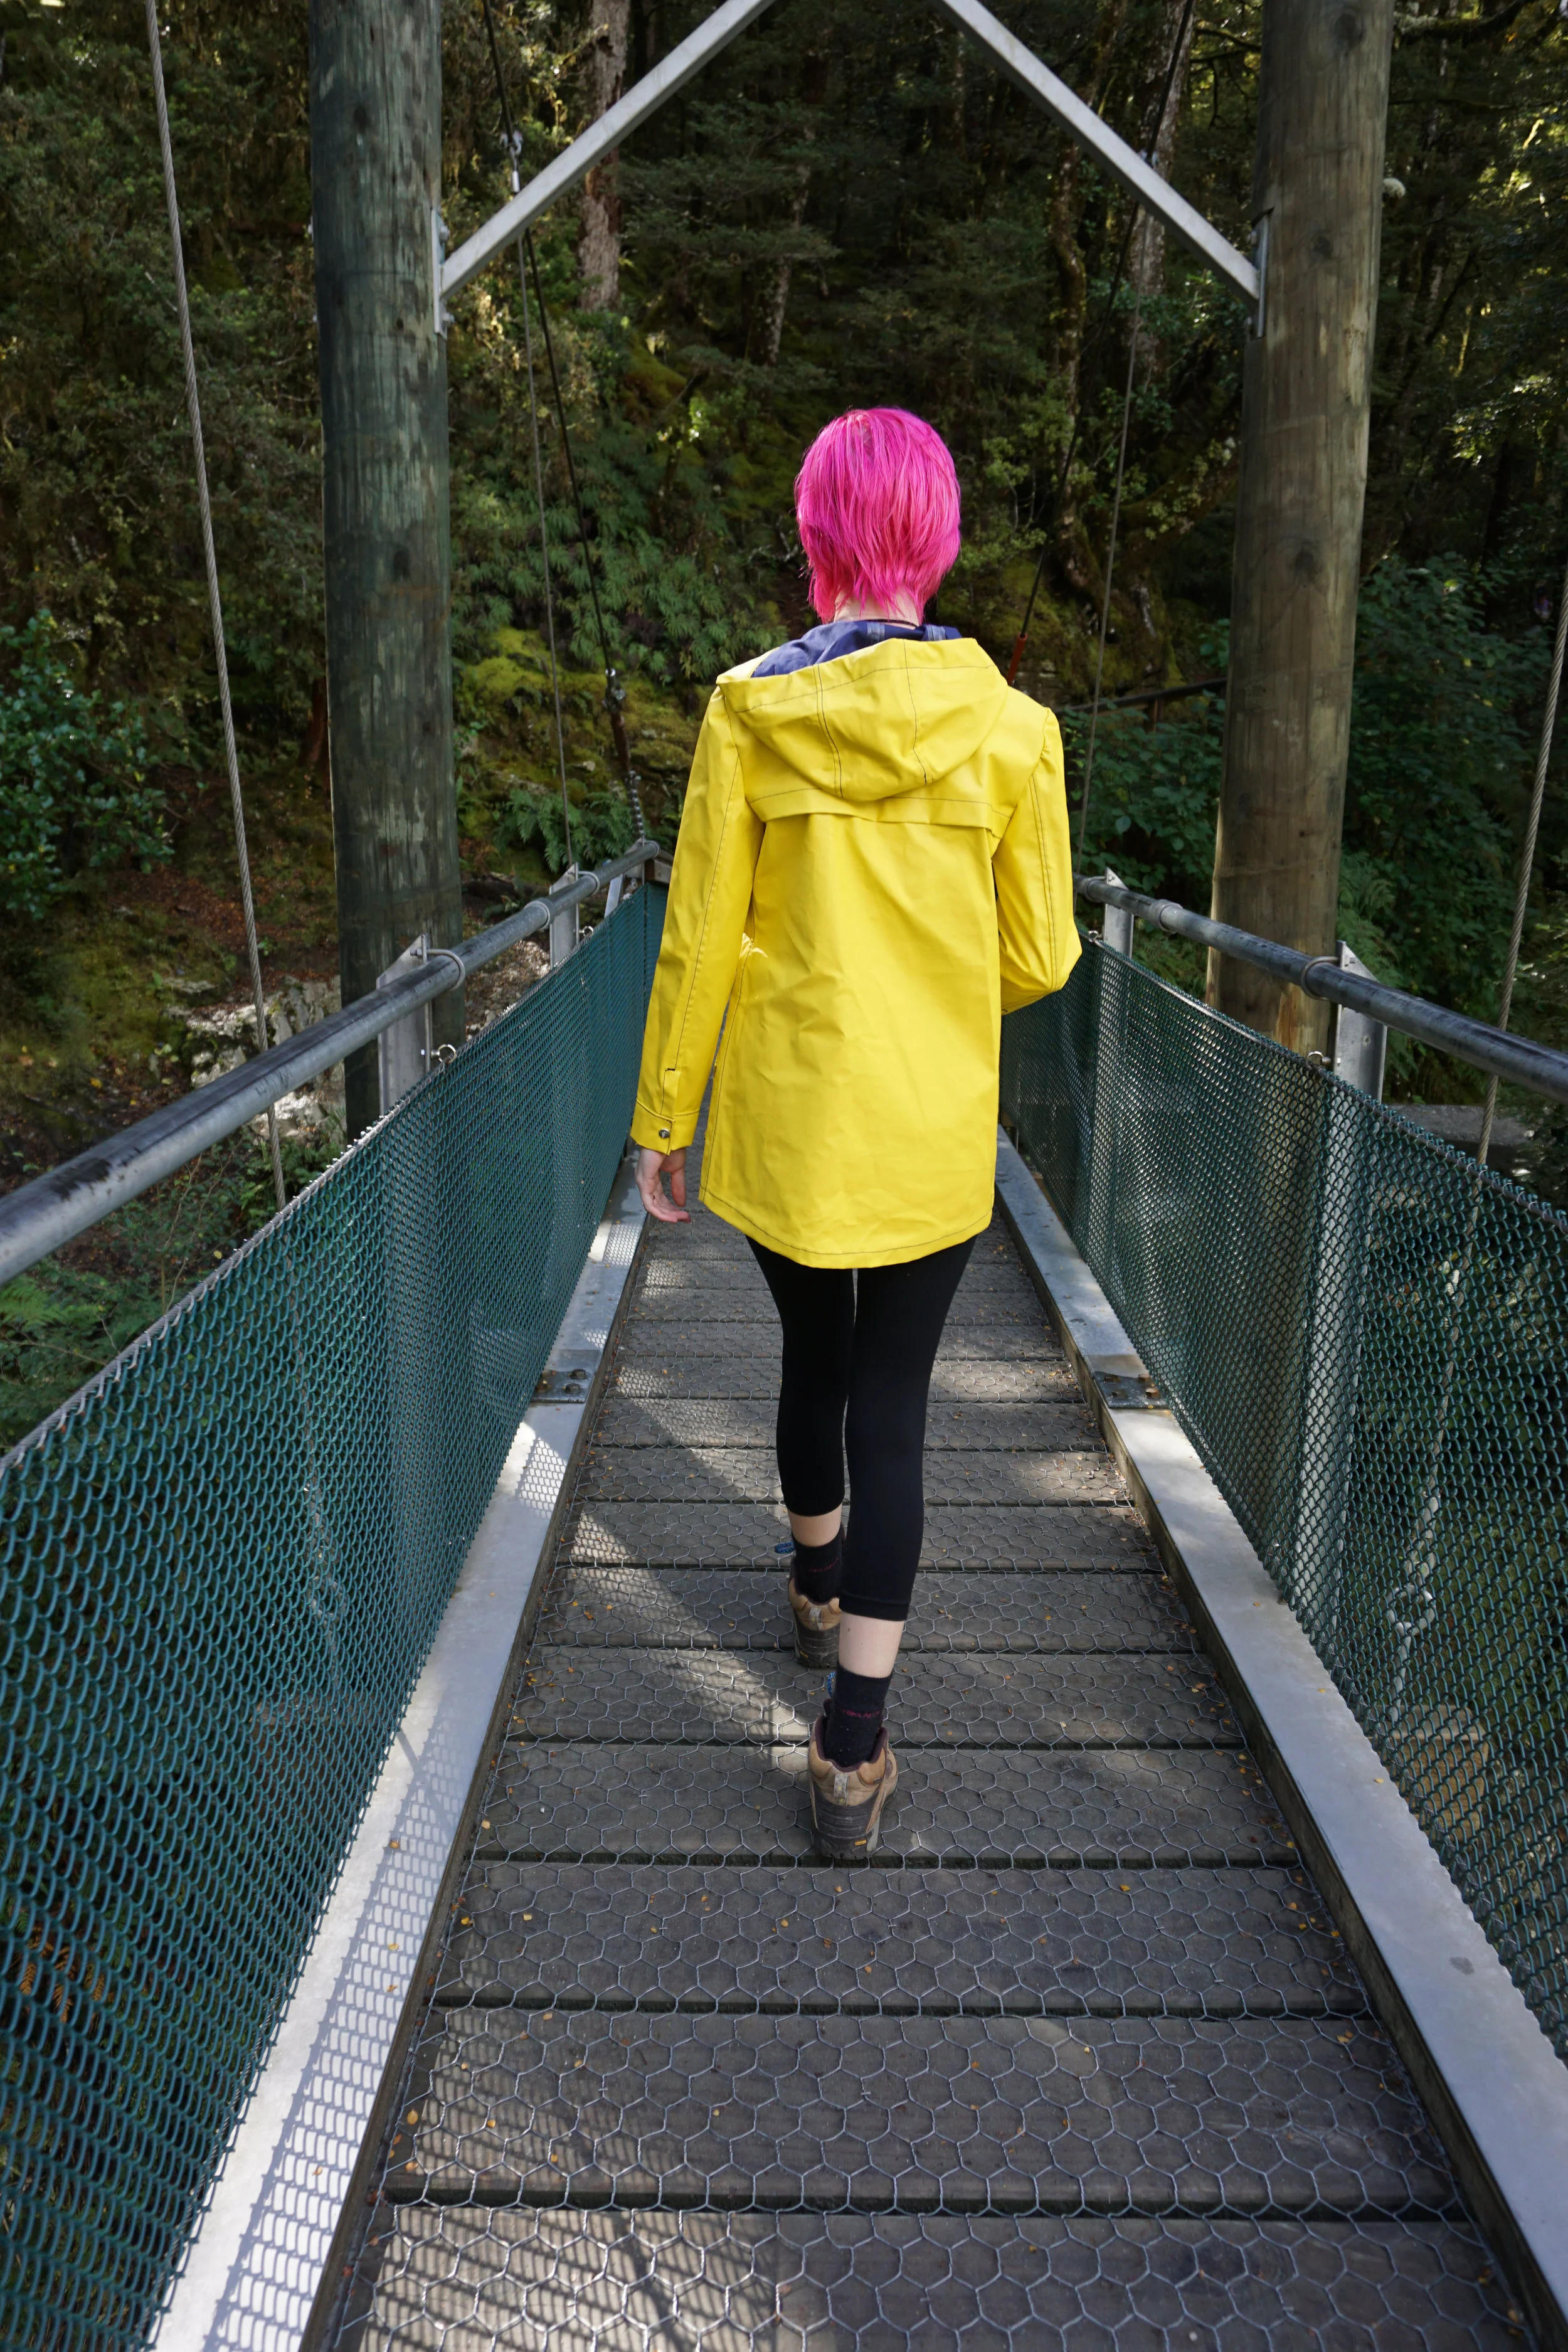
I really need to make some leggings that are long enough to cover those poor ankles...
You've only got one chance to sew each seam because any unpicking will result in permanent holes, you absolutely cannot let the iron touch the urethane side, but you also can't leave the iron on the cotton side too long or the mark will show through as a shiny footprint. I'm stuck pressing with the lowest heat setting on the iron, but I had a hard time getting good creases with that restriction. A leather needle is required to get through multiple layers of the fabric, and the foot pressure must be adjusted just so or else the urethane will distort under the foot while topstitching, not to mention it sticks to the bottom of the foot if you don't wait for it to cool down completely after ironing.
I haven't even gotten to the seam tape yet. I ordered it from Rockywoods while I was visiting the States in February and brought it back with me since I couldn't seem to find any Kiwi suppliers. It's a clear tape specific to urethane coated fabrics and ran about $1.89 per meter. I ordered 13 meters after I found on the Closet Case patterns blog that someone else had asked how much to buy and Heather (or one of her delightful helpers) had responded with how much they'd used for their waterproof sample. I ordered extra, and I have about 2 meters leftover.

I ran some temperature tests on a small scrap of my fabric to figure out what heat setting I needed to bind the seam tape without melting the fabric. If you're a long time blog reader you may know that my partner is currently working on his paramedicine degree, but in a previous life he worked in outdoor education and also in an outdoor supply store. He does not understand why I would choose a non-breathable raincoat fabric (nostalgia!) when there are so many high tech options available (He actually bought me an insanely nice Goretex raincoat for hiking that I wear a lot. The whole thing is fused, there's not a single stitch in the entire construction...this is different) and he also happens to have very strong opinions on what constitutes a 'good' seam seal.

For my first test, I was sitting there thinking I'd done such a good job applying the tape, I showed it to him when he got home and he was all "That won't hold up in a rainstorm, look at this gap and that seal isn't good enough" etc. so I went back with more pressure and a bit more heat. I kept taking it back to him until he couldn't find anything bad to say about it, and then recorded what I'd done and applied that method to the coat itself.

Do you remember how I mentioned 'specialized tools'? As it turns out, it's impossible to get a good seal on the seam tape without melting the urethane coating on the fabric with a regular iron. Instead, I had to resort to my clover mini-iron. I set it on about 70% strength, and used as much pressure as I could muster for 7 seconds at a time, then moved the iron forward by half the length of the hotplate foot, gave it another 7 seconds, and carried on down the line. That means every inch of the seam got about 14 seconds of heat and pressure to set the seam. In bulky areas (the flat felled seams, pockets, and sleeves) I had to go back with the mini-iron and get some of the trickier areas again. Each seam was sealed as it was sewn which of course made the whole project take about six times as long as a regular jacket would have.

Another specialized tool I ended up relying on heavily throughout construction was my ~brand new~ silk organza presscloth. I've been meaning to get my hands on another one of these for a long time but it's surprisingly difficult to find plain white silk organza in this city! It all seems to be either polyester or colorful. I ended up ordering a few yards of silk organza for my wedding dress when I bought the rest of the fabrics, knowing that the bare metal foot of my iron would not be allowed to touch any of those precious silks without protection. To make the presscloth, I just cut a section of organza roughly the size of my ironing board and used a rolled hem foot to quickly finish the raw edges. I still have to watch the heat of the iron so that the urethane doesn't melt, but with the addition of the presscloth I no longer have to worry about any Great Melting Incidents, and it meant I could press from the right side of the fabric. I don't think I'd have been able to complete this project without pressing the yellow side of the fabric at all.

I feel a bit like I've written a whole novel and it's all been about the preparation rather than the actual creation of the raincoat, but that's really how this project went. As soon as I got my iron settings, presscloth, and sewing needle/thread/tension/pressure sorted out, I thought my struggles were over. Following the instructions in a Closet Case pattern means I don't have to think much about the 'how' so I figured I'd be able to plow through the project without having to problem solve too much. Not so. After successfully completing the flat felled seams for the fronts and assembling the pocket flaps and back yoke, my machine through the fit of a lifetime and absolutely would not edgestitch the pockets.

I banged my head against the wall for three whole evenings trying different tension combinations, threads, re-threading, cleaning out my machine, oiling - and I eventually resorted to Instagram to ask for help. A few lovely folks suggested new needles so I bought every variety of heavy-ish duty needle I could find (leather, three sizes, upholstery, and the two largest sizes of universals available) and went to work testing again. The best result came from a size 90 universal, but then that stopped working when I got to cuff and zipper topstitching so I ended up having to switch to a 100 leather. At that point, I felt like the fabric was just being spiteful. That, and my machine flat-out refused to stitch through more than five layers of fabric at a time, which is usually not a problem for the old girl. Four layers of stiff poplin plus urethane coating, though.. I guess you could almost consider that 10 layers. Interestingly, it didn't complain much about the zipper insertion - my zipper is a proper waterproof one from YKK (also purchased from Rockywoods) - that went in quite easily on the first try.

I spent a couple of late nights working on it (1am, I'm looking at you) because I'd set progress goals for myself and refuse to give up until I'd reached a certain point. (honestly, topstitching some of the bulkier seams was rough on my machine as well as my poor fingers. I've got cuts in five places and three broken nails from this project, not to mention that funky twinge in my hip from standing at the ironing board for too long without stretching.) On the last night, at 11:45 when I was just getting ready to set the sleeves (Last step!!) I though maybe I'd wait until I was fresh the following day in case something weird happened - but then I had a reasonable conversation with myself and decided I didn't think I possessed the willpower to let this project exist unfinished for another day. I set those sleeves in about an hour using paperclips instead of pins, crawled straight into bed, and slept like the dead.

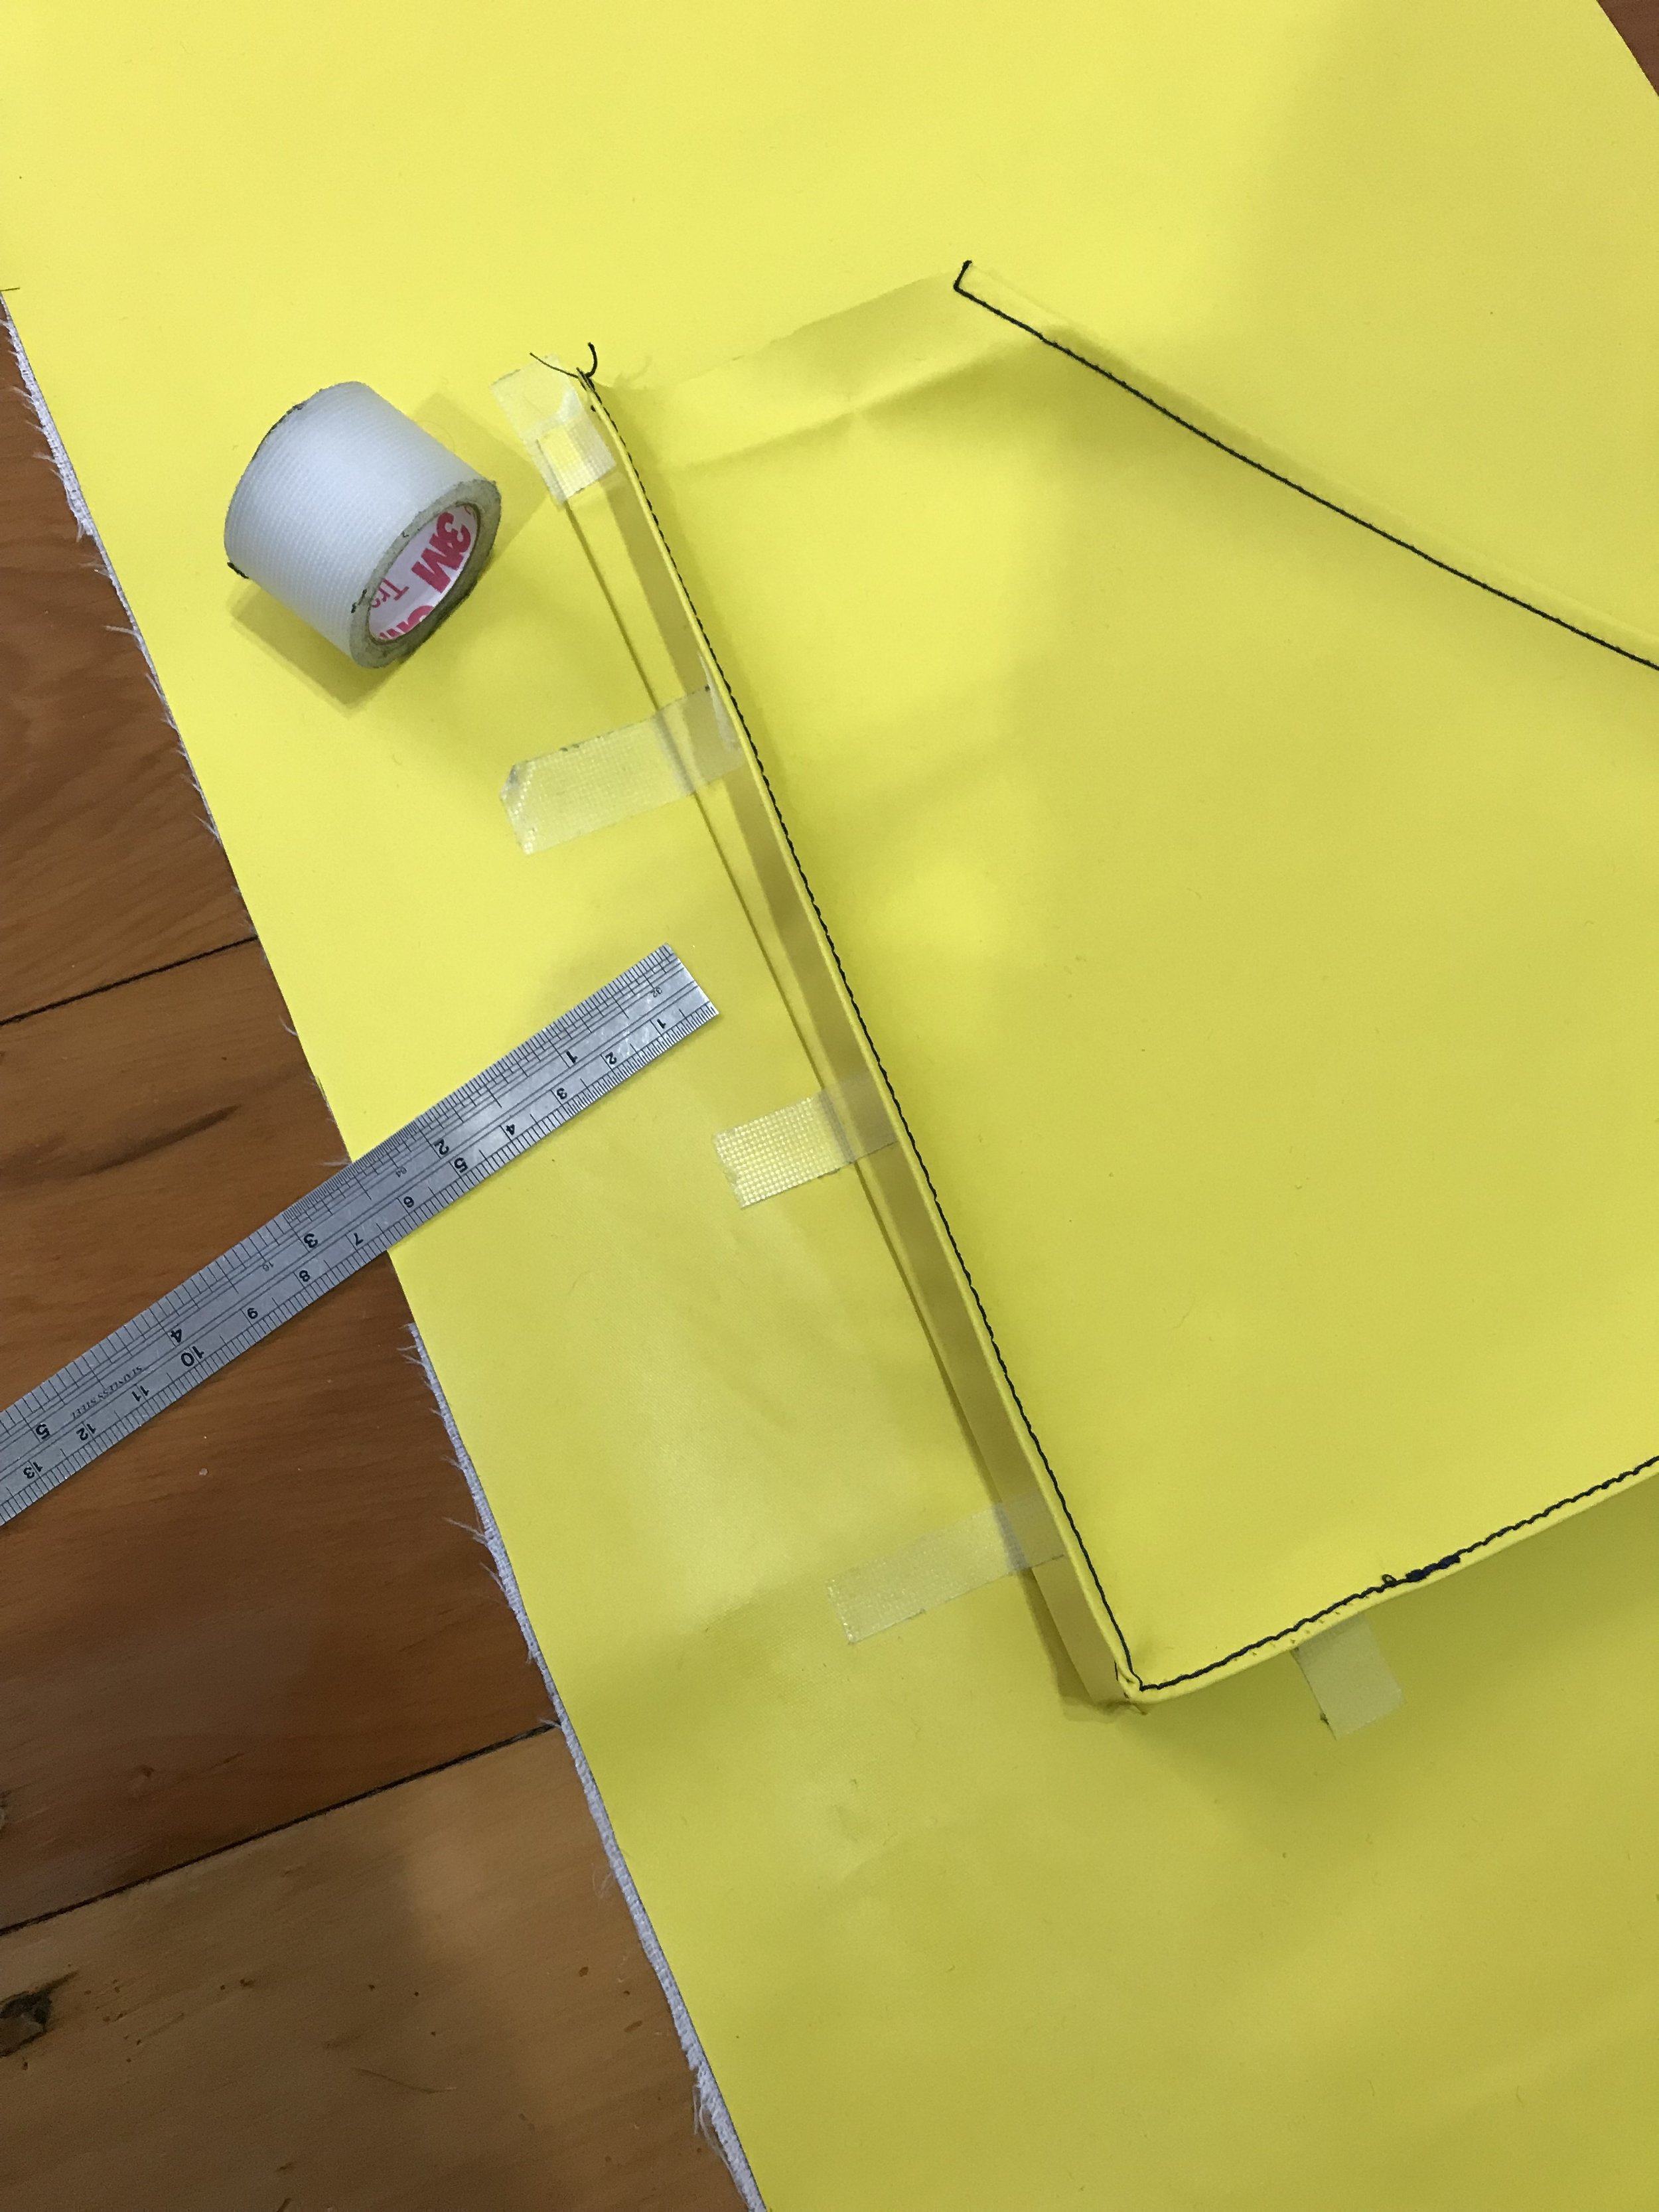
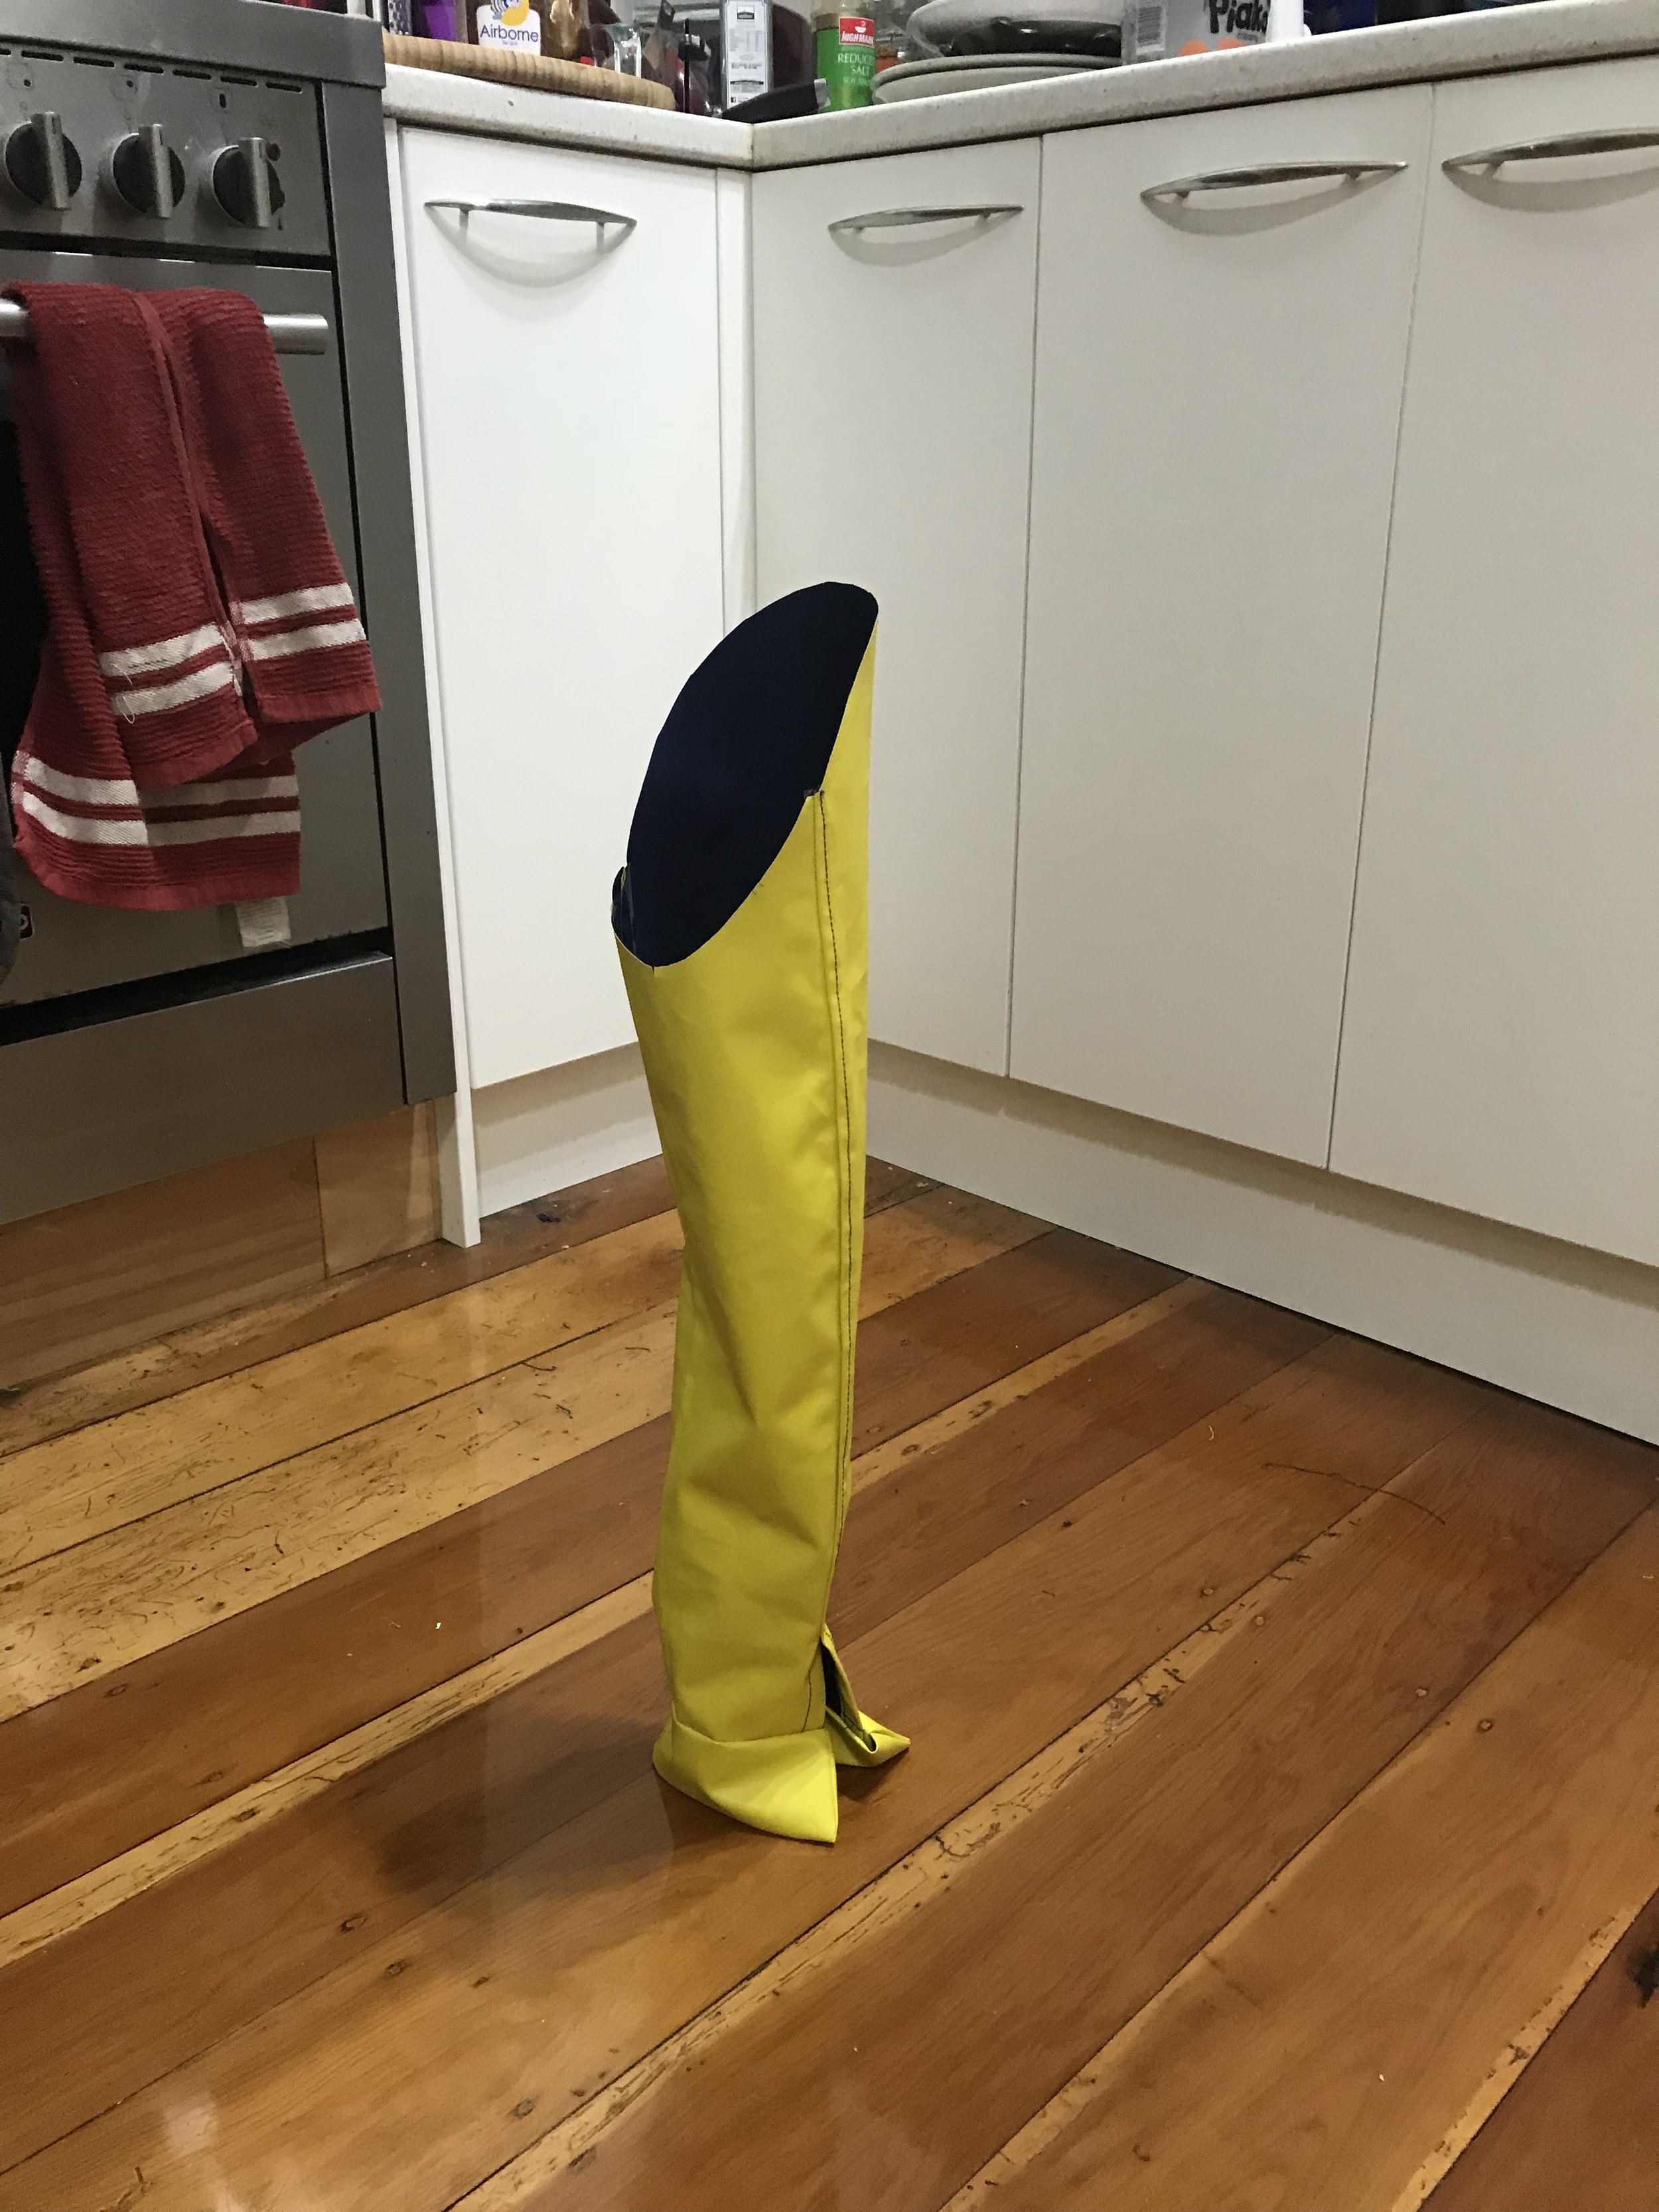
It should be noted that the sleeve is so stiff that it stands completely upright when you place the cuff on the floor. Delirious Midnight Kat thought that was pretty stinkin' hilarious, so here's a photo:
Don't get me wrong, I'm really happy with the finished object. I loved the pattern before I made it and I've already got some (normal) fabric lined up for a second version, but honestly, I don't think I'll ever find the motivation to make another project with fabric like this. At some point during the process (was it the eighth time I tried to topstitch the zipper? Or maybe when I got so tired of restitching to get rid of a particular section of bobbin rats' nests that I just sealed the entire area with seam tape and hid it under the facing) - anyways. At some point, the project shifted from a joyful pursuit of nostalgia to rage-sewing fueled by a singular stubbornness and an unwillingness to be beaten by a synthetic fabric. I'm thankful that I'm able to detach those feelings from the finished garment (which, yes, is almost exactly how I pictured it.. could have lengthened the sleeves another 1/2" but I'm not sad..). It would appear that the only thing I'm harboring resentment towards is the leftover fabric, which I initially had slated for a kid's sized rain jacket for a small friend who calls me "Meow" but I'm now tempted to host a bonfire instead.

If you'd like to make a Kelly Raincoat, I fully support that plan - the seam tape is awesome, not hard to apply, and it definitely makes you feel like a little bit of a wizard to watch that water just roll off your clothes, but if you value your sanity please choose Dintex, Goretex, or even some manner of waterproofed nylon for your jacket. Your machine (and your fingers) will thank you. Also, you'll want the mini-iron as well as either a tailor's ham or a rolled up towel so that you can get good adhesion when you press the seam tape on over curves (like those sleeve caps... aka the devil...)

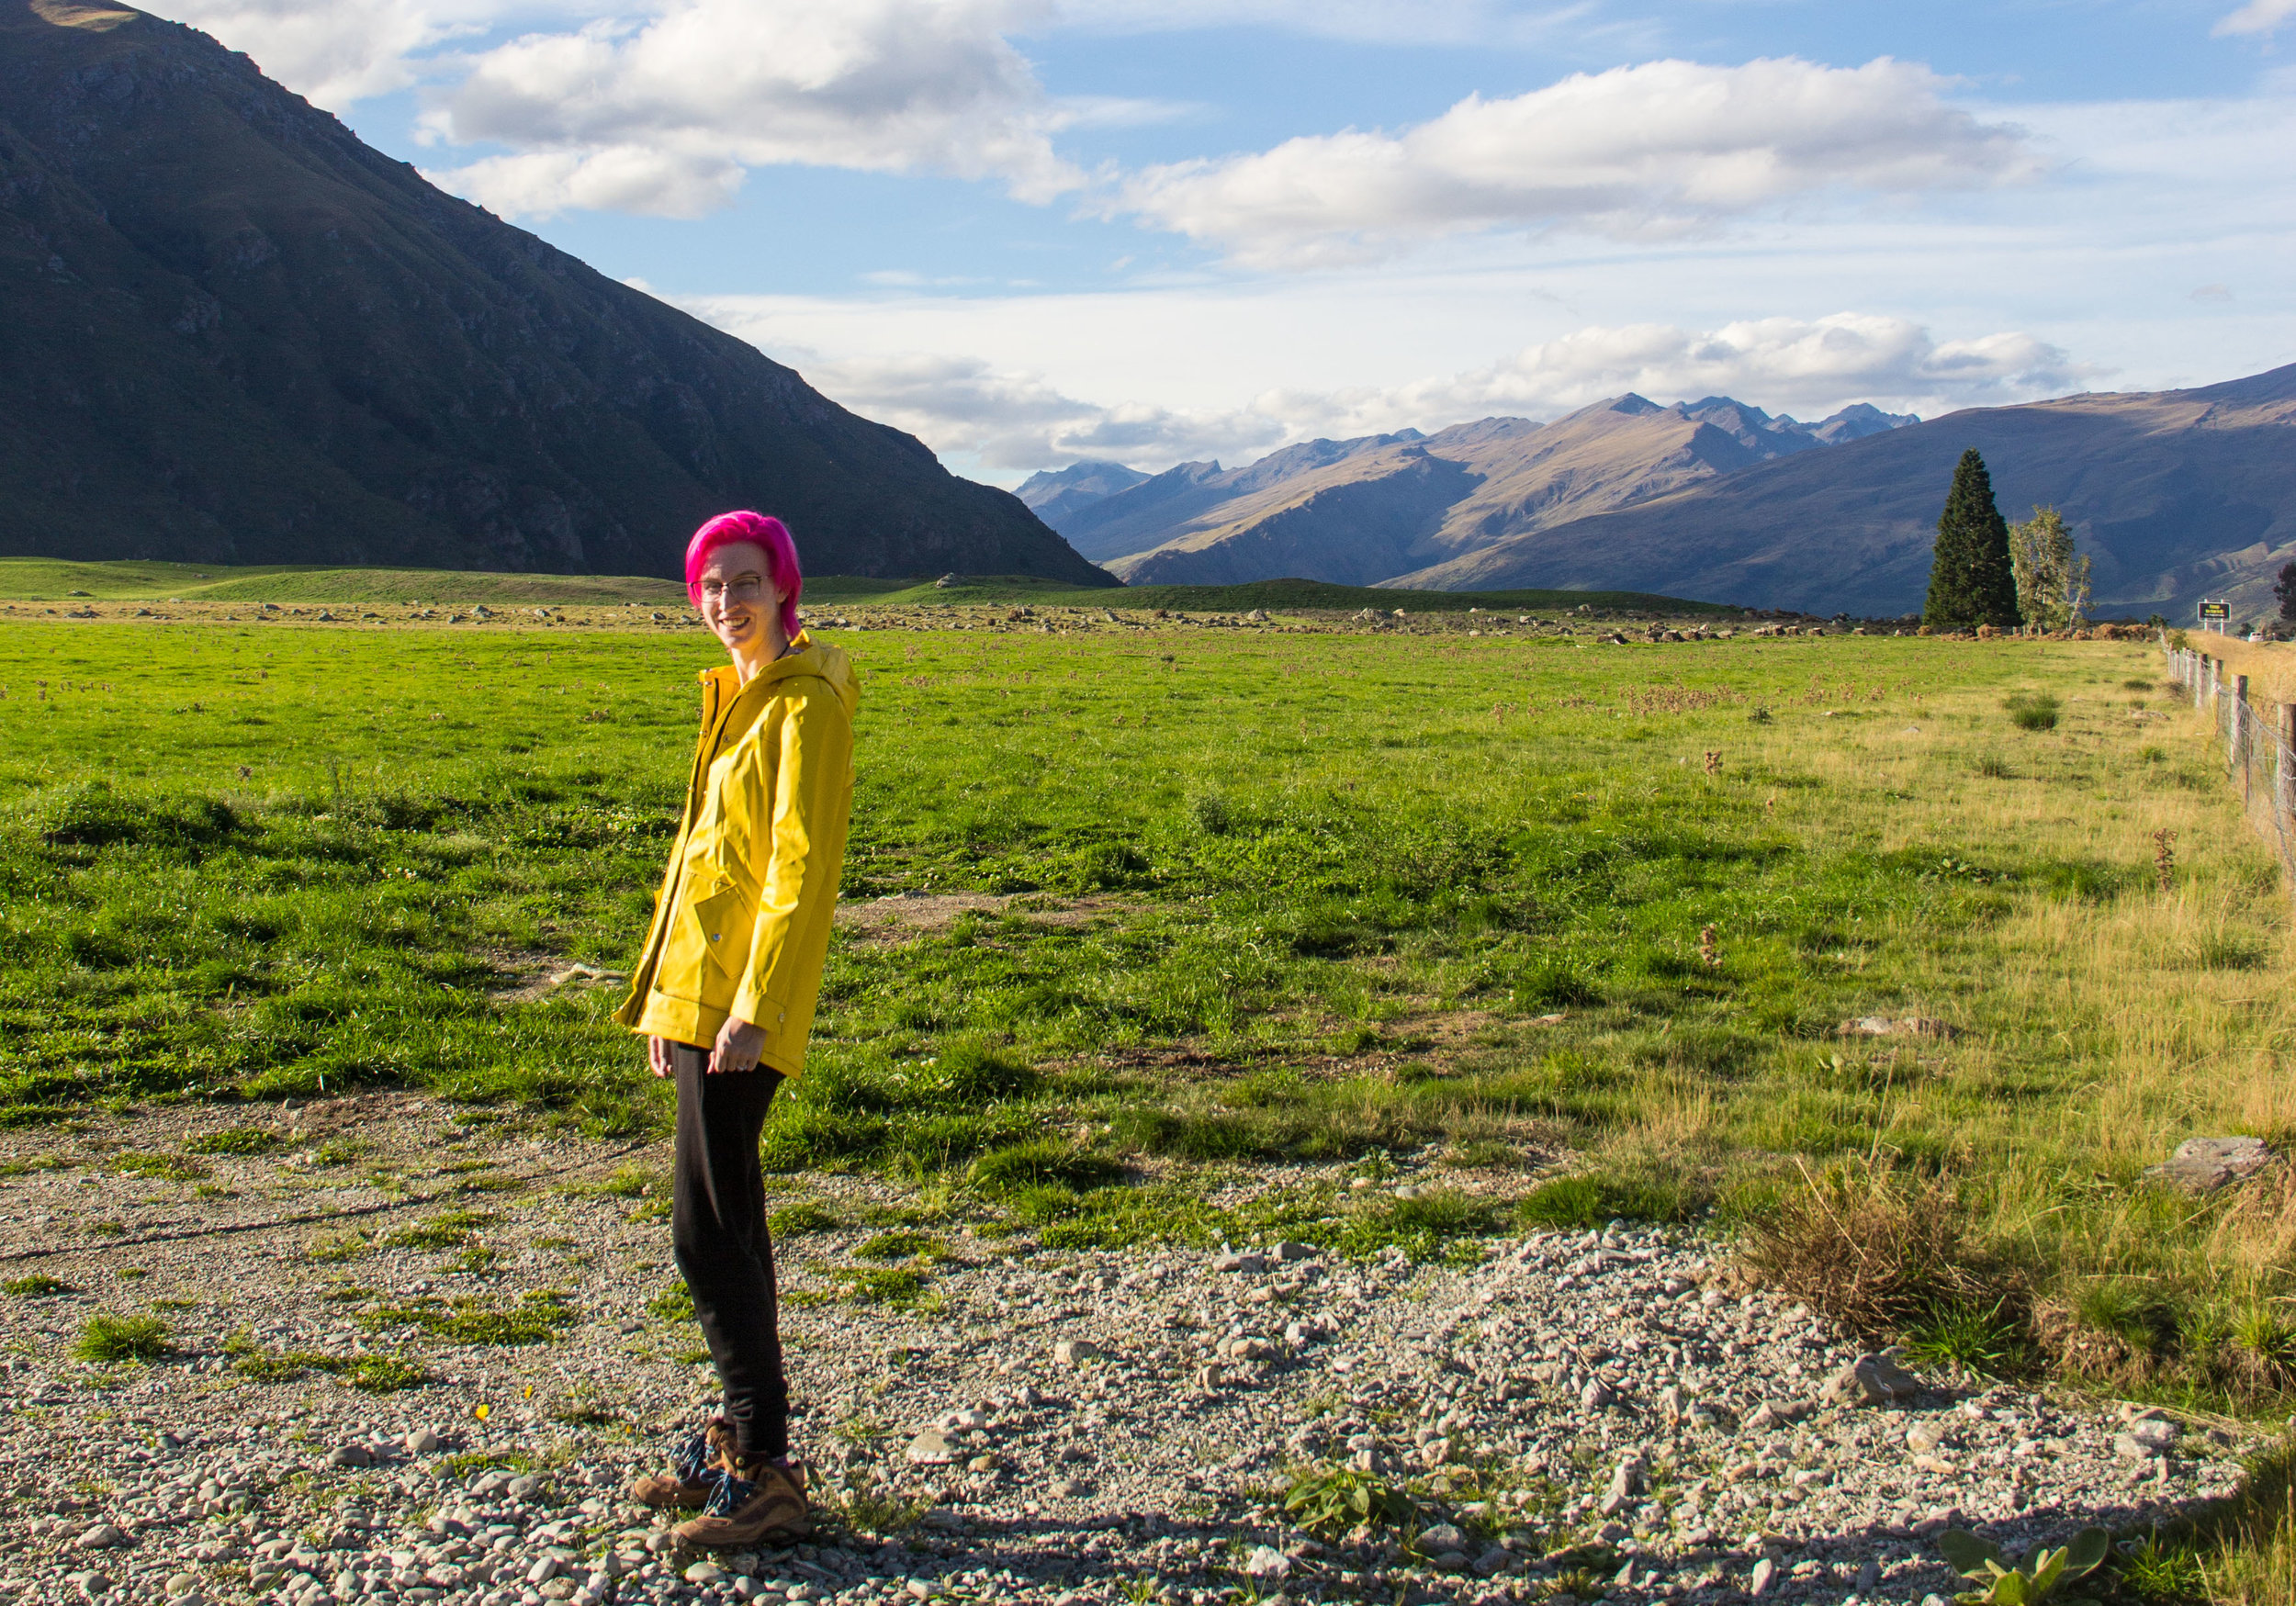
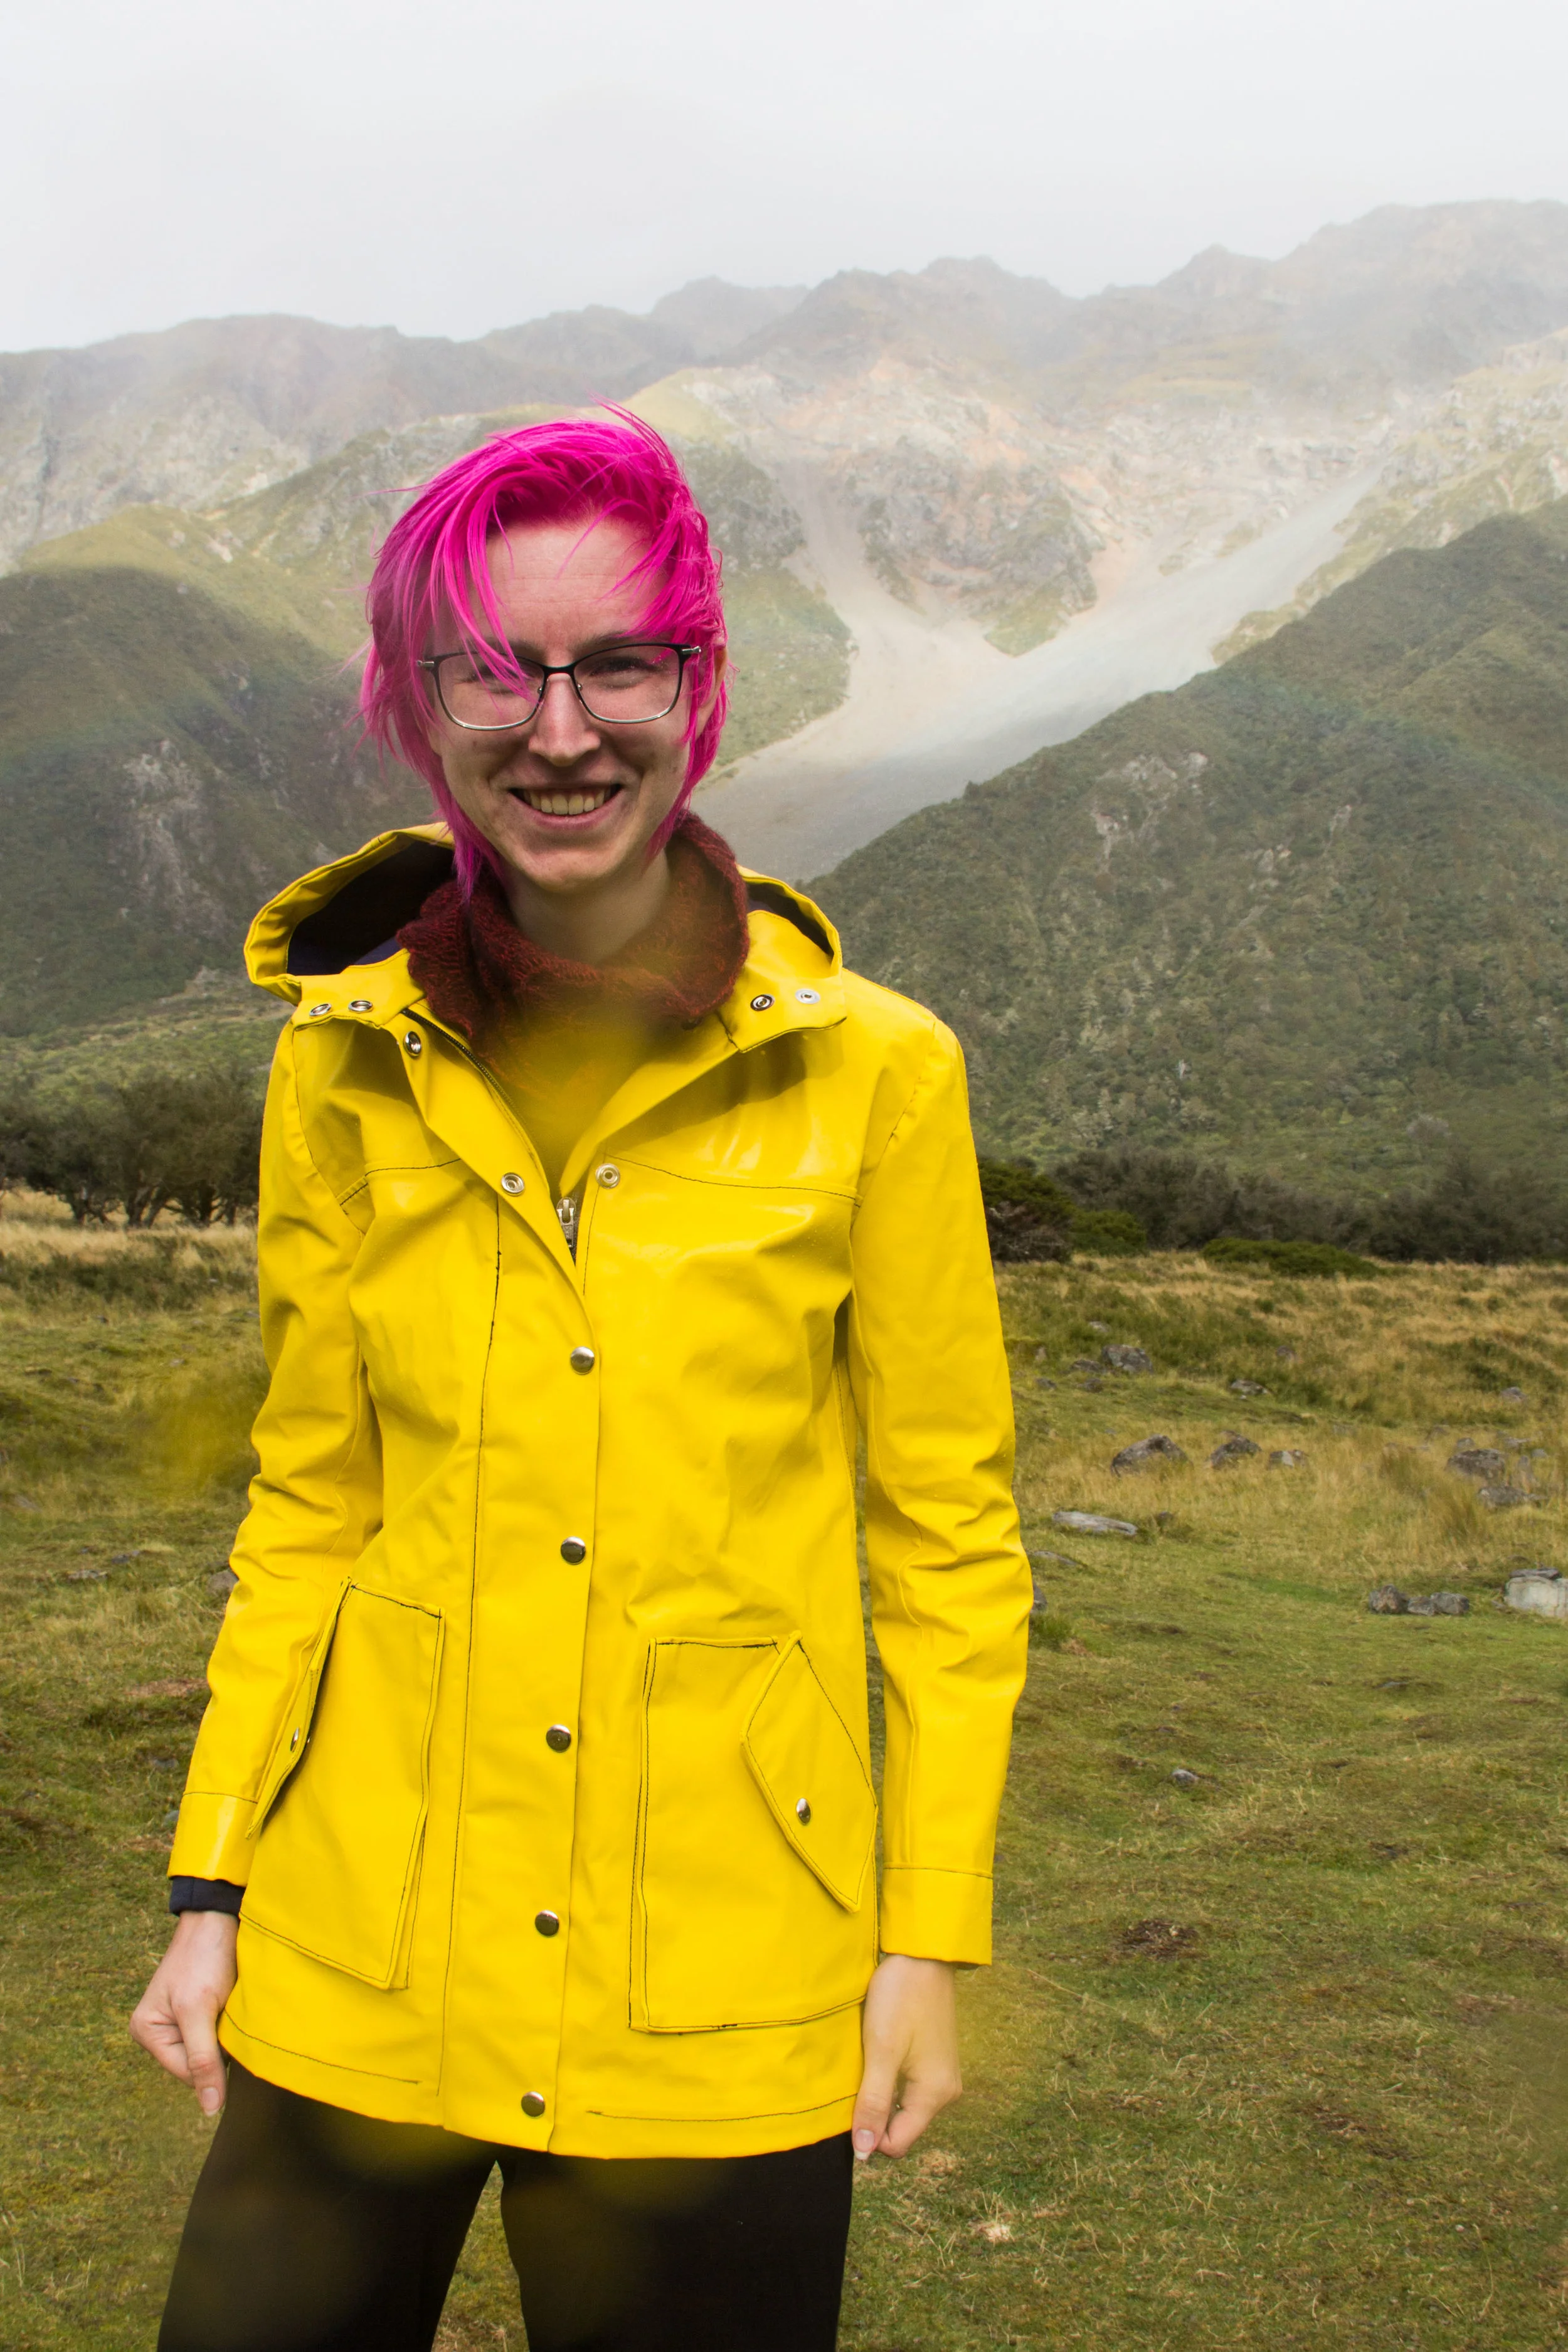
I finished my raincoat a few days before spending the long weekend in Queenstown with my sister (in a terrifyingly old and tall campervan) and let me tell you, I packed light for the weekend but that rain jacket was the biggest thing in my bag! We spent the better part of five days running around all over the countryside, hiking, sight seeing, etc - and my rain jacket's shining moment came on the morning we were set to leave - we'd woken up at 4:30 to hike up to some glacial pools near Mt. Cook, and as we got back to our campsite it started raining and the most beautiful rainbow appeared in the valley! I made poor Lill jump out of the van and take photos of my jacket in the rain, but I think it was totally worth it! The backdrop almost upstages the coat... almost ;)

I'm used to working on 'difficult' projects and 'difficult' fabrics, but I don't think I've ever experienced something that went sideways in quite so many different directions as this one. When I was finished I was promising myself that I'd never work with a synthetic again EVER but now that a few weeks have passed I find myself cooling down. Some say insanity is trying the same thing over and over again and expecting different results: What can I say? I never promised to be sane.