
Questionable Karate Kid reference aside- one of my favorite parts of this new-found freedom I seemed to have developed (read: I had never realized how much creative energy school sucked out of me....) is the opportunity for new projects! Batiking, for those of you yet unaware, is a traditional Indonesian technique for creating colorful patterns on fabric using wax as a resist, and multiple layers of dye.I'd always wanted to try it, but hot wax kind of scares me a tiny bit, and I could never really think of a project I wanted to do badly enough to bother with buying all the supplies. However, once I came up with a project, I did a bit of research and it turns out the tools you need aren't all that expensive!

batiking fabric completed
I've so far spent two weekends batiking- It's kind of an all day affair because of the waiting time while fabric is dyeing, and then drying. I set myself up a nice little workstation (on my handy-dandy-all-purpose-worktable-that-is-mostly-for-screen-printing) and put on some tunes:
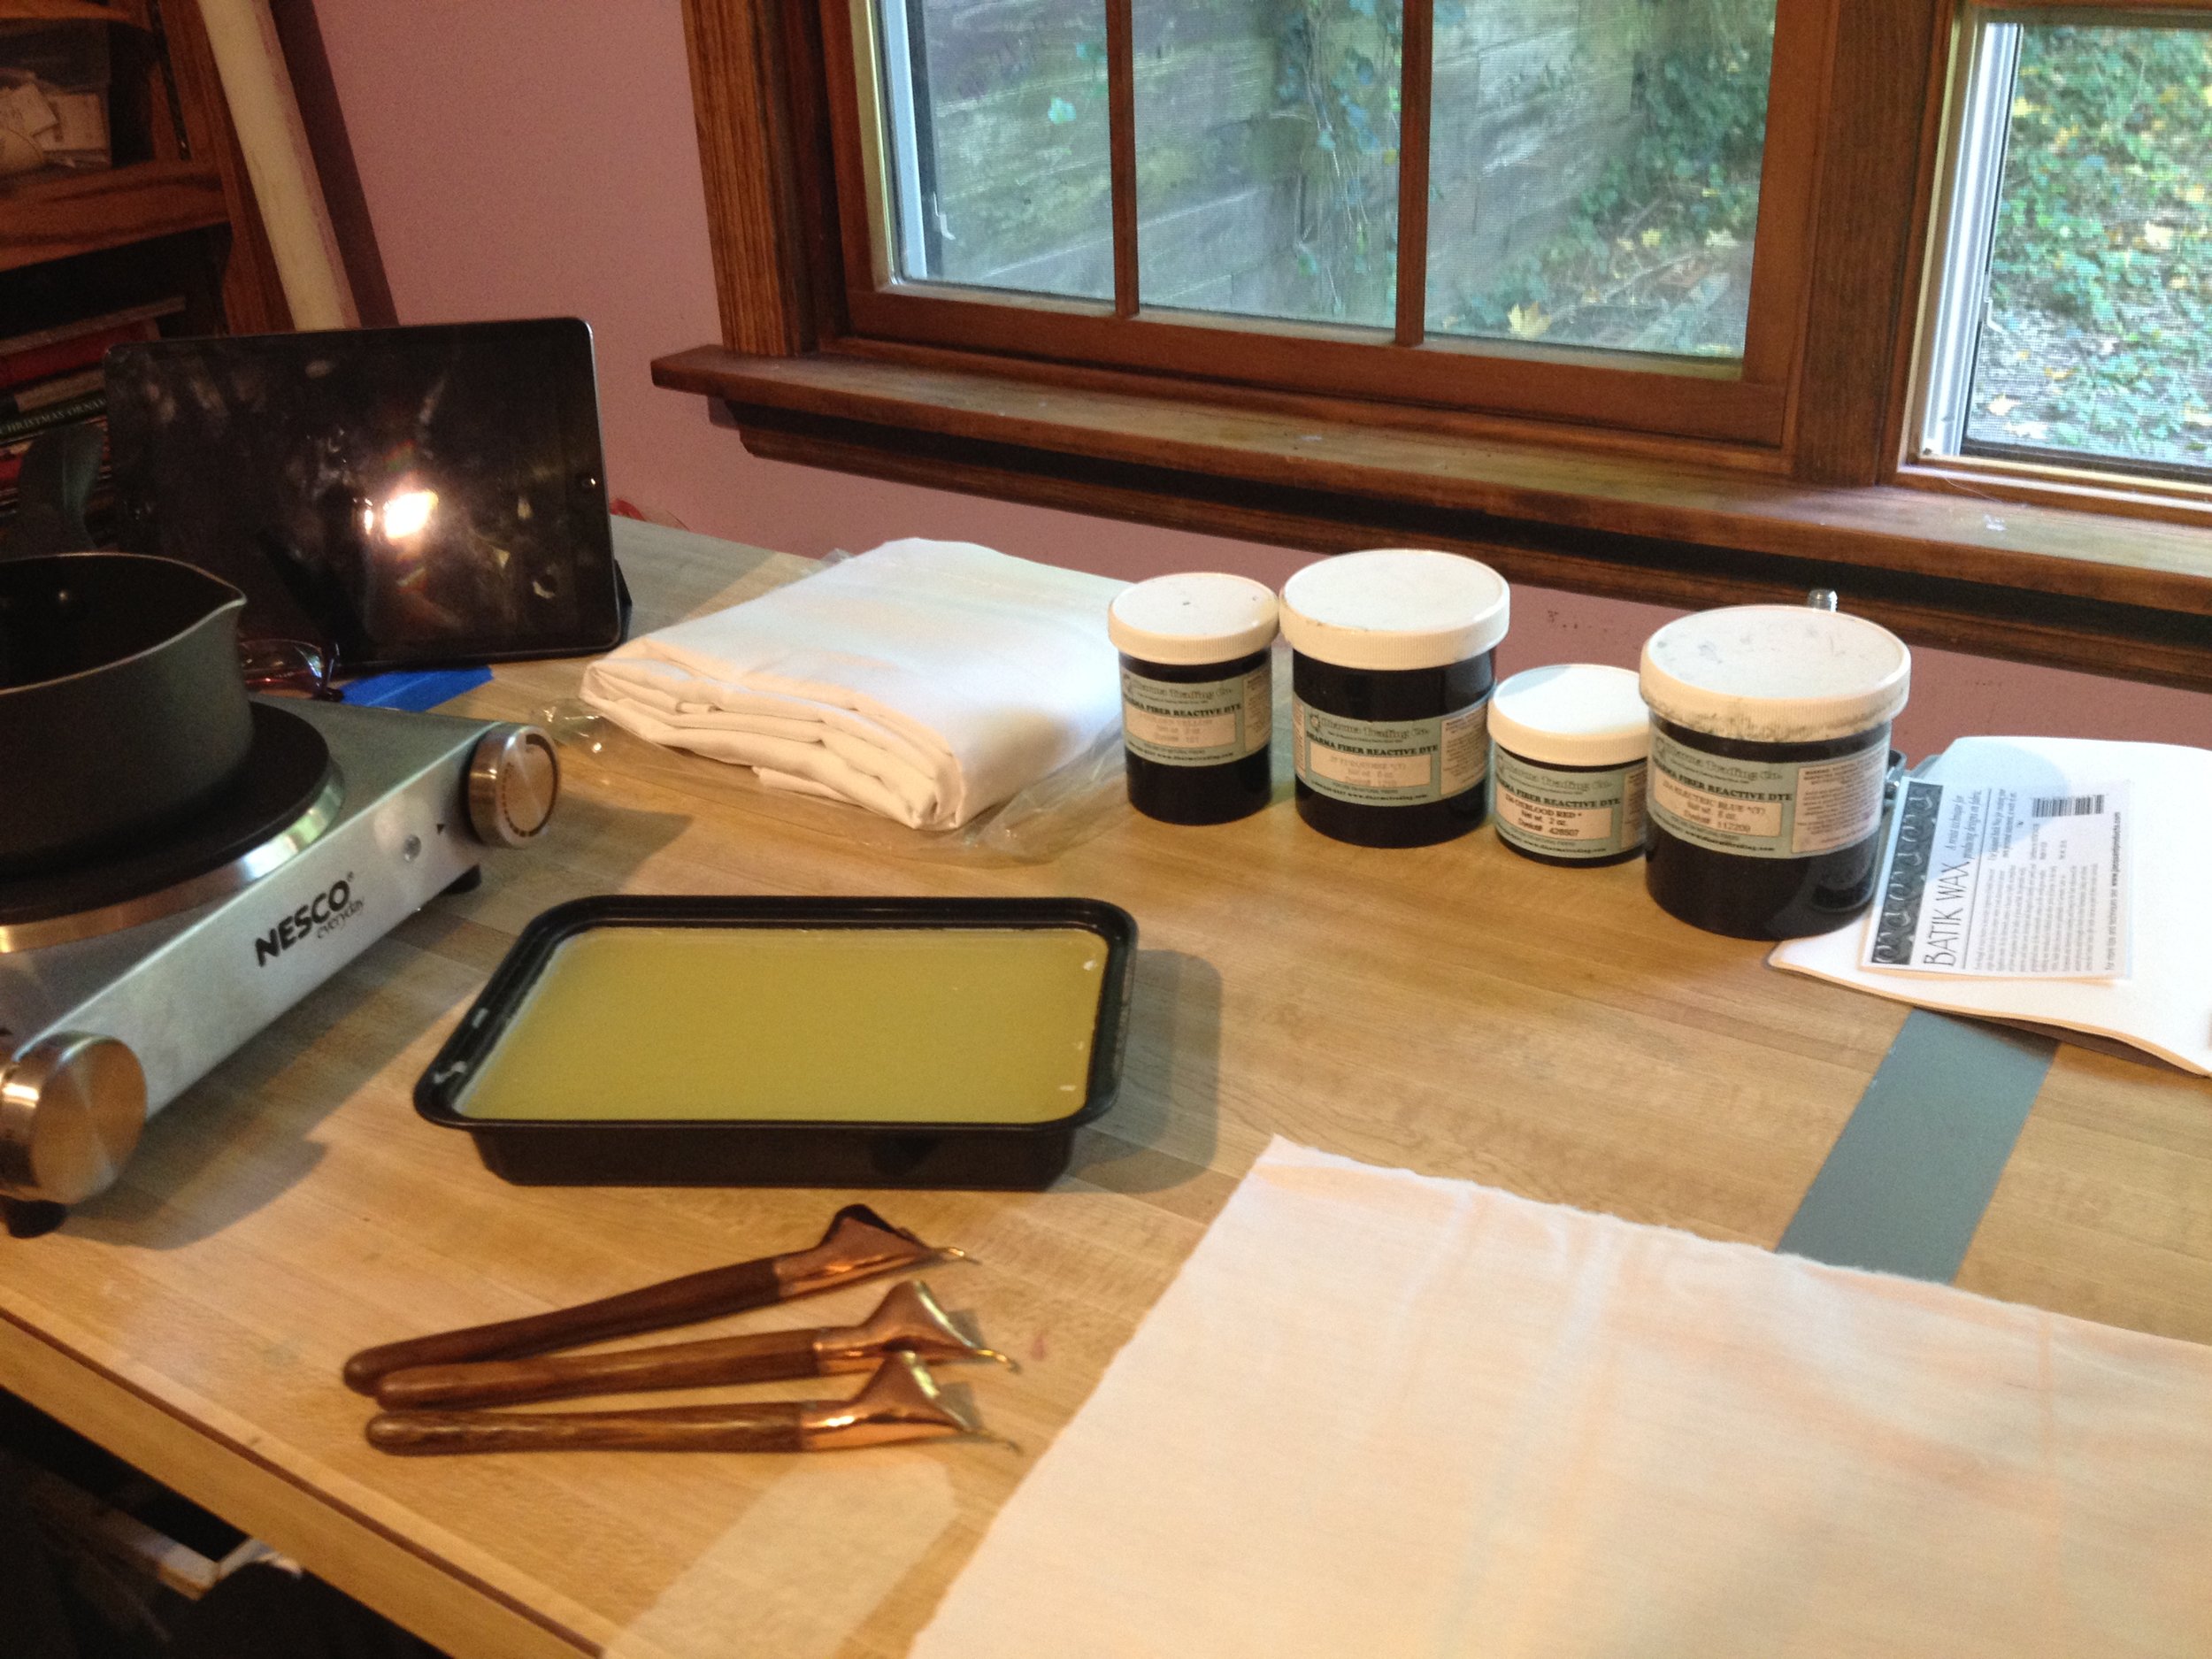
batiking supplies
The Supplies:
Test Fabric (I used some scraps of muslin I keep on hand for days like this)
Dye (Fiber Reactive dye. You can't use acid dye because the heat needed for that chemical process would melt the wax. sigh.)
Fabric (for your actual project! Stick to cellulose based fibers like cotton or rayon- not too delicate, and not too tightly woven, or the wax won't penetrate.)
Batiking Wax (a blend of paraffin and beeswax. It's available premixed, or you can buy them separately and mix them yourself!)
A wax melting pot (Not for food! choose one that's as small as you can find, but deep.)
An electric burner (for obvious, wax-melting purposes. With a fairly accurate adjustment knob)
A clip-on thermometer (of the non-digital variety)
Tjantings (the copper tools for drawing wax onto your fabric)
Large wax pot (Not for food! Your project must be able to swim freely in this pot)
Wax tongs (Also not for food!)
There! That's a start. We'll get to the why's of some of those specifications momentarily. None of it's very expensive- the most expensive item was the electric burner, which I found on amazon for $17, and which I can totally use for other things. It's handy. Even the Tjantings are hardly a budget breaker. I bought all my supplies at dharma which I love and would be nowhere without. Also, if you have questions about anything fabric-related, the nice people at Dharma will probably know the answers.
Here's a closeup of the tjantings- I bought three different sizes- the holes in their spouts are different sizes so the molten wax will come out at different speeds, allowing for thicker and thinner lines. That said, I definitely used the thinnest one about 95% of the time, after I played with the three to get a feel for them. The largest one deposited so much wax so quickly that it dripped through the fabric straight down onto my hands, which was fairly unpleasant. Wax at this temperature will probably hurt a bit if it drips on you, but it shouldn't burn or blister. It's about the same as a low-temp hot glue gun. I'm a bit more sensitive to temperature extremes than most people, so I was careful. That one's best used for thicker fabric, I suppose.
Don't stick your fingers in the wax pot. Did your mother teach you nothing as a child?

tjantings for batiking in three sizes
Wax On:
As to how one physically goes about the task, there are a few ways to do it. A lot of tutorials I found have you pin the fabric so that it's suspended above your workspace, but if you look at most videos of batiking on YouTube, they'll just be holding the fabric in their hands, suspended using their fingertips underneath and drawing lightly from the top with the Tjanting. Tjaps (the copper stamps used to make repeating and intricate patterns for batiking) are a different story that I'm not talking about because Tjaps really are out of my price range. By a lot. Which is unfortunate given how beautiful they are.
When starting to draw in each color, or when switching tools, hold the Tjanting's head submerged in the wax for a few minutes so that the copper can heat up; your wax will flow more easily that way, and you'll be able to draw for longer without a refill. Anyways- this is how I ended up holding my Tjanting- you, should you choose to batik as well- should obviously play around with it and decide what works for you. Especially if you're a leftie.

tjanting proper holding technique
The wax burns at 245 degrees (Farenheit!)- and the internet tells me that it erupts violently in flames and is very difficult to put out once it ignites. This is why you need a thermometer and a burner with a fairly accurate adjustment knob. You need your wax to be around 23o in order to be hot enough to flow easily, but don't let it get above 240! Also, don't put water on a wax fire- use baking soda to extinguish infernos.
Now that we've gotten through the setup, the rest of it is pretty straightforward. Draw on your white fabric, with the wax, in whatever areas you would like to be white. Then, pop that sucker into a dye solution (cold water only, or you'll melt the wax!) If you're using a soda ash solution, which you should be if you're using fiber reactive dyes, you'll want to make sure to take your fabric out after no more than 30 minutes, because the soda ash has a nasty habit of eating away at the wax.

batik in progress
Rinse (literally) and repeat: Draw more wax in the areas you want to remain that color, dye, rinse, draw... you get the picture.... The most awful part of the process is waiting while the fabric is in the dye bath, and waiting for it to air dry once it's out (Can't put waxy fabric into mom's dryer. Would probably be disowned...or yelled at...)
In the above photo, you can kind of see the cracking in the waxed areas where the darker colors are coming through. That's because of the wax mixture. Beeswax is very flexible at room temperature, but it gets gummy really quickly on its own. Parrafin wax is very flaky, and also doesn't adhere well alone. The combination of the two produces the crackling, while still keeping the wax adhered. People who do this a lot make their own mixtures with more of one or the other, depending on how much or little crackling they wish to occur. I happen to really like it just how it is, so I'll keep on keepin' on with my 50-50 blend.

batik project in dye bath
Eventually, you'll either fill up your fabric with wax or run out of darker colors to dye your fabric. If you haven't already, you're probably wondering how to get all that wax out of there.
batik example fabric
Wax Off:
This is why I said not to choose anything delicate. The definition of that, in this case, is don't choose anything that wouldn't like to be boiled- because that's how you get the wax out. I found my pot at goodwill for $4.50- it's a canning pot, and will be just large enough for my dress when it's time to make that.
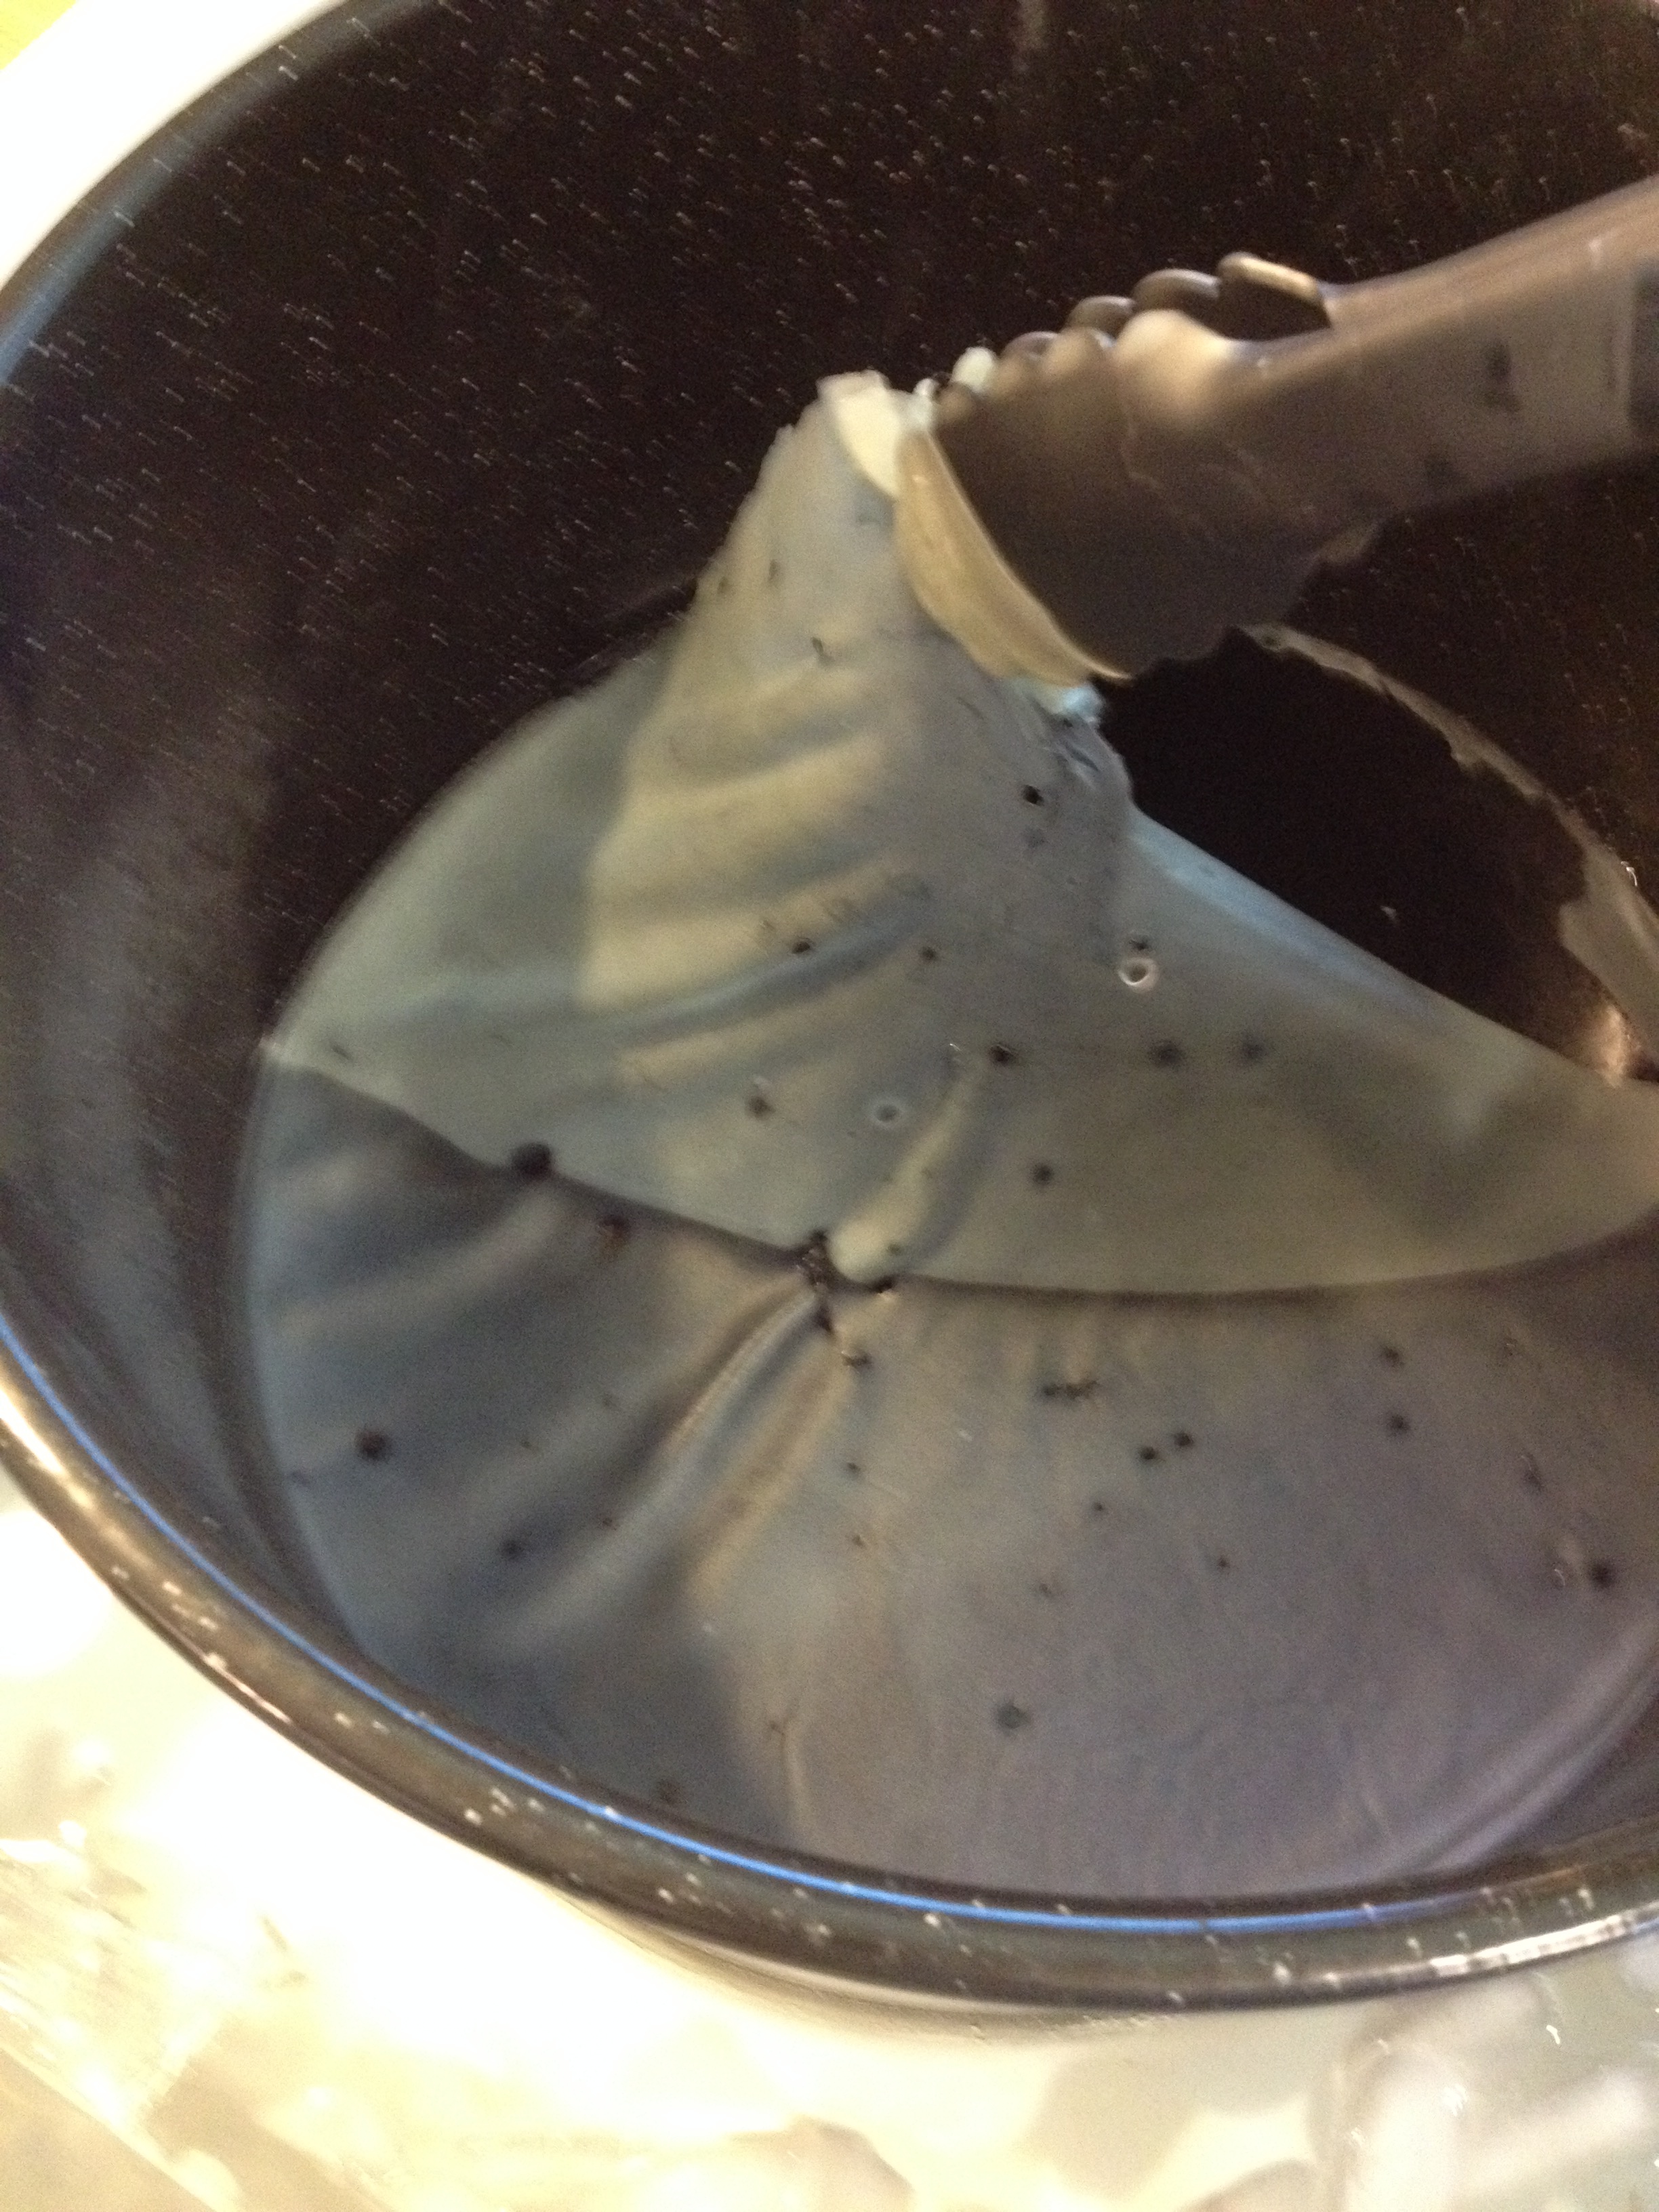
This is a pretty fun part of the process- you fill the pot with enough water that your fabric is completely submerged (the more wiggle room the better), and boil the living daylights out of it. I don't mean just bring that pot to boiling and then shut the stove off, you have to boil it and agitate it while you're boiling it for a good 10 or 15 minutes, so that all the fabric that is caught in the folds of the fabric is dislodged and melted. Then, take your pot off the heat, and use your tongs to carefully drop some stones into the pot. These will weight down the fabric so it doesn't float up and touch the wax layer while it's cooling. I used some smooth river rocks that I stole from the garden in our front yard. If you get rocks from outside, give them a good scrubbing first, your fabric will thank you. You could also use any other object as a weight, as long as it's heavy and rust-proof.
The wax will cool in a skin on the top of the water (Science!) and the fabric will remain safe and wax-free underneath. Now, you have to wait for the pot to cool entirely....

batiking wax pot cooling
Impatiences sparks ingenuity- I didn't want to wait for it so I filled the sink with cold water and ice cubes so that the water inside the pot would cool faster. After you're sure it's completely cool (this next part won't work if it's not) it' time to remove the wax. Take your wax-only tongs, and pinch the wax at one side of the pot, pulling up and around slowly. This bit reminded me of peeling Elmer's glue off my fingers- it comes off like a layer of skin. there may be some pieces stuck in a ring around the pot, but that's okay, The water is cool so the wax can touch the fabric without anything bad happening.
wax removal from batiking pot
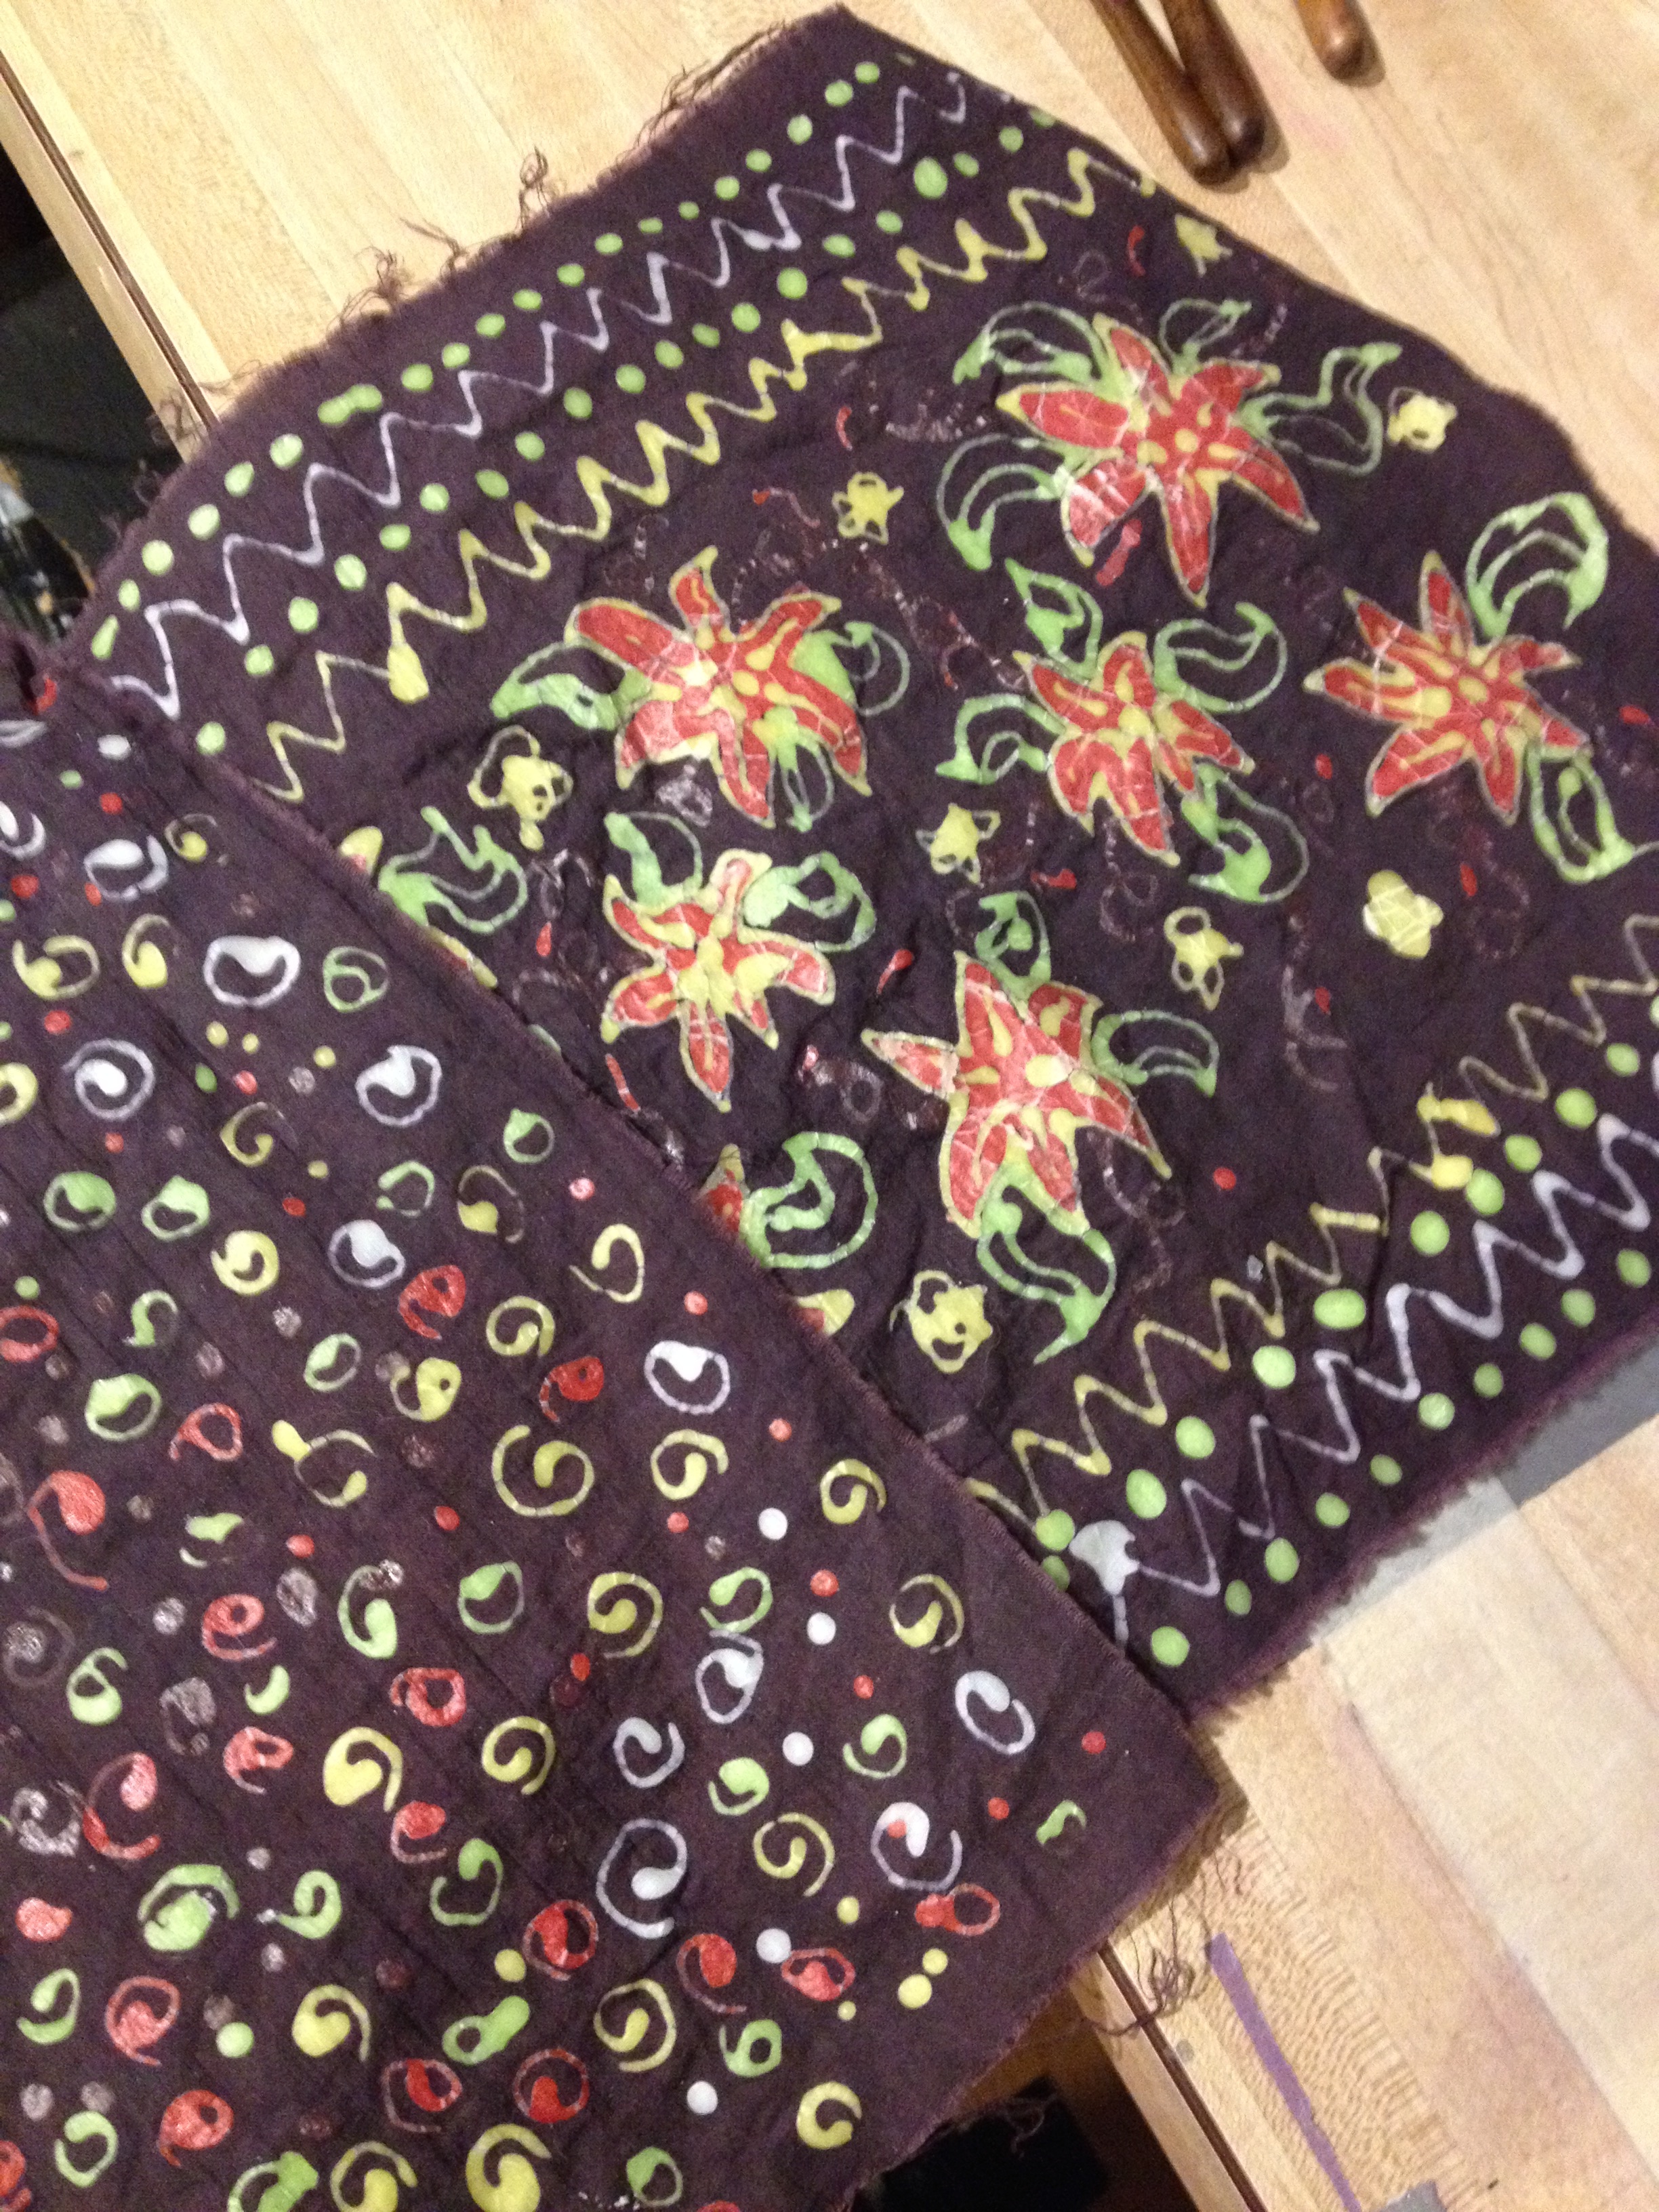
Put the wax on a paper towel to dry- the great thing about Batiking is that there's very little waste! After you're sure there are no more water droplets adhering to your wax, you can drop it back into your small wax pot and use it again! Then, get your stones out of the bottom of the pot so they don't scratch it, pour the fabric out, and give it a good washing. If you can still see spots of wax, you didn't boil it for long enough. and Voila! your batik project is complete!

finished batik sampler
After the test swatches, I made a head scarf using some of the rayon fabric I'm eventually going to make my dress out of, so that I could make sure it handled the dye adequately.

batik headscarf in progress
It dyed a little lighter than I was anticipating, and it seems like a lot of batikers have this problem. If you want to get dark colors, especially after multiple previous layers of dye have gone into the fabric, try some of Dharma's after-soak. Basically, it sets some of the dye that's still bonded to the water in your dye bath to the fabric,and you end up with richer, darker shades without having to soak for longer and risk having your soda ash dissolve the wax.

batik headscarf in progress
After the batiking was done, all I had to do was hemstitch the edges and I had a brand new handmade headscarf! I'm so looking forward to this dress....

headscarf selfie
There are a lot of applications for wax-resist color techniques- I sort of thought the most popular was batiking but that idea bubble was popped as soon as I started telling my friends what my plans were that weekend: "I'm Batiking!"... "You're what?"... "Batiking!"... "That's not a real word. You made that word up. What is that?"
Indonesia uses wax resist for batiking, the Ukraine uses it to make multicolored and beautiful eggs called Pysanki- something we used to do around Easter every year as a family before we ran away to college. China uses something called Guetta in place of wax to draw on silk, because part of the silk dyeing process involves very hot water (wax is no good melted!) There are some countries in Africa that do something very similar to batiking, but with different designs and usually earth tone colors.
This project was an incredibly good time, and I'm excited about more like it in the future. As far as I'm concerned, it doesn't particularly matter what I'm doing but I'm happiest if I can learn something from it.