When I was coming up up with the new name for my website/blog/small plot of land in the world wide interwebs, my biggest concern was avoiding shoehorning myself into one particular genre. I do spend the majority of my time sewing, but wouldn't be fair to all the other cool, crafty pursuits I enjoy to leave it at that. I think that's what I like so much about "Kat Makes" as a name. It's me, making stuff. That's what I do, I make stuff.
That said, the majority of this blog is still sewing-based, so I always feel a little weird talking about non-sewing projects on the blog. (I made a fun batch of baked cinnamon-apple doughnuts last weekend but I'm not about to blog about that... I'm also working on a jewellry organizer made from driftwood and sea glass I found on a beach last summer... does that get blogged about?). The other thing that makes me feel a bit weird is talking about my Etsy shop on this platform. The purpose of the blog is not to sell you knitting bags, but hey - I spend kind of a lot of time thinking about and making knitting bags, so I guess they're bound to come up eventually. I posted on Instagram a few weeks ago, asking if anyone would be interested in reading a blog post about how I've set up my screen printing operation and the answer was a resounding yes - so buckle your seat belts and let's do this thing! (is that weird? I'm not sorry...)

I'm going to squeeze what could be a novel of a backstory into four sentences here, so that you understand what's going on. A few years ago, I built a screen printing studio in my basement bedroom at parent's house, including an exposure unit that rolled out from under the bed. I used it to start my Etsy shop the summer before I graduated from college. Then, I had the typical "I don't wanna grow up" college crisis, decided to work at a summer camp, met a cute kiwi boy, followed him back to New Zealand, and now we're engaged. I couldn't bring my screen printing supplies with me because they didn't fit in my suitcase.

My 'final project' as a printmaking student was self directed, so I created a setup that allowed me to create repeating printed yardages in a small, accessible way.

A filter-happy Instagram photo (from the early days) showing my completed yardages.
It had been about two and a half years since the last time I screen printed, and - in much the same way I feel lost when I haven't knit or sewn in a while - I'd missed it. I never meant to stop for so long, but if you've ever been inside our house you'd know that I'm not exaggerating when I say there's no room for some hobbies. I knew if I wanted to print again, I'd have to do it on a small and easy-to-stash scale. But I did want to print again.

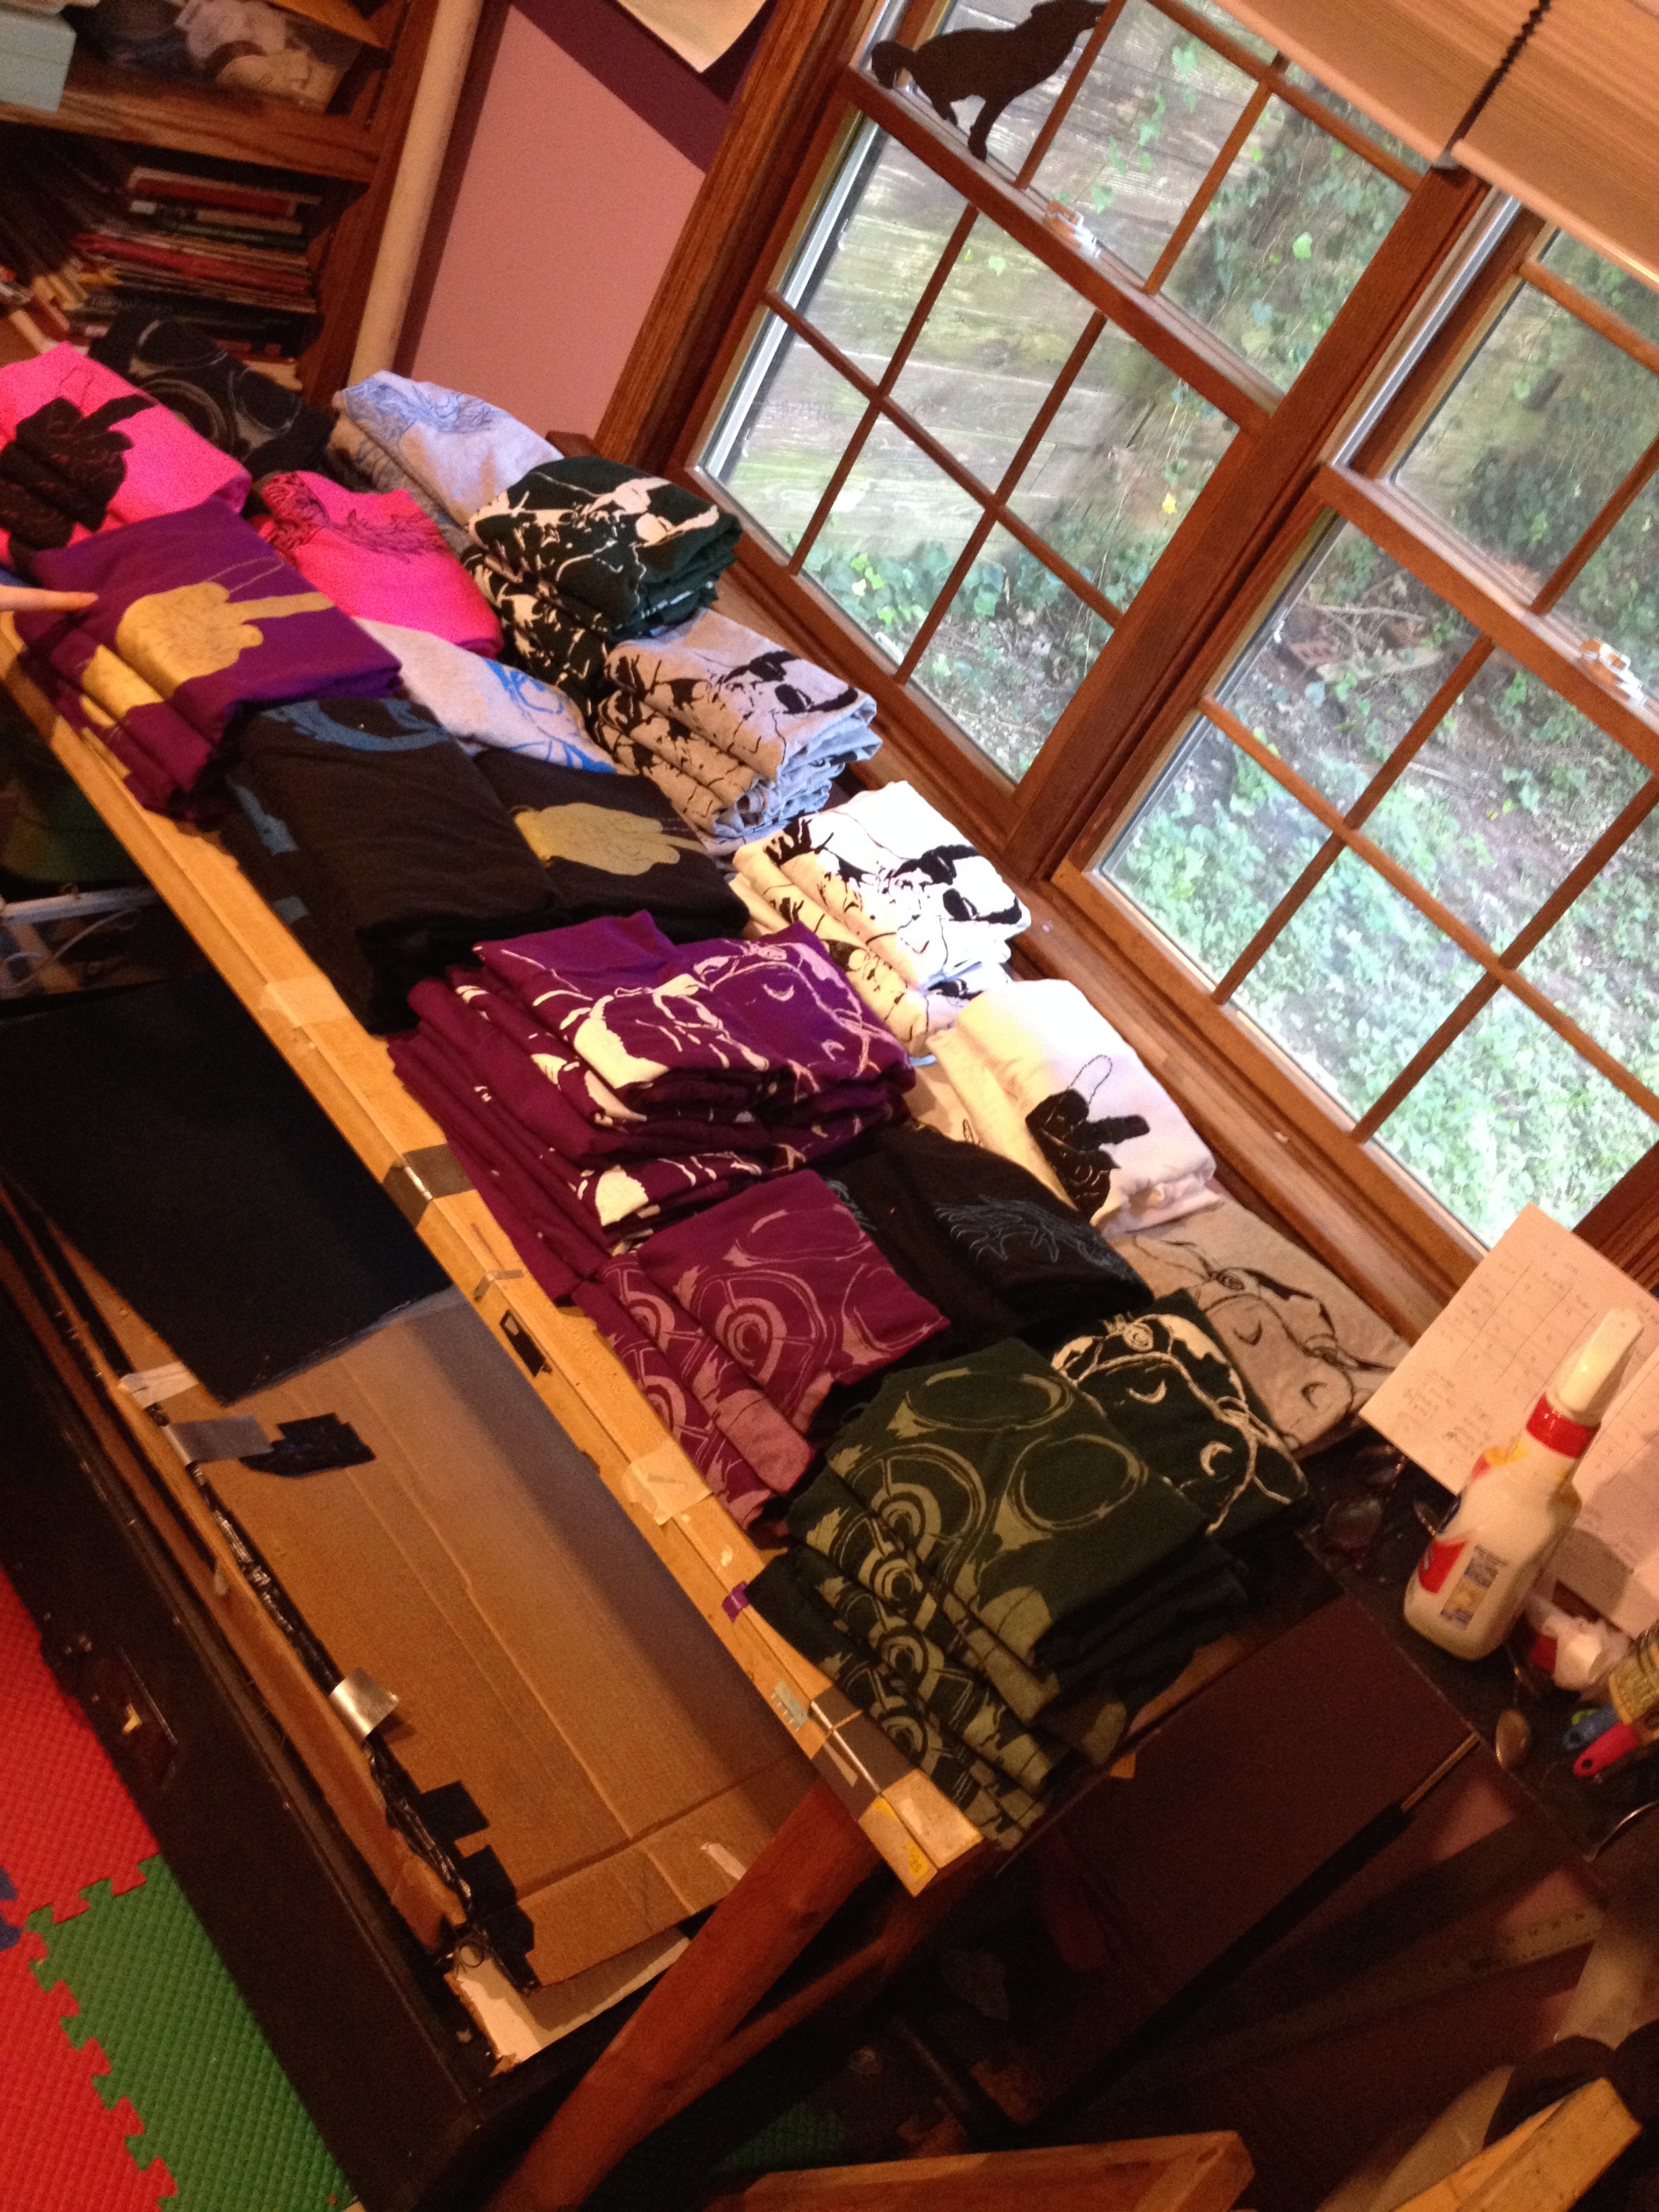
Screen printing a batch of t-shirts for a local shop in my old studio.. This was after we took the bed out of my bedroom, but the exposure unit is the black box under the table - you can see one of its castor wheels poking out by my right foot.
Here's what I came up with.
Most screen printing operations use photo emulsion to 'burn' an image onto a screen. It's a very fun process but it takes a lot of time/effort/space/chemicals - if you want to know more about that, this is a good place to start. We're not going to get nearly so technical today, though.

One of my KatKnits designs burned into a screen with photo emulsion - ready for printing.
The thing is, a screen is basically a stencil, right? There are a lot of different ways to block out some areas but keep other areas open - it's just a matter of deciding what's going to be the easiest and most effective for your project. I'd heard whisperings across the internet that it's possible to achieve a good print with a vinyl cutout, but - as a person who does not have a vinyl cutting machine - I hadn't done much with it. That said, screen printing with a vinyl stencil would mean I could cut the amount of equipment required down to less than half, and it also completely eliminates the need for a darkroom which is good because when you shop for a tiny apartment, the more windows the better. It also means the down-the-drain chemicals involved are now only dish soap and leftover ink.
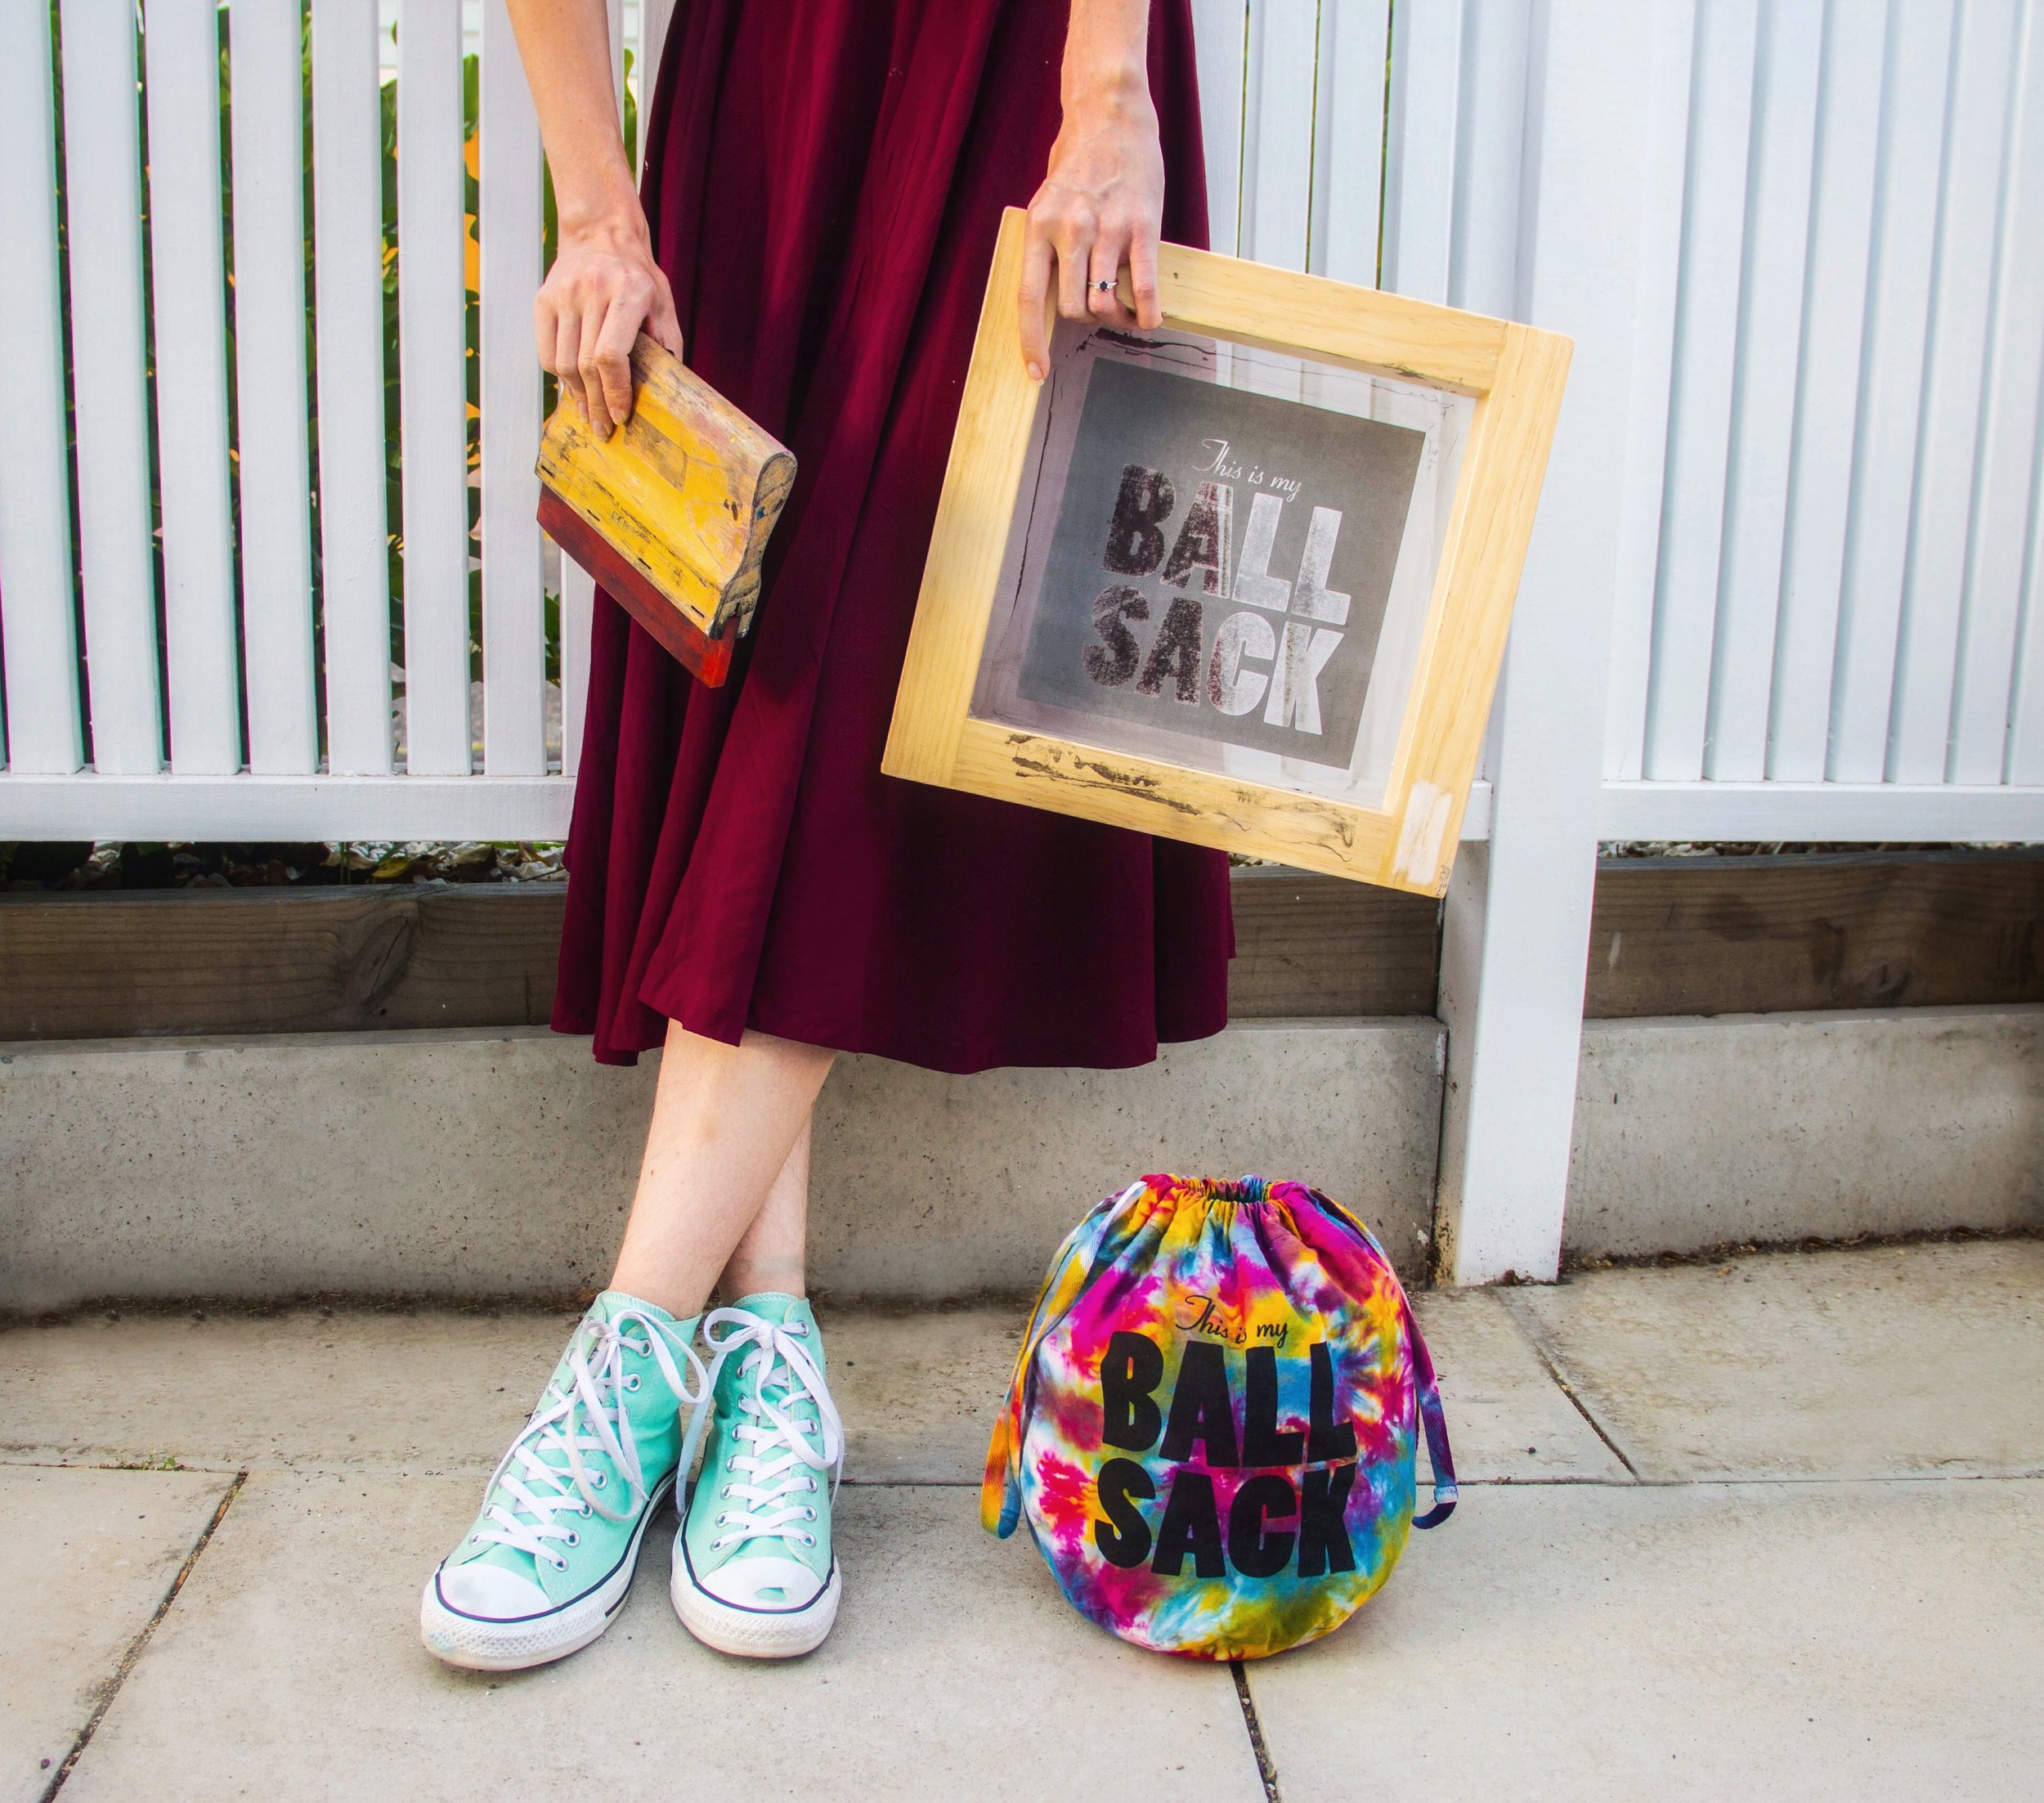
I had to try, right? I was running low on the stash of knitting bags for my Etsy store that I'd printed before I left home, and I didn't want to lose the Etsy store - I've met so many cool people through it! I love seeing pictures of my knitting bags popping up all over the world! Specifically - and you know you're here for the humor so laugh away - I was running out of Ball Sacks. (Ever had to explain to the nice man at the hardware store what sort of project you're working on?)
I sent my design off to Kyle at Custom Stickers here in Auckland to be cut in vinyl, and I think by the end of our email exchange we were both on an equal level as far as excitement about my screen printing experiment was concerned (his words were "super amped" and I was doing that thing with the bouncing foot, waiting for my stencils to arrive in the mail. This was the first point in the process where I really thought this crazy idea might actually work). I requested "Outdoor Vinyl" - a better level of adhesion to make sure the stencil stays stuck to the screen - something to keep in mind if you're after some vinyl cutouts of your own.
My screen fabric is a 10xx multifilament from Dick Blick in the US (I brought it with me, rolled up in my suitcase). I find multifilaments are best for printing on fabric or anything with a texture - if you're printing posters, monofilament is the way to go. The number refers to the density of the weave - they go from 8xx to 16xx. I've printed with 10's and 12's and prefer each for different things.
The nice man at the hardware store I mentioned above helped me find everything I needed to build a small screen - 2x2" or 5x5cm wood, staples, screws, sandpaper, a paintbrush, and the smallest jar of water based polyurethane available. Our neighbor, who is a furniture designer and has a little woodworking setup happening in the storage space under our shared rental house, helped me build the frame and stretch the screen. It's a simple build - you'll need to either have, or know someone who has - a saw to cut your frame pieces to length, a drill, and a staple gun (the squeeze kind, not the pneumatic kind unless you're SUPER fancy) If you're thinking about how large to build a screen - start with the size of your design. Add about 1.5-2" either side to get the width of the squeegee, and add another 2-3" either side of that to get the width of the screen. For the height, give yourself 3-4" of wiggle room at the top and bottom of your design.
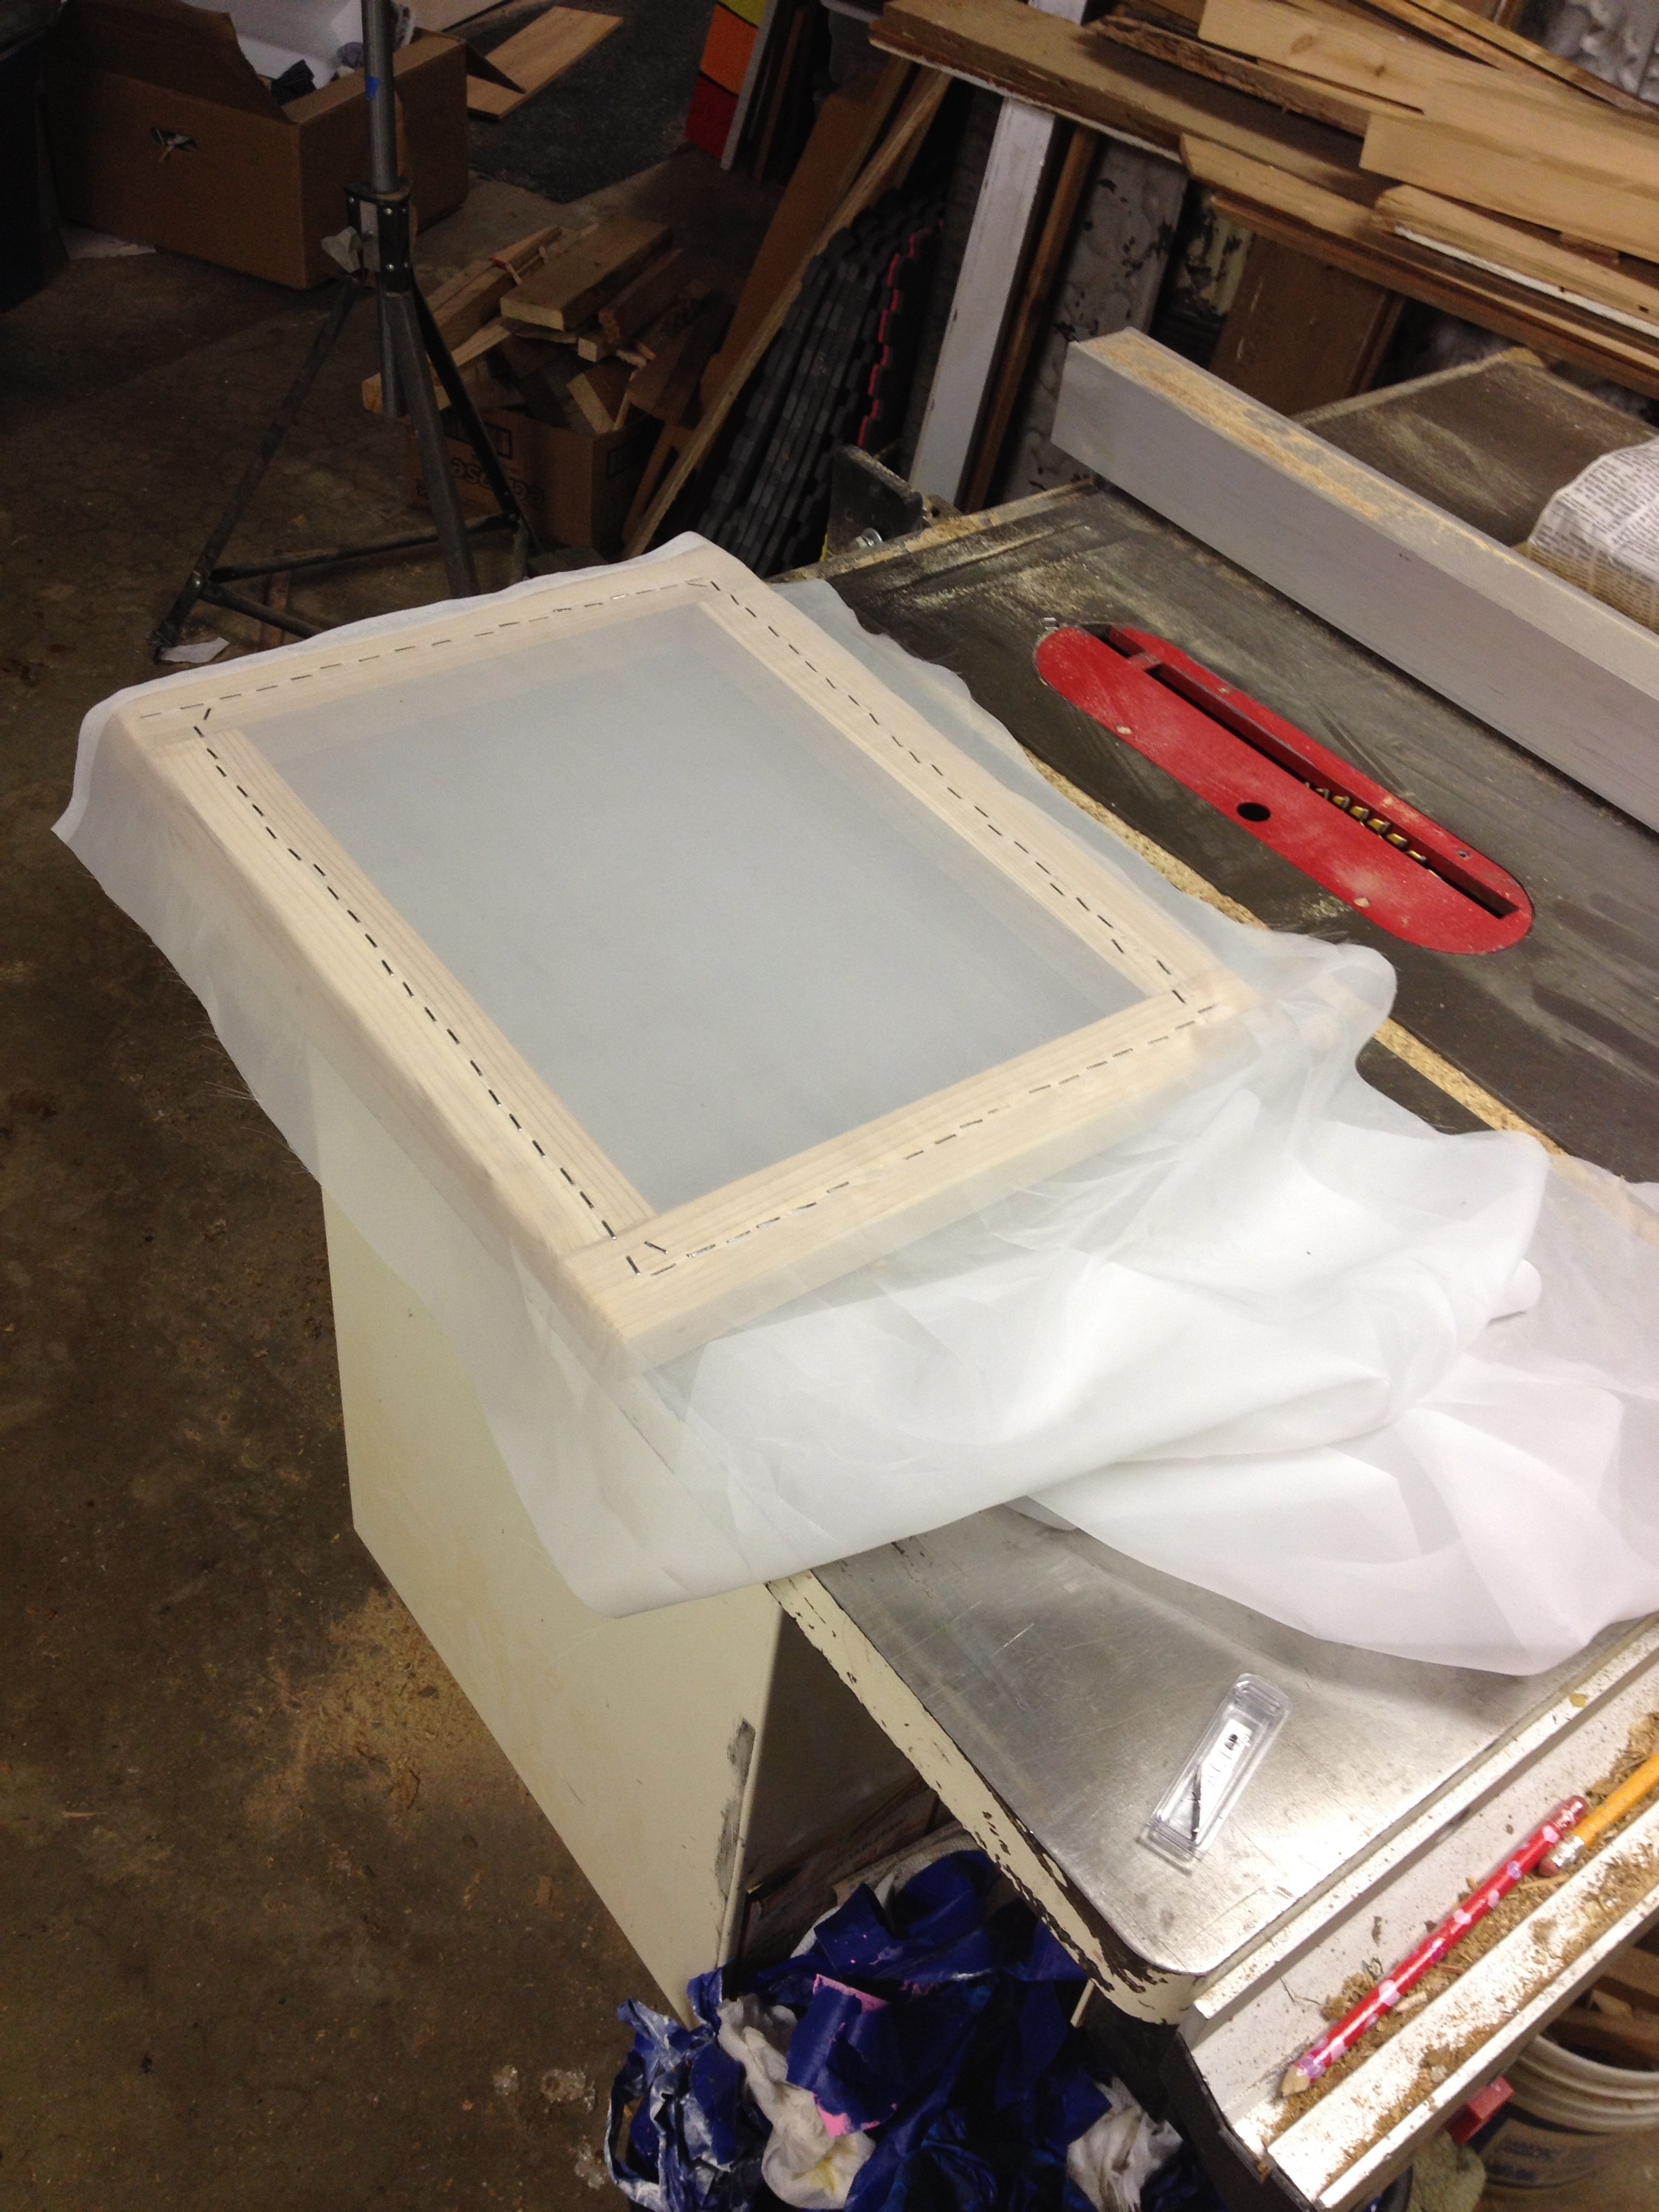
The frame is a simple build - side pieces and top/bottom pieces, attached with two screws at each corner (to keep the frame from twisting on itself). Lightly sand the corners and edges to smooth everything out. To stretch the screen, staple the fabric to the center of one edge, then to the center of the opposite edge - pulling the fabric tightly and evenly as you go, and alternating staples directly across from each other. It will ripple a bit until you stretch in the second direction, but it should be drum-tight. Do the same for the other two edges until you end up with an evenly stretched, taunt screen and staples all the way around. Cut the excess fabric off with an xacto knife, about 1/2" away from the staples. The final step is to (very carefully) coat the frame in a few layers of water based polyurethane - top, sides, bottom (over the top of the staples) - to keep the wood safe from the very wet process of screen printing. I coated mine three times over the course of an evening and let it dry overnight.
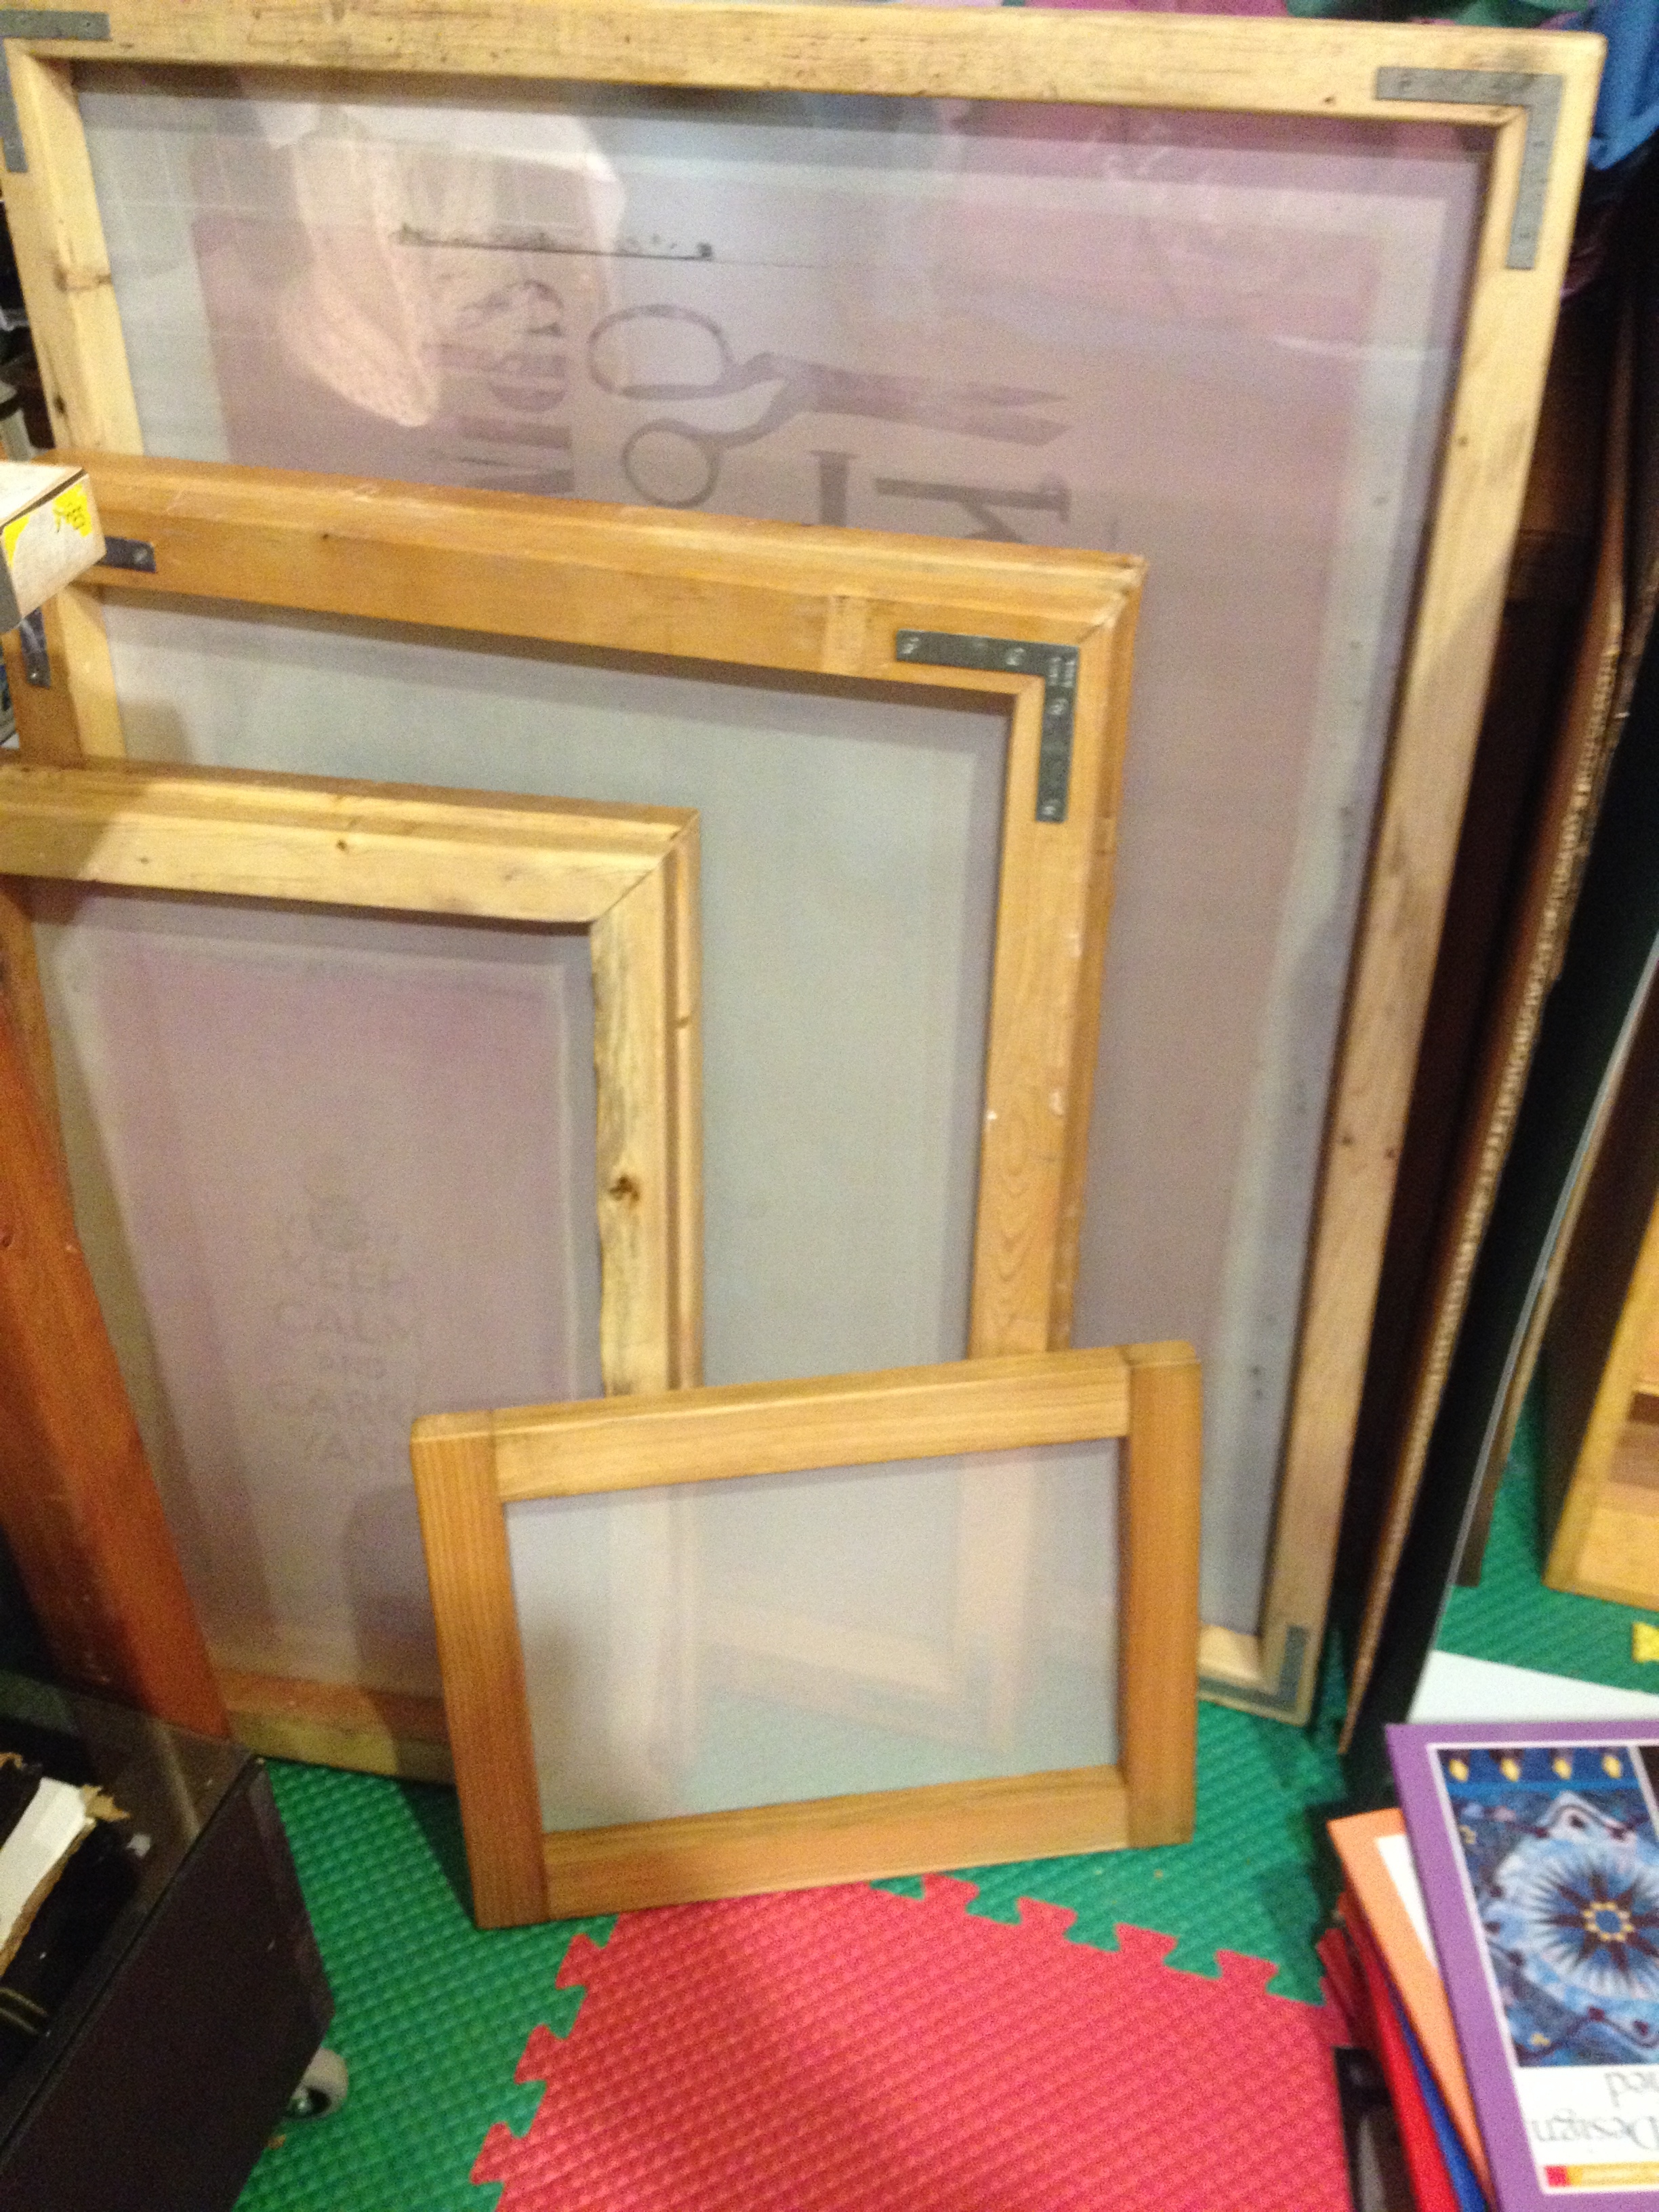
(Below: A freshly stretched screen my Dad helped me with - built from reclaimed wood he pulled out of a wall in the basement - and my collection of screens at home. Note the larger ones have brackets to reinforce the corners.)
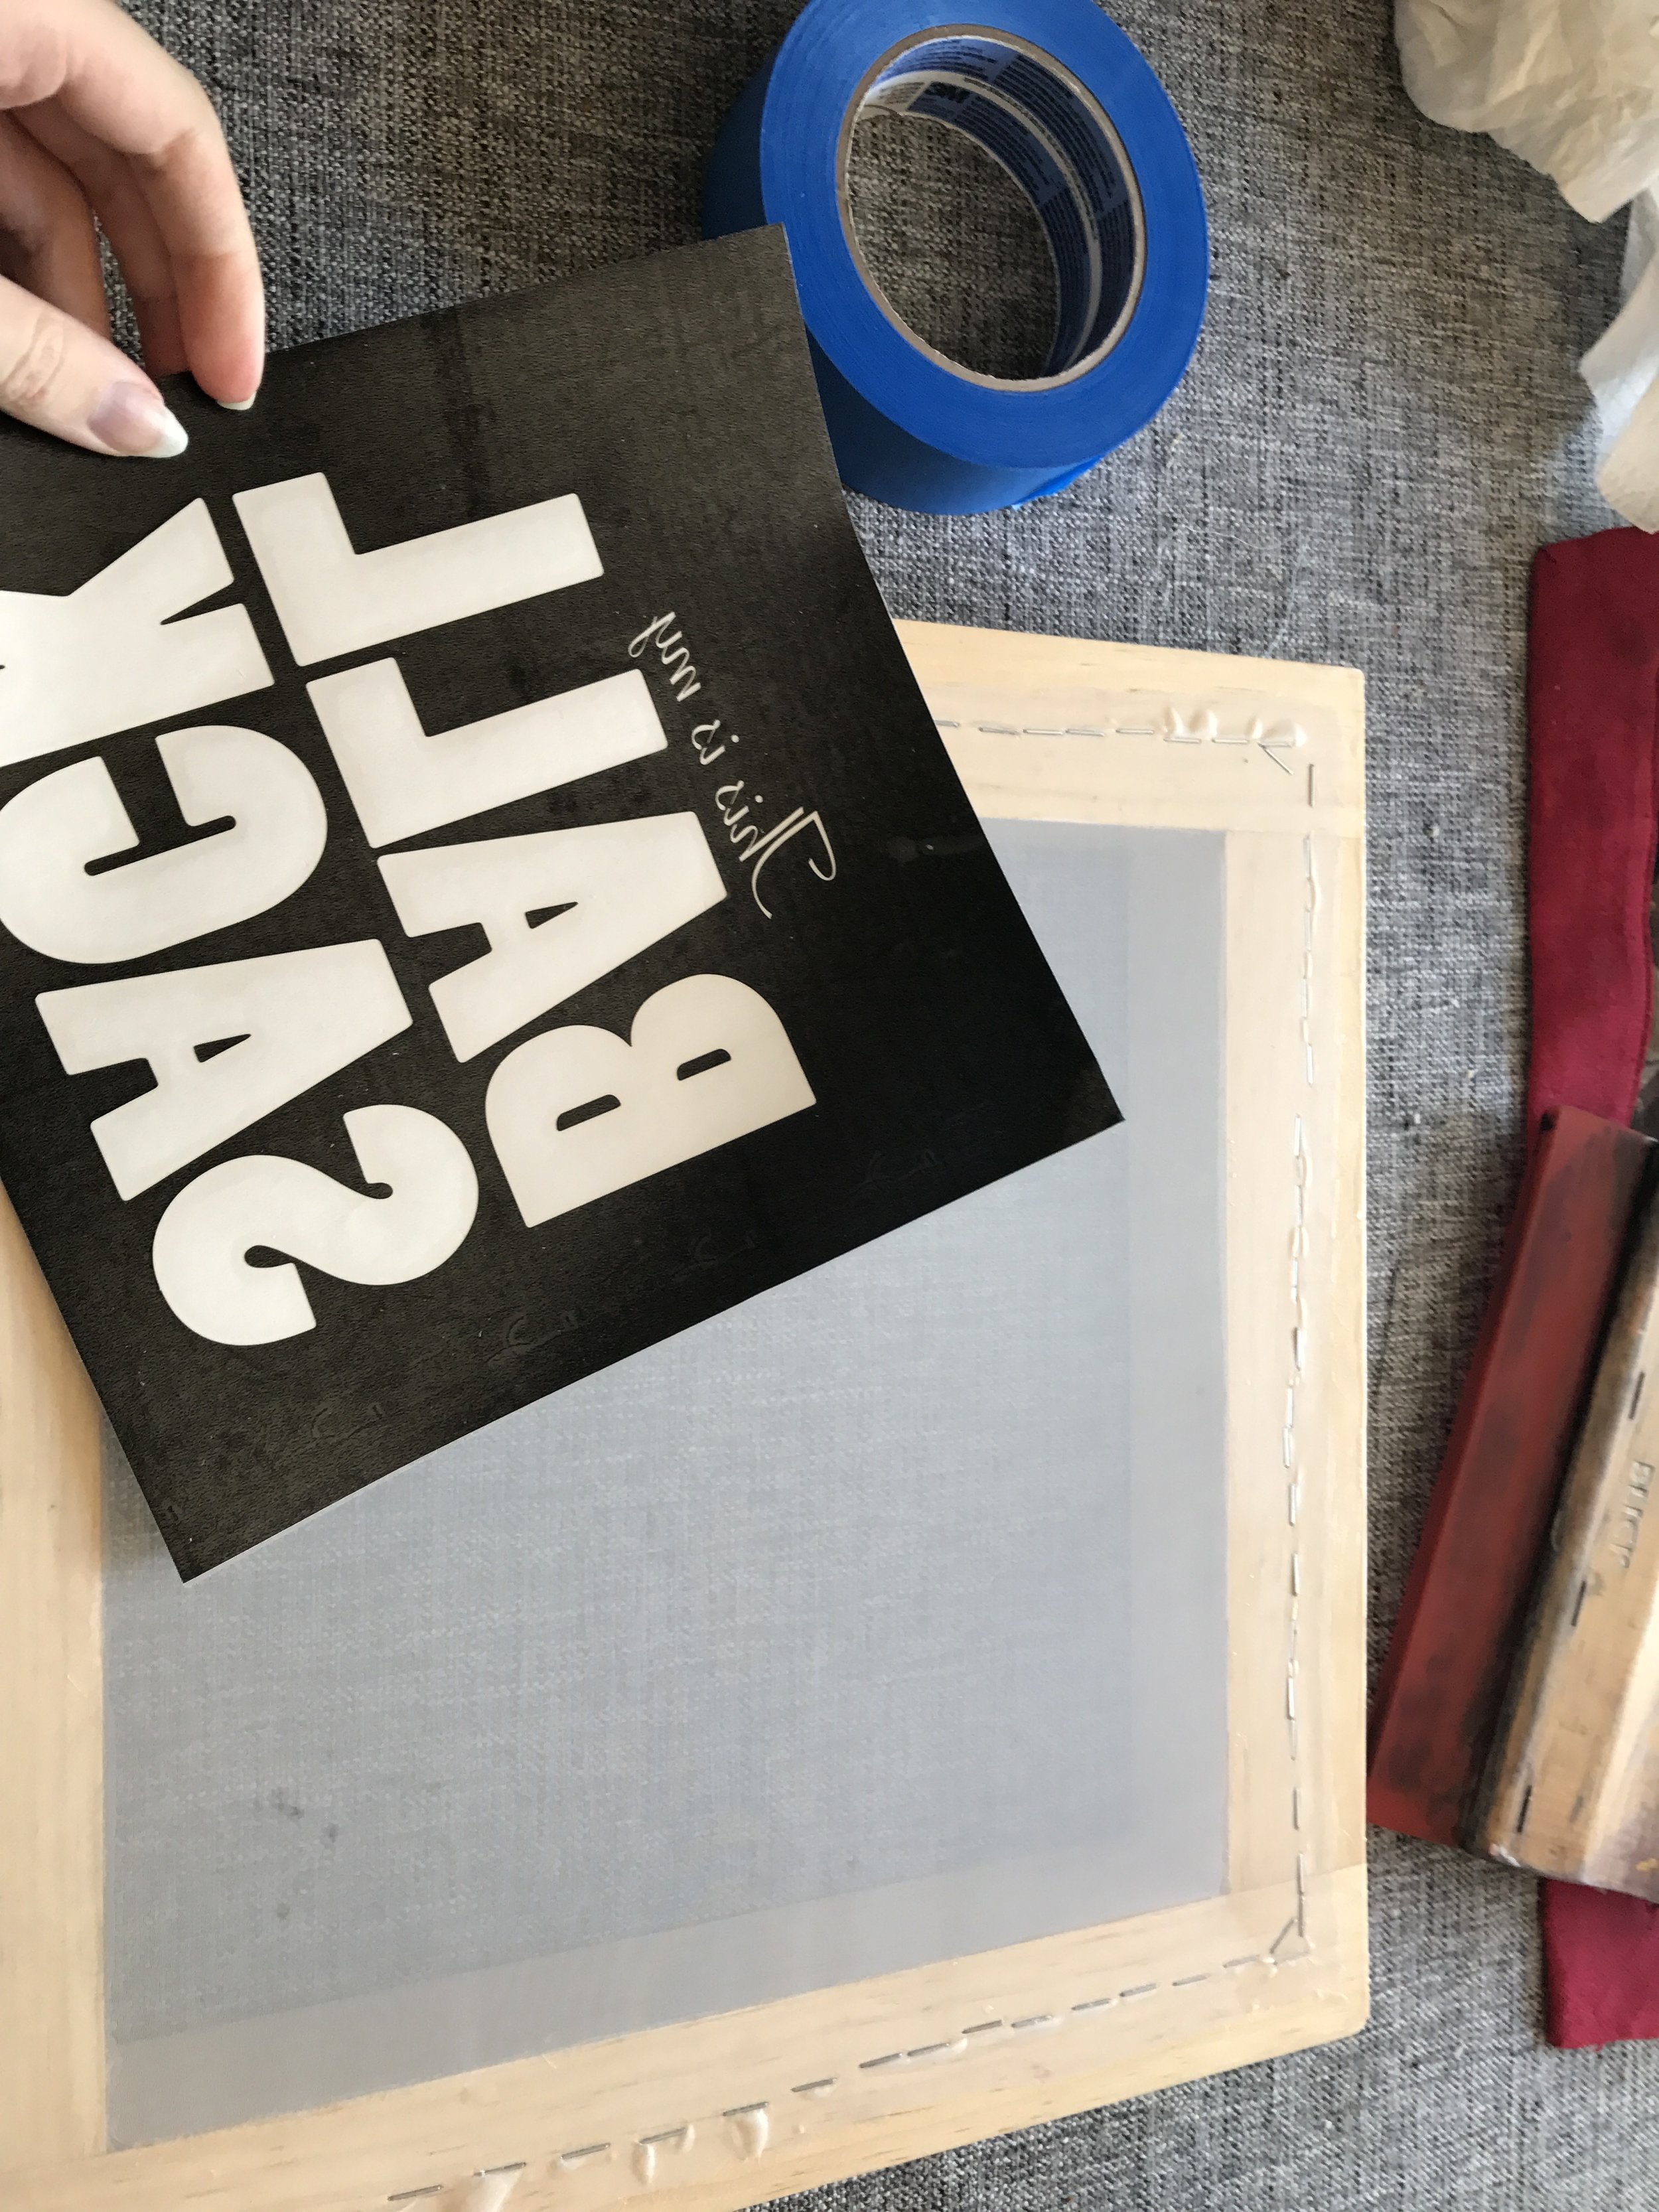
The stencil arrives in three layers - the sticker backing, the vinyl sticker itself, and a clear top layer which holds everything in place so that you can apply it. First, I peeled the backing off, and stuck the vinyl to the underside of the screen.
Then, I sandwiched it between a few of Jon's paramedicine textbooks while I went and dyed my hair. Hair dye in, I came back, burnished around the edges of the stencil from both sides with a little plastic creasing tool, and started to peel off the application layer. That process took quite a lot of time and patience, because the vinyl kept wanting to peel up off the screen. Once it was off, I re-burnished the vinyl to ensure I wouldn't have issues with any bits of my sticker coming off during printing.


The risk here is that because the vinyl is stuck to the underside of the screen, its sticky layer will face up into the wet ink once you're printing, and if it's not stuck well enough you'll lose the stencil mid-print. My goal was to get a batch of bags printed without the vinyl falling off, but I was pretty sure it wasn't going to last through washing the ink out of the screen when I was done. All the information I'd found on printing with vinyl on the internet led me to believe that the stencil would fall out because of the soap, water, and scrubbing involved in cleaning a screen, and I was pretty okay with that.

The finished screen, with vinyl attached and burnished.
With the screen ready, we turn our attention to the printing setup itself. I pulled out my folding table, and set it up around the side of the house (in the shady spot between the worm bin and the trash cans, in case you want help picturing the ambiance/understanding the lengths I went to make this happen). I masked the rest of the screen off with tape, and then used more tape to create a hinge, attaching the screen to the table. The trick at this stage is to make sure the print is in the same place on every bag (or every shirt, or every poster) - that placement and alignment is called 'registration'. By keeping the screen taped to the table on its hinge, we reduce the number of moving parts to one - the rectangle of fabric that will become the knitting bag. From there, I marked on the table where the corners of the bags needed to be in order for the print to line up correctly. And then I printed!

Here, you can see the blue tape 'hinge' and the blue tape registration tabs I used to line up the prints.
A quick note on inks: Screen printing inks are readily available - just be sure you're buying one for fabric use otherwise you won't be a happy bunny when your spiffy new t shirt comes out of the wash, and be sure to follow the directions to heat-set the ink when it's dry.
The actual act of applying the print takes less than two seconds. The setup process takes ages by comparison - which is why many screen printers have minumum order quantities (and I have a minimum number of knitting bags that I need to make at a time in order for the costs to balance out). Once everything is lined up as it needs to be, I place a sheet of newspaper under my screen (for a test pull, just in case), add a few dollops of ink to the top of the screen, and then use the squeegee at about a 30 degree angle with firm pressure and moderate speed, pull the squeegee down the length of the screen. If I think I'm happy with how the print felt, I lift the screen up on its hinge, pull the newly printed bag out from under it and carefully place somewhere safe to dry, and line the next piece of fabric up with the registration marks. Drop the screen down, print and repeat.
There's one thing I haven't told you, though. It's kind of a source of contention in different printing camps, and it's really, really up to personal preference whether you choose to do it or not. Some printers, after they've pulled a print and lifted the screen off the printed object, but before they reach around to grab the thing and put it on a drying rack - will do what's called a 'flood coat'. They use light pressure to coat the screen with a thick layer of ink (not enough pressure to push it through the mesh) before moving on to the next step. The benefits of a flood coat are numerous: It keeps the ink from drying in the design, which, depending on the design, can lead to the screen clogging during a print run, or staining afterwords. The staining is only cosmetic, but it's worth mentioning. It also leaves the ink more evenly distributed for the next print, which some people find helpful. The risks of a flood coat are that if your pressure is too strong, or your ink too fluid, you'll end up with the ink pushing through to the back of the screen before you're ready and you'll have a big, ugly, blotchy mess that's very hard to clean up. I chose not to flood coat because my ink was on the runnier side, and as a result I have some staining in my screen. Better a stained screen than blotchy prints, though.

I don't have photos of the process (printing outside= wind, bugs in ink, very real risk that ink might dry in the screen, also it looked a bit like rain at one point which was very scary) - but I successfully screen printed a batch of ball sacks! I was jumping up and down with excitement every single time I lifted the screen up to reveal a fresh, new print. When you're starting out - or even like me, when you know how to print but you're just switching between inks, screens, or stencil methods - there's going to be a bit of a learning curve. Since the ink I used was a different consistency than I'm used to and my screen smaller than previous ones, I ended up wrecking about six of my 40 prints. They were all in the beginning though - the more you print, the more you'll get a feel for what works for you. When I was done, I washed my screen out with a bit of dish soap in the kitchen sink, and would you believe - the stencil even survived the washout! It's still there, stuck to the screen, in case I want to print more ball sacks. I'll have to peel it off if I want to switch designs, but I'm so happy that I have the option of leaving it on if I want to. Side by side, you can't tell the old photo emulsion prints from the new vinyl prints - not even in the finer details like the lettering at the top. If you have a vinyl cutter like a Cricut or similar, I don't see any reason why you couldn't go to town with a million customized prints of your own - small quantities be damned.
It sounds pretty complicated - and there are a lot of moving parts involved in the printing process - but now that I've discovered how well vinyl works I have a hard time believing there won't be a lot more screen printing in my future. It's such a big part of my life and I'd love to be able to work it into clothes making as well as my Etsy shop. It also means there are going to be some new designs in the Etsy shop's future as well!

A Jackalope print - designed by my sister Val, printed by me!