

In general, I tend to be one of those people who decides on a project first, and then goes and hunts for perfect fabric after. Lately, though, I've been eschewing this method of shopping and falling in love with pieces of fabric in a very much 'obtain first, ask questions later' sort of way. Such was the case with this fabric.
A cute little bundle of deliciously creamy fabric, tied up with a tag that said "Remnant. 90cm. 20% Silk, 80% Rayon - $13 down from $26". I do love a good remnant. I also love a good mystery, and this fabric - with a silk rayon content and small furry spots woven in - well, I wanted to know what was silk and what was rayon! Because I spent too much of my youth in the library, I knew that this type of fabric was likely to be a burnout. The silk would be the sheer fabric backing, and the rayon would be the little furry spots, and areas where the silk showed through would be where the burnout chemical was applied - melting away the rayon to expose the silk (now you know!) This leads to one of my favorite types of experiments: Silk (a protein fiber) takes acid dyes, and rayon (a plant fiber) takes fiber reactive dyes.

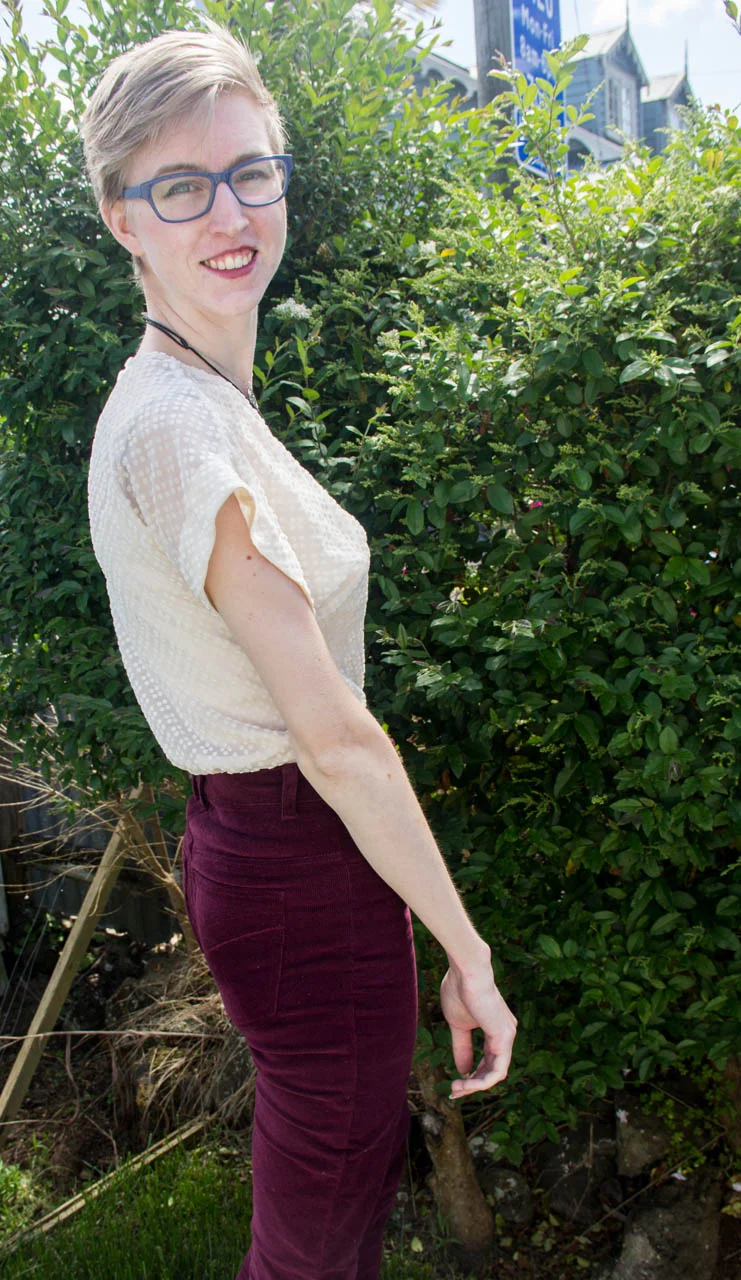
Why yes, your suspicions are correct: I haven't stopped wearing those corduroy pants since I finished them last week!
It was fairly easy to test my fiber composition theory - If I dunked a swatch in a pot of acid dye (which I conveniently did while I was dyeing elastics for my Monthly Draft a few weeks ago) - then the backing (silk) would take the dye and the spots would remain white. And did it work? Well, see for yourself!

The backing took the dye beautifully, and the spots (for the most part) did not! Yay! If you look at the swatch from the back it's pretty obvious that the spots are still mostly white, although they do appear to have stained a tiny bit. The reason the spots still look purple when you look at them directly is that you can see the backing through them. Originally, I was planning on making a sheer tank out of this fabric, and ombré dyeing the hem to show off the fiber difference - but I had two realizations. First, as part of the dyeing process: the fabric is quite fragile - lots of rayon fuzz escaped while I was dyeing, and second, I'm just not as in love with the color difference of the dyed version as I thought I would be. I also couldn't decide on an elegant way to make thin straps for a tank, and while I was browsing Pinterest for ideas I found a lot of really interesting sheer short sleeved tops which were worn with colorful tanks (or bras) underneath. My original tank idea turned into a short sleeved shirt plan pretty quickly after that.

I seem to have developed a particular fascination with interesting sleeve treatments, so I had a quick flip through my drafting book and stumbled upon the "Kimono Sleeved Shawl Collar Blouse" near the end. We call this a cut-on sleeve now, a Kimono is a traditional Japanese garment, not a sleeve style - but this book was written in the 40’s. I nixed the collar pretty quickly, and the original draft calls for darting at the waist so that it can be tucked into trousers or a skirt, but the sleeves are so perfect! I used my fitted shirt foundation as a jumping off point, and had the whole thing ready for muslining in about 20 minutes. As an added bonus - it has only two pattern pieces and two sets of seams, for the shoulders and sides. Since the fabric is so fragile, I figured the fewer the seams the better.

The aforementioned shoulder and sides are french seamed to keep those unruly edges contained, and the neckline (which has a back keyhole opening) and hemline are finished with the narrowest bias tape I have possibly ever made (silk, no less). The armholes are finished with very wide silk bias tape that ended up becoming more of a facing because I'm not always the best at thinking ahead. Next time I'll create a facing pattern piece and save myself the trouble of shaping the ends of the bias tape to fit into the underarm curve...

Just casually investigating my hedge to show off the sheer sleeve detail...
On another technical note, I think I liked the drape of the sleeve better when it was just a raw edge - I had hoped that by using bias tape that the fabric would be able to drape as much as it wanted, but it does stand away from my arm a bit more than it did. Not bad, just different. I'm definitely thinking there will be more versions of this top in the future, so I'll use that opportunity to experiment with different hem finishes and hopefully find something more suitable.

I'm sure you can tell by now, but I am completely in love with this thing. It's got that funky, vintage-inspired, not-your-average-streetwear thing going on that I've been gravitating towards lately, but it's also surprisingly versatile worn with different things underneath - tucked or untucked, etc. Plus, it's a welcome light color in a closet full of jewel and earth tones! I think it's probably going to be 'hand wash only' (although I might get lazy and put it in a lingerie bag) because I definitely feel like this is a particularly delicate fabric (I work with silk a lot, but this has SUCH a loose weave) - we'll see what that means for its wearability, I suppose.

I made a silk tank top to wear under this shirt (I kind of needed to bring it back into work-appropriate land) which has already opened up a whole lot of other layering opportunities which I'm very excited about! I want to share more about that with you, but the tank top seems already to have multiplied so I think at this point it deserves a post of its own. ;)
