
I know. I know. if there was an award for 'one millionth blogger to write about the reusable beeswax wraps', I'd win it. It's been done. But here we are, talking about it anyways. I want to make this post as useful as possible - hopefully it adds something to the reusable food wrap conversation, rather than just repeats!
So- the beginning. Jon sent me a message with a photo of someone's used beeswax sandwich wrapper (complete with crumbs) and the text "Can we make these?"
I, of course, always tread carefully in these situations. It's only once in a blue moon that Jon asks me to make him anything, and once every several blue moons that he asks if we can make something together. (Last time, for reference, was last Christmas - and the resulting leather notebook sleeve project was pretty cool!) I carefully told him that yes, we could make the bee wrap, and no - it wouldn't be too hard. He decided to turn it into an excuse to have a gathering - a bee wrap making, wine drinking party on $10 curry night at our friends' Ben and Sarah's house.
At first, I thought all one needed to do to make bee wrap was cut squares of cotton fabric and melt beeswax onto them (either via iron, stovetop, or oven methods). It's true that this is the general idea, but the actual recipe contains more than just beeswax, so it's slightly more complex.
It is possible to make bee wrap with just beeswax, but the addition of pine resin or damar along with jojoba oil allows the wraps to stick to themselves, which provides a much better seal and means that the fabric square doesn't have to be as big as it would otherwise. It also means you can actually wrap it around something like, say, half an avocado - and get a really good seal to keep that avocado from turning brown. If you were using just beeswax, you'd need to wrap a rubber band or something around the edge to keep it all together. This post goes into a slightly more thorough explanation, if you're interested. If you’d prefer to go the route using just wax and an iron, Closet Case Patterns has a great tutorial for a simple beeswax wrap with no stovetop or mixing required.
What Do You Need?
We used unfiltered yellow beeswax (did you know that beeswax is naturally white? The pollen that the bees collect makes it yellow! It's possible to filter it back to white, but it generally requires chemicals - leaving it yellow is better for the environment) which meant that the fabrics we used all came out of the process a bit yellower than they went in. The wax also really brought out the color in our brighter prints (like the sugar skulls) and made the whiter prints look cool and antiqued. If you also use unfiltered beeswax, it's a good thing to keep in mind when choosing your fabrics.
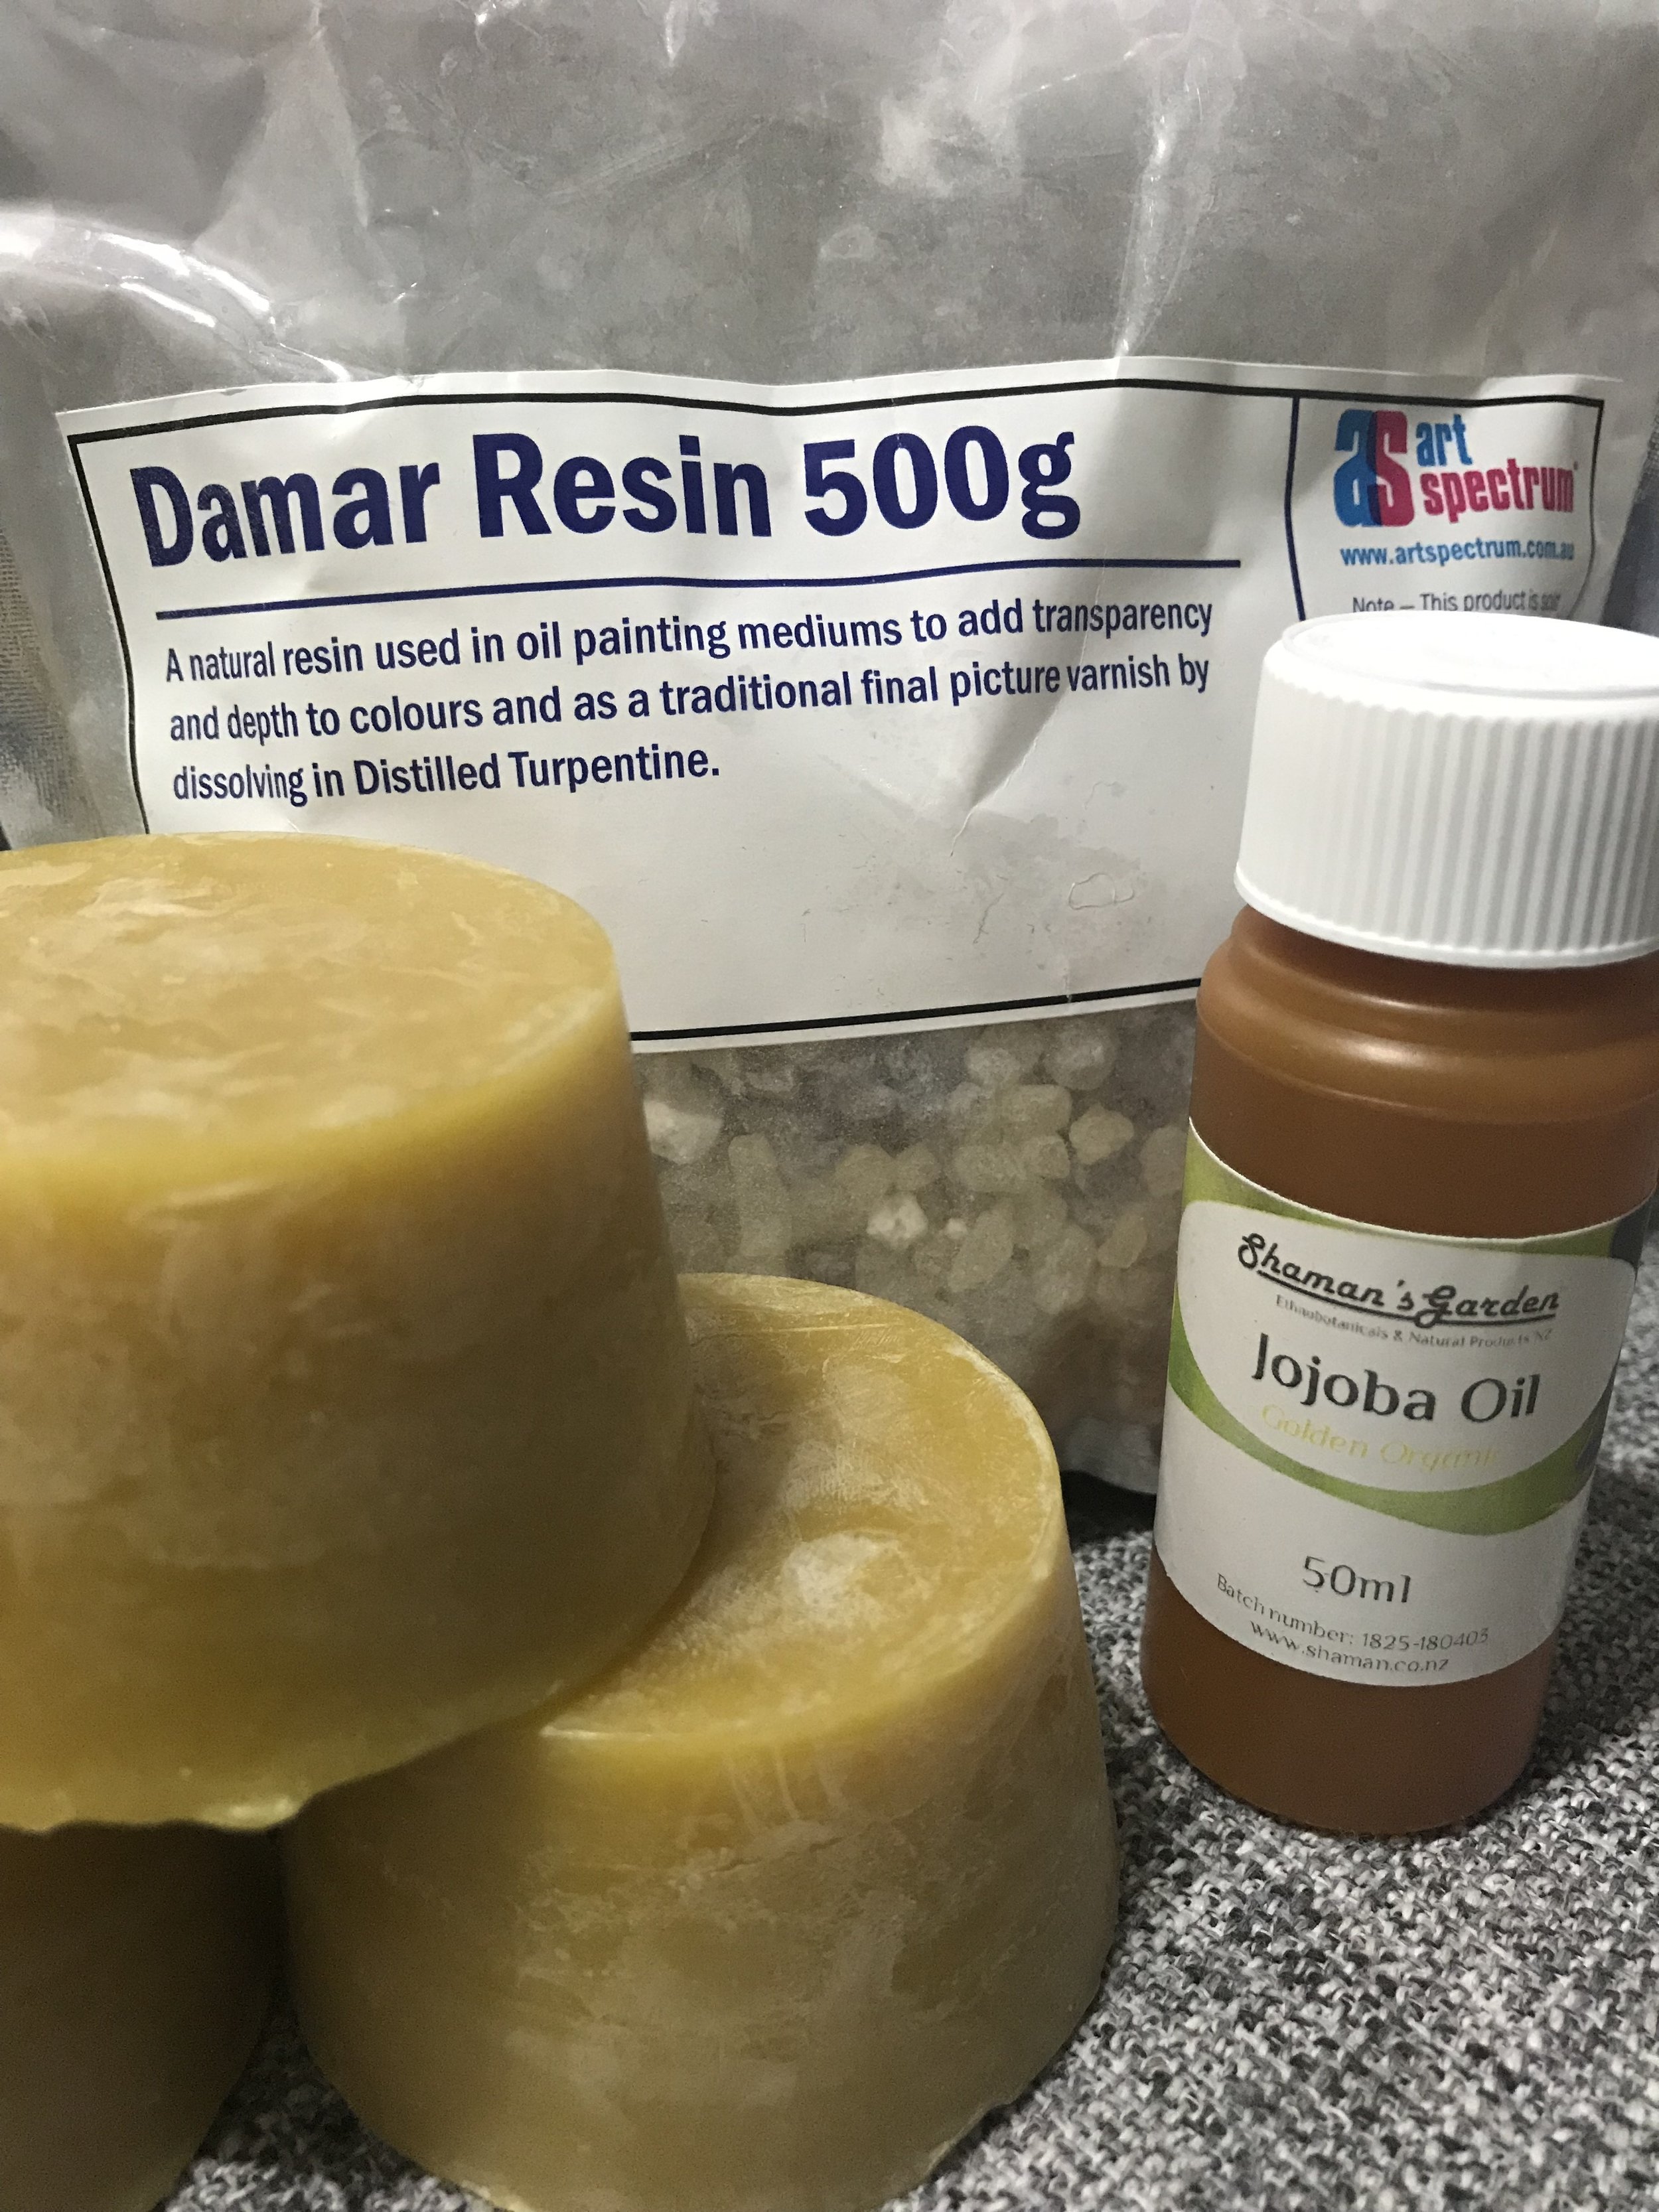
Conveniently, there’s a definition of damar gum right on the packet!
Next, we need pine resin or damar gum. What the heck are those? I carried on searching. Pine resin (sometimes also called pine rosin) and damar serve the same purpose - and are basically the same product. Dried out tree sap! Quite sticky all by itself, but combined with beeswax, it has just the right amount of cling to keep the wraps together. Pine resin comes from (surprise!) pine trees, and damar comes from a different type of tree. Because they are so similar, you can use whichever one is most readily available to you - unless you happen to be allergic to pine trees. I've never had a rash-type allergic reaction to pine sap (and pine rosin is the same stuff I put on my bow when I used to play cello - never any issues there either) but cut pine does generally make me sneeze. The price difference was negligible, so I chose to use damar just in case. If you can, get the powdered variety: I ended up getting chunks and crushing them myself because the powder was more expensive, but either way, just know that it needs to be crushed up into a powder for our purposes. A mortar and pestle is ideal, but a ziplock bag inside an old sock (or wrapped in an old rag) and a hammer will also do the job.

Last ingredient - jojoba or coconut oil. It helps the wrap stick to itself like the damar, but that's not its main function in the recipe. Adding a small amount of oil to the blend will help keep the beeswax flexible, which in practical terms means that even if you get a hard crease in the wrap, the wax won't chip off. Jojoba oil is also antimicrobial which is helpful in keeping the wraps clean - especially since they can't be washed in hot water. That said, jojoba oil can get a bit pricey if you buy it from a pharmacy - I found an inexpensive source online, but the shipment didn't arrive in time for crafts night so we ended up substituting coconut oil instead - it worked just fine!

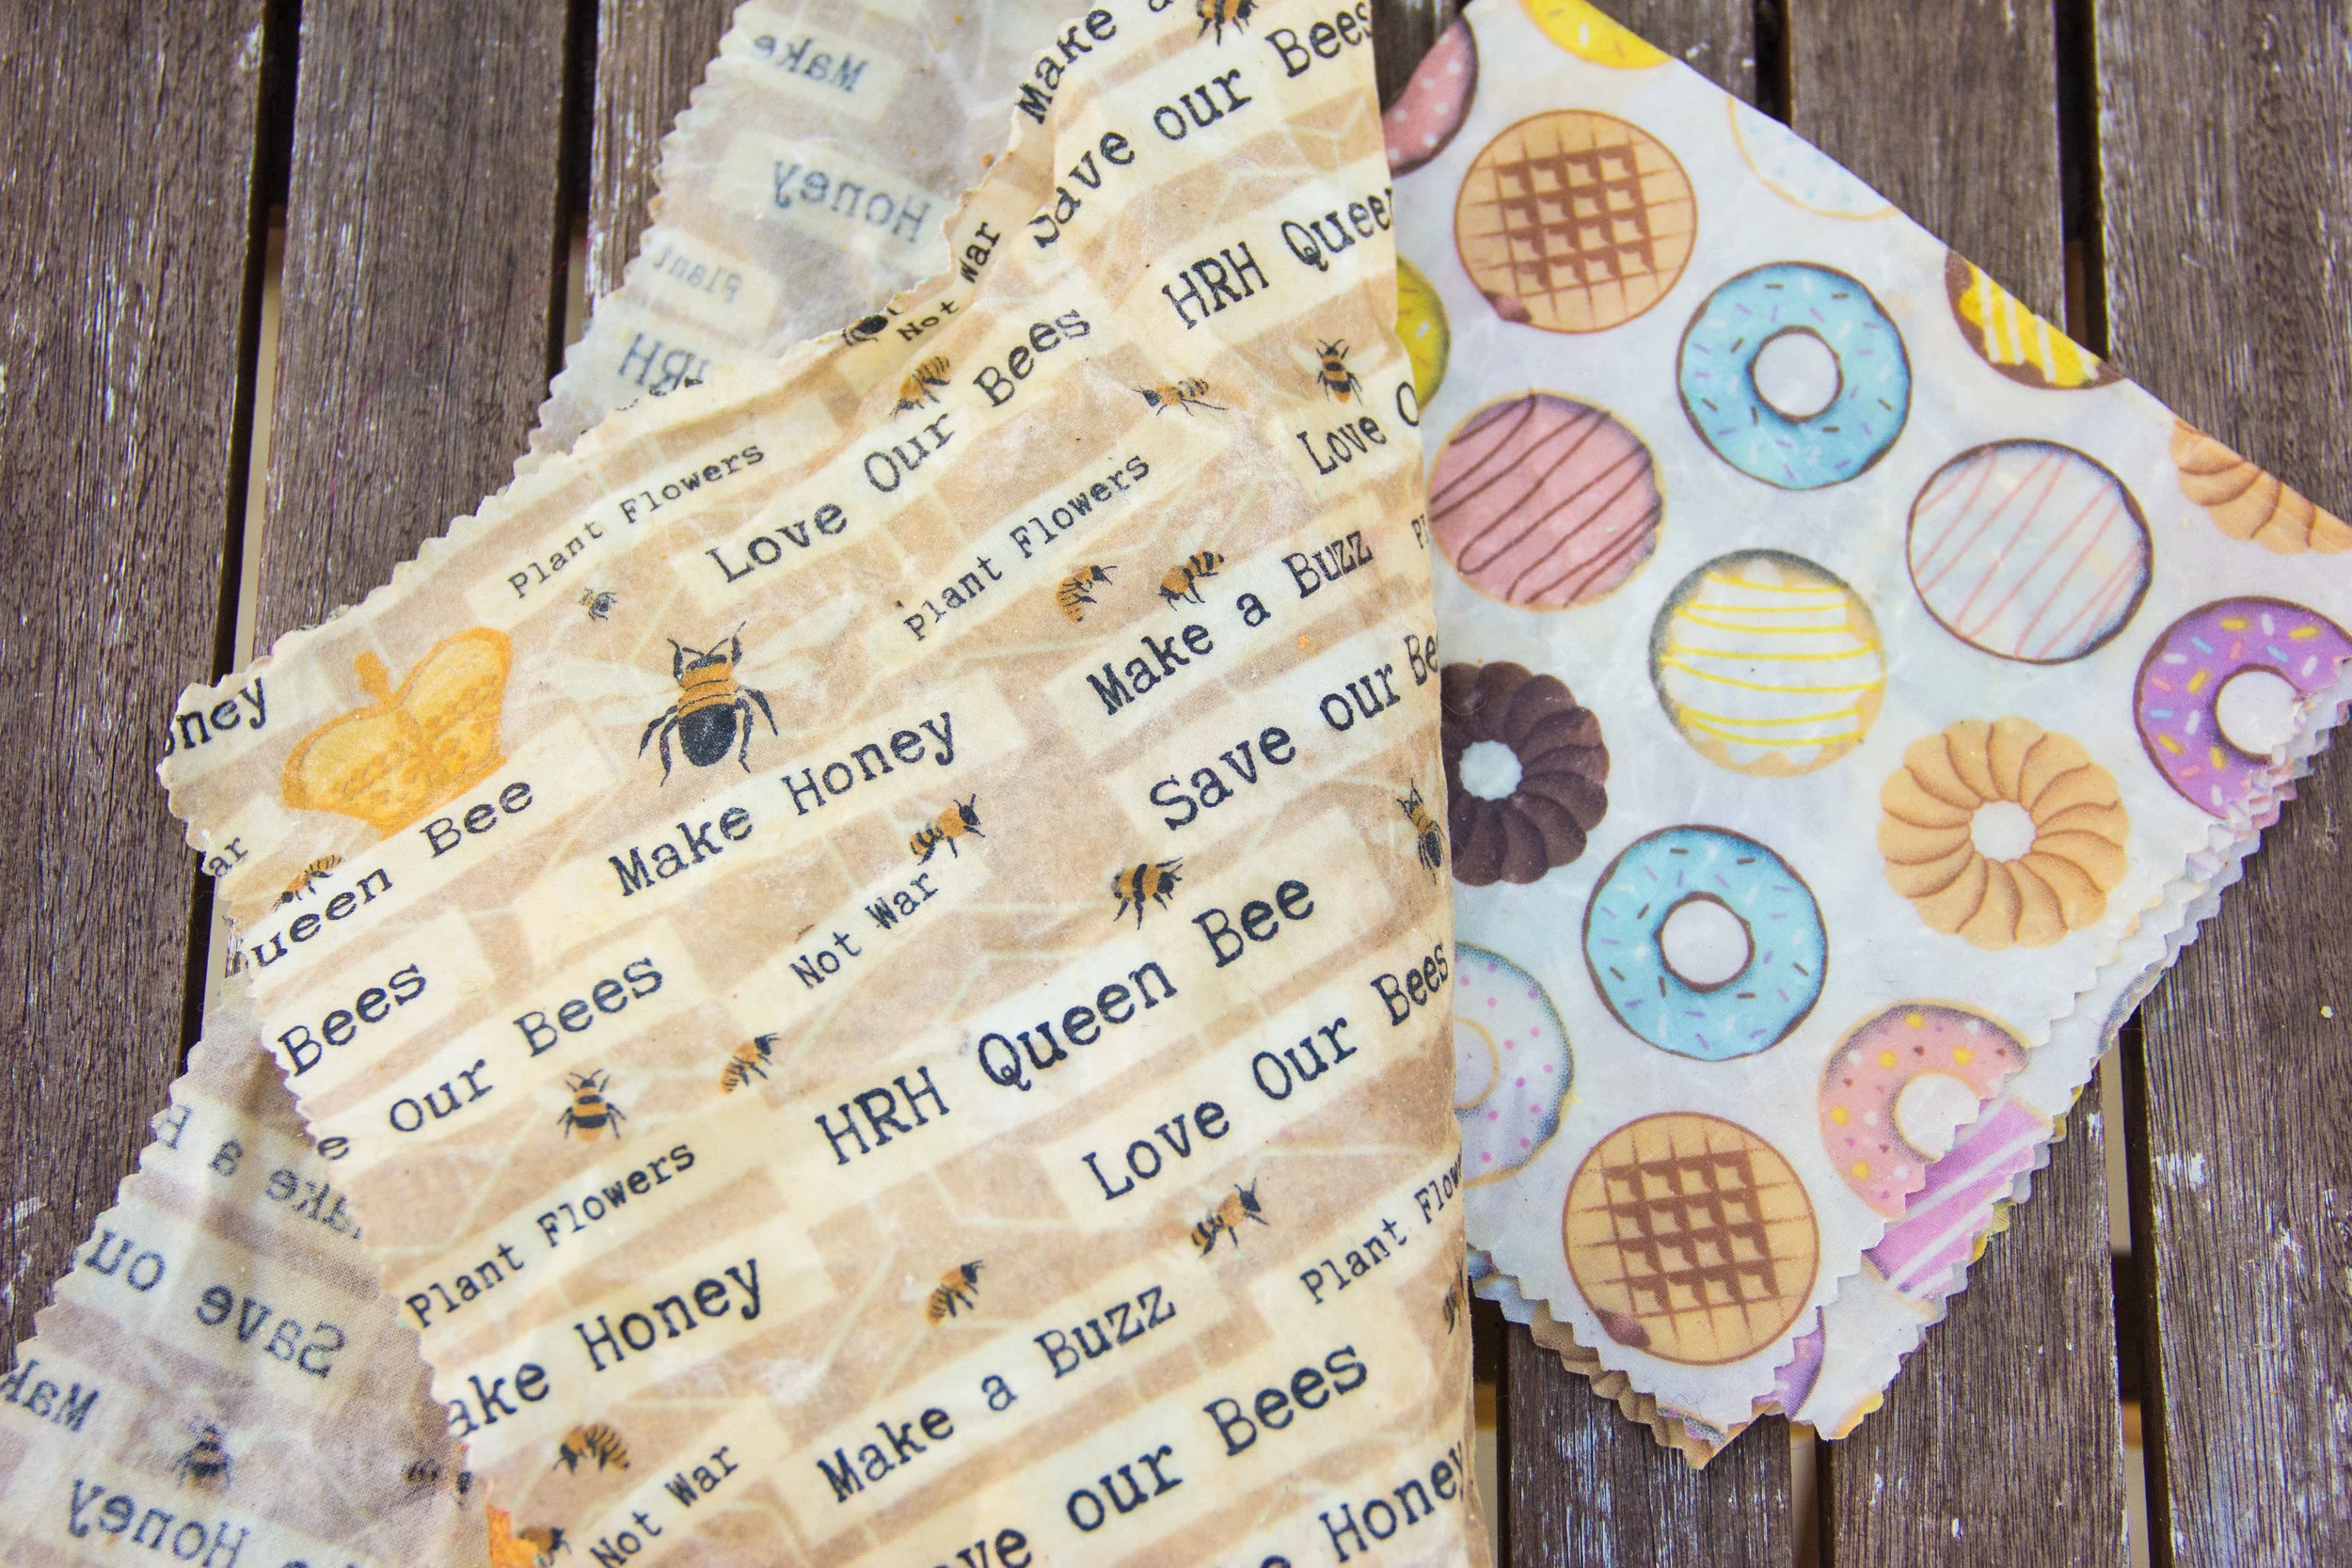
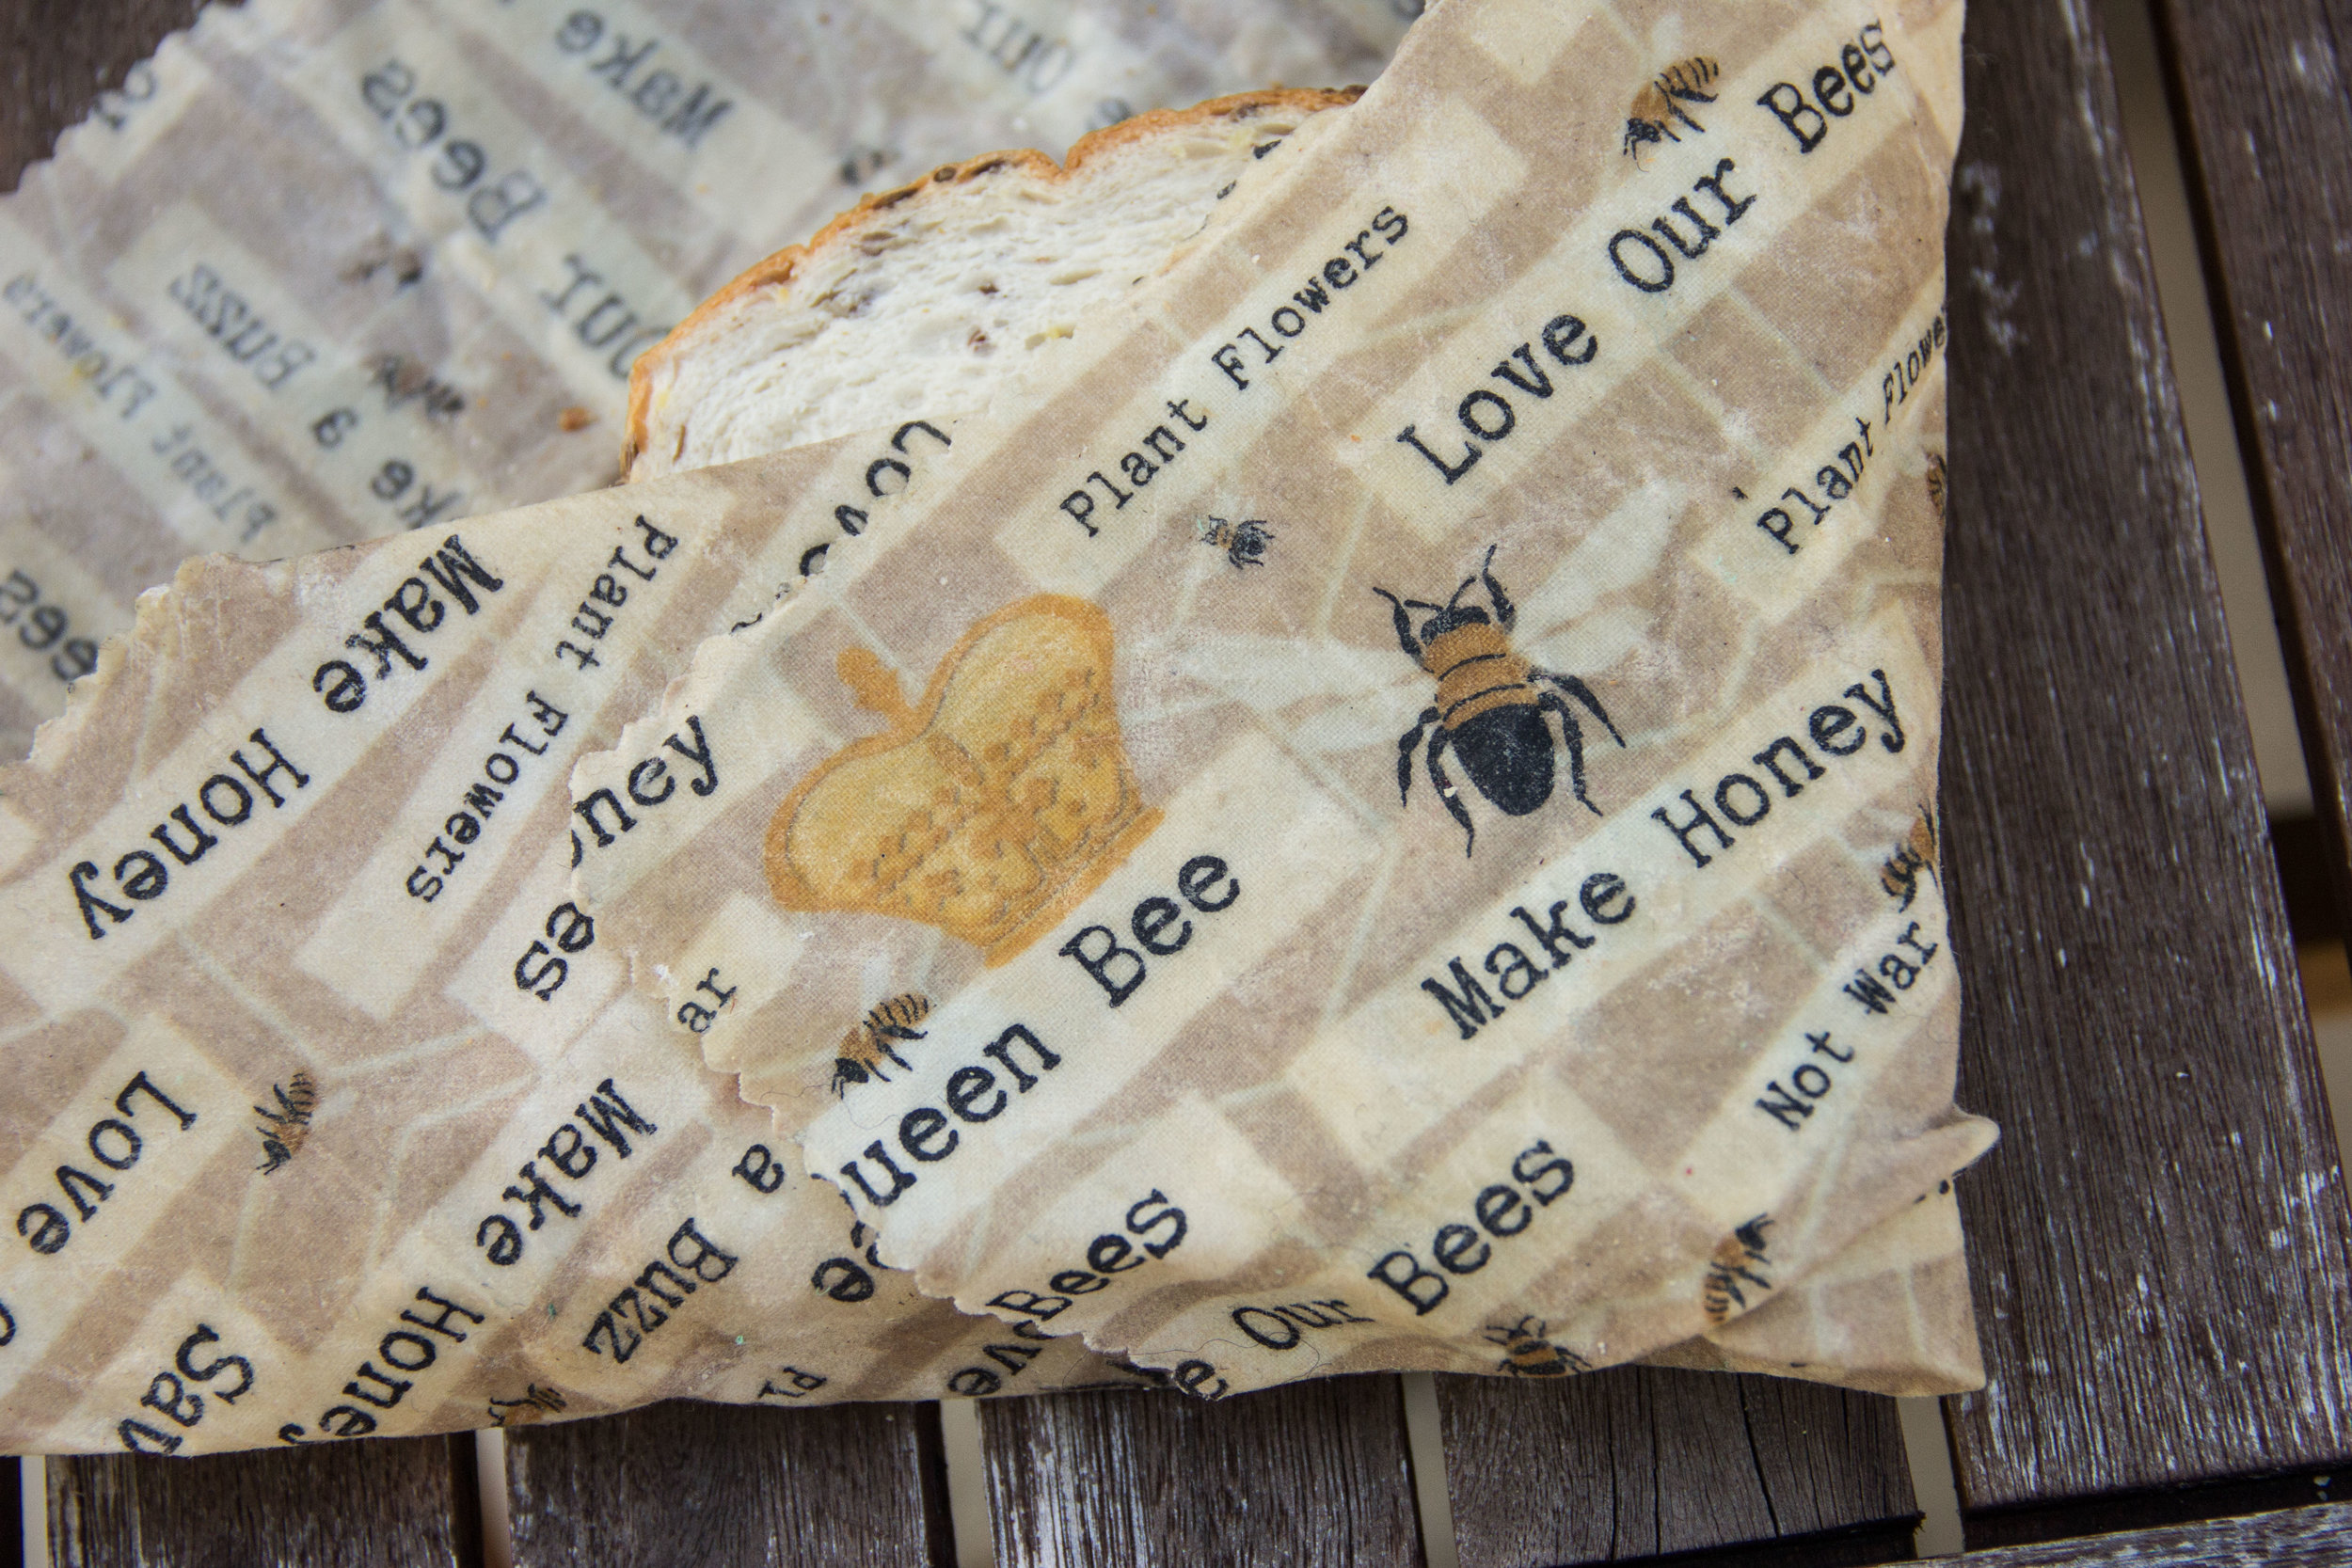
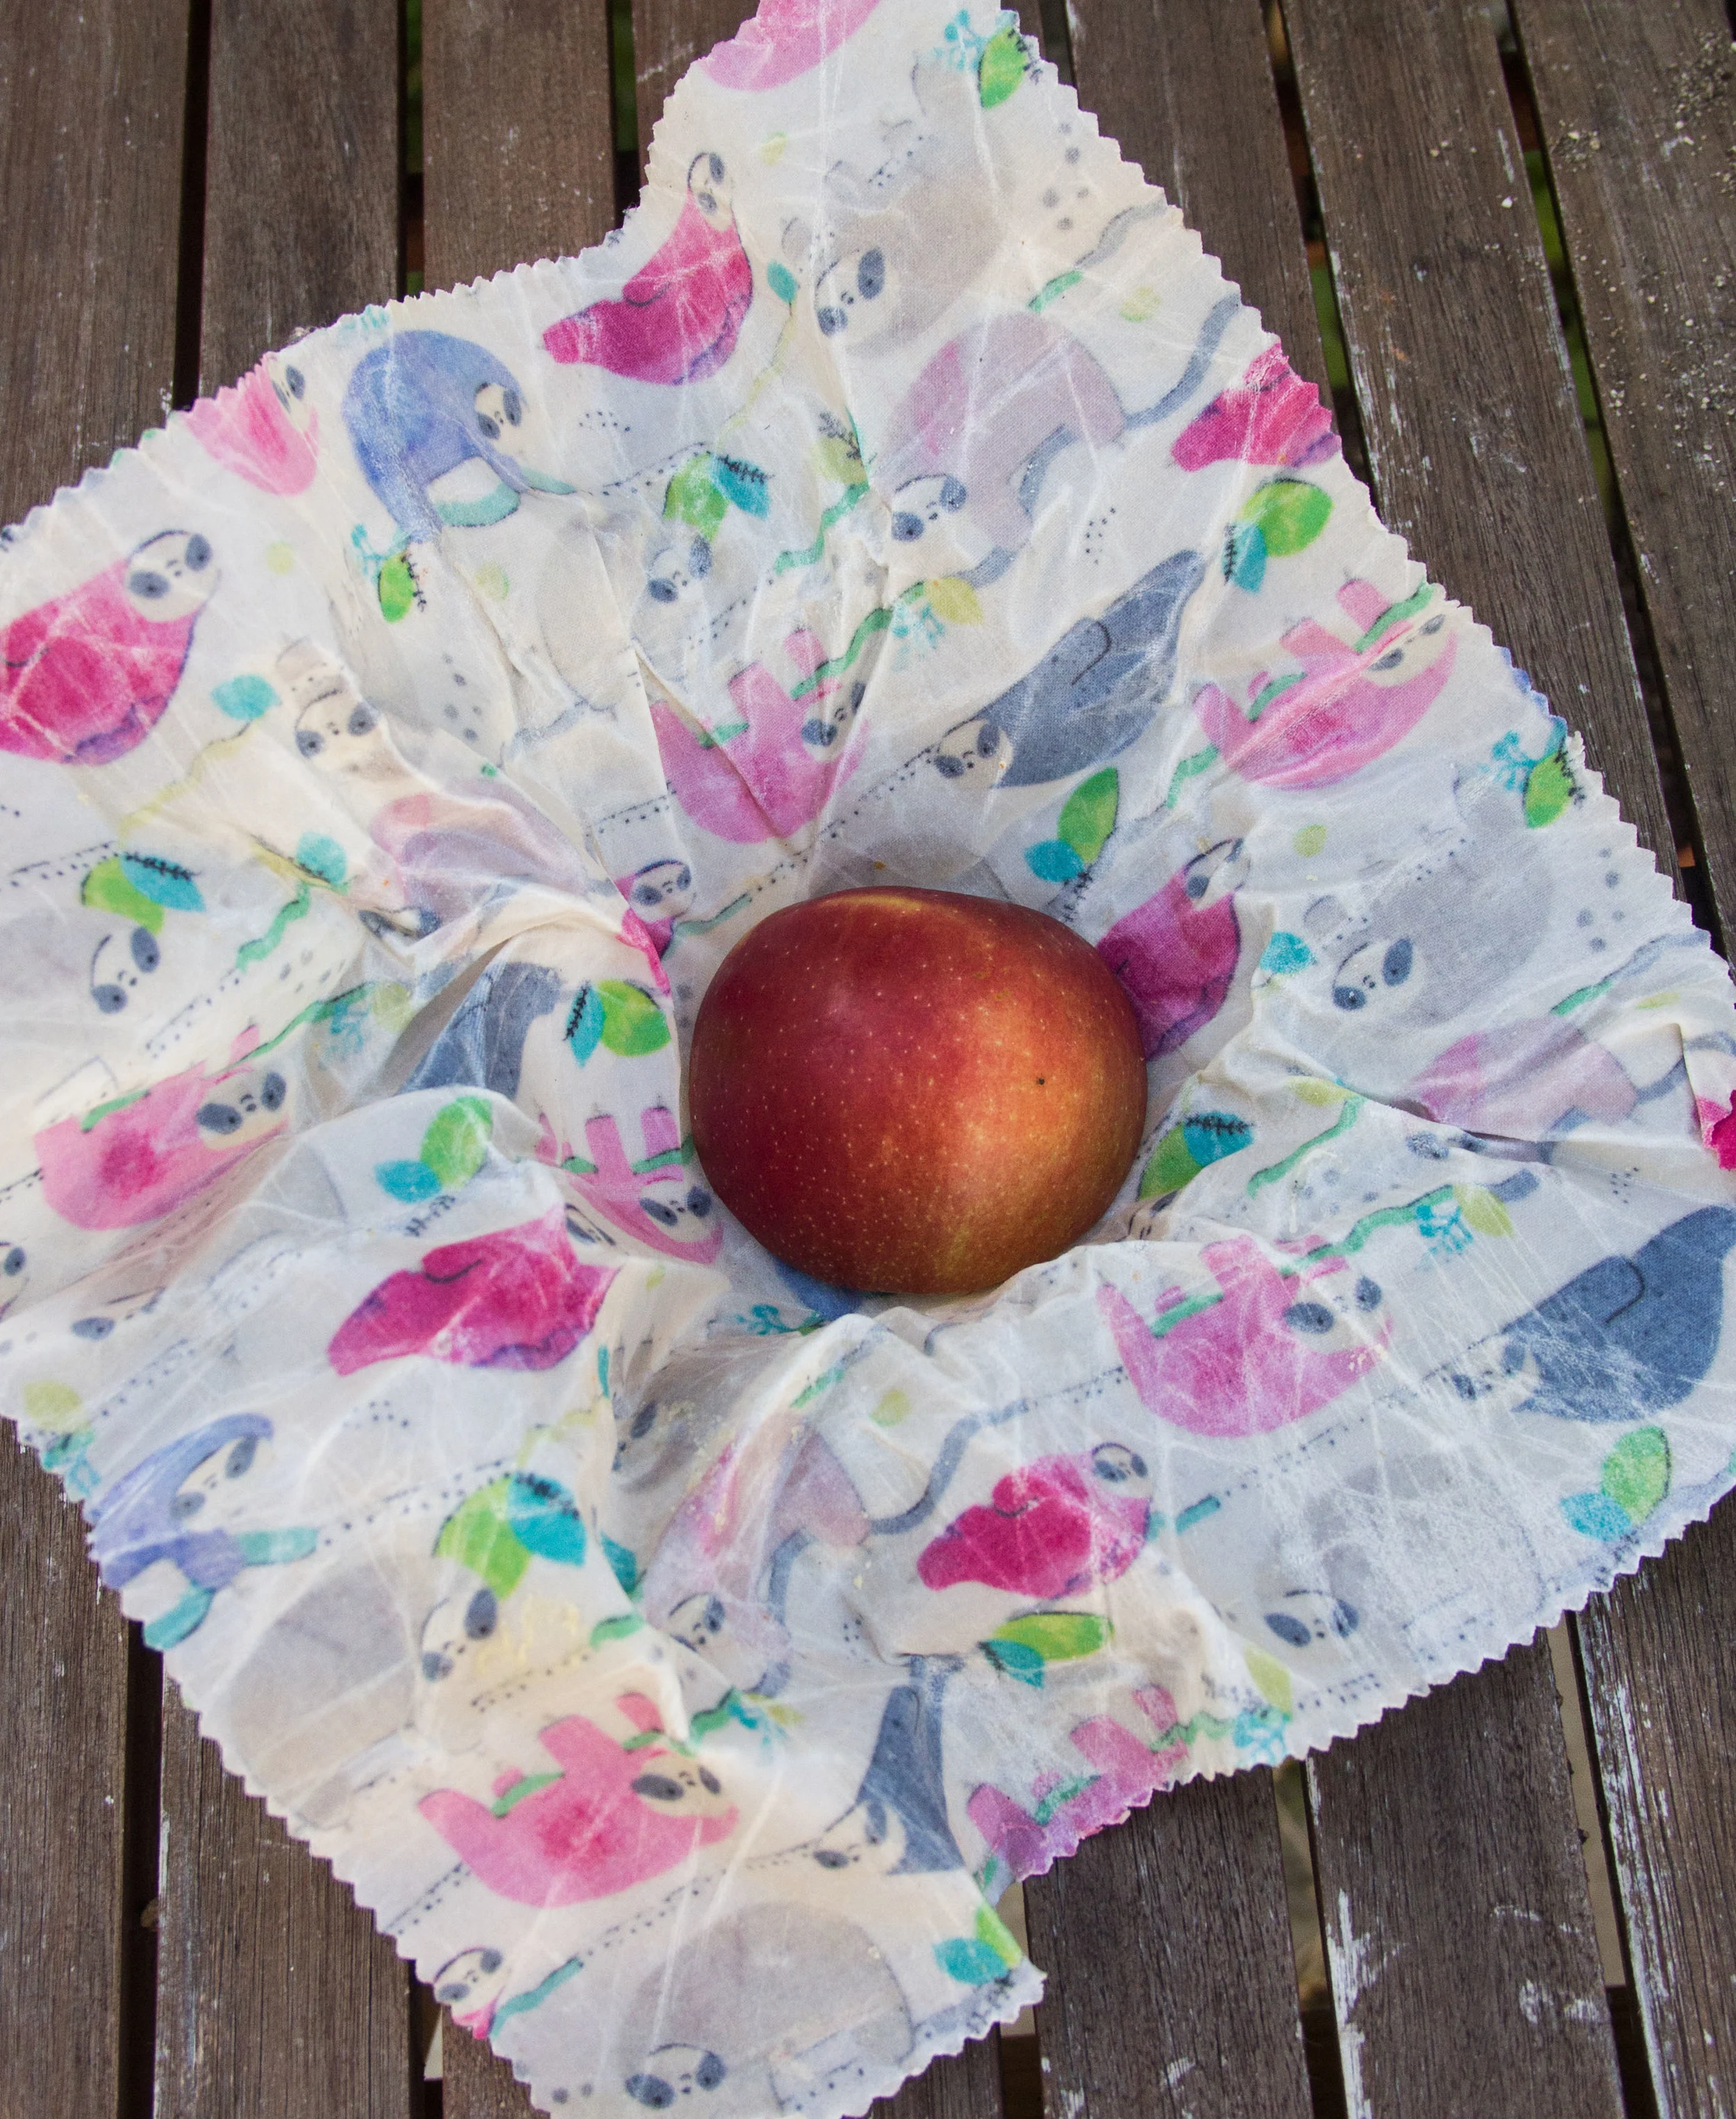
You'll also need fabric. I don't do a heck of a lot of work with quilting cotton so I didn't have many useful scraps, but taking Jon and his friend to the fabric store to choose fabrics was actually the most entertaining thing I've done in a while. They both wanted fabrics that were totally outside what I would have chosen (shopping for fabric you're intending to wear is a very different game), and they were thrilled to bits with the variety: "We have to find some dinosaurs, I want dinosaurs!" and "Look, this one has rainbow sloths!" I did, however, have to insist on the Bee print and the doughnuts - those two are my favorite wraps!

Our fabric is an assortment of 100% cotton from the quilting section (the moustaches are an exception - 30% linen) and we bought 60cm of each one, so I could cut six 30cm squares out of each one. 30cm is just big enough to wrap up a sandwich (33cm would have been better, but we were squeezing) and is an ideal size for things like cut fruit, cheese, and covering bowls as well.
How Do You Do It?
If we were just using beeswax, it's easy enough to melt it directly on to the fabric using an iron. That's a bit harder to do with the additional ingredients though, especially since damar gum doesn't melt easily (I'd call what it does more of a 'dissolve' than a 'melt'). Instead, the best method I found was to melt the damar gum and the beeswax together in a double boiler (or, in my case, a highly scientific setup involving a small pot with an inch or two of water in the bottom, a saucepan that balanced on top, and a wooden spoon in the pot to provide an escape for the steam.) You may recognize that setup if you've ever needed to melt chocolate. You'll also want something to stir the mixture with - I went for a metal spoon, because I was worried about being able to clean a spatula afterwords, but a sacrificial stirring implement could also have been used.

After a bit of experimentation, we found that the best method to melt the wax (and keep it melted) was to keep the water at a gentle simmer. Keep an eye on the water level - we topped it up a few times over the evening. We half-melted the beeswax (until there was a fair bit of melted wax in the bowl) and then slowly sifted the powdered damar gum into the bowl. If you dump it in all at once, you end up with a clump of it all stuck together that won't dissolve, which isn't great. The beeswax easily absorbs the damar gum, but only if it's added slowly - if the gum is allowed to form clumps, it'll be impossible to dissolve - you can scoop stubborn chunks out if you need to. Once you've dissolved the gum into the wax, you can add the jojoba/coconut oil and you'll be good to go!

We did keep a fire extinguisher on hand - beeswax does burn, so it's important to keep an eye on the oven, and keep the wax off your stove's heating element.
As we made the wax mixture, we set the oven to 180°C (350°F) to preheat. This is important, because the beeswax cools very quickly when it leaves the double boiler. We also lined two baking sheets with parchment paper so that we could paint our wraps. I feel like we were lucky to be working with such a large group because it gave us a chance to really perfect the method. Here's what worked for us: Place the fabric on the parchment paper, paint from the middle of the square out to the edges until the wax becomes too solid to move around on the fabric.

Then, stick the tray with the wrap in the oven for 3-4 minutes until you can see the beeswax start to glisten a bit. Take the tray out of the oven, and continue to paint out towards the edges (don't add more wax until you've spread around what you already have! It's very easy to add too much at this stage, and harder to get it off). You want enough wax to saturate the fabric on both sides, and get all the way out to the edges, but not enough that wax is pooling or dripping.

If you end up with too much wax, you can use your next fabric square as a blotter to remove some of it. Add the wrap to the oven one more time for 3 or 4 minutes, and then immediately lift the wrap off the parchment (if you wait too long, it will stick!). At this stage, you'll be hanging on to the wrap by its corners. Give it a quick check on both sides to make sure you don't have any drips or dry spots - and that you've gotten all the way to the edges of the fabric. Wave it around until it starts to harden up a bit, and then drape it on a clothesline to finish drying. We found it worked well to have two baking sheets going at a time, so two people could make their wraps in tandem, rotating whose was in the oven and whose was getting painted on the stovetop.

Look at how excited Jon is about his sugar skulls! Also, note the fire extinguisher to the left - in case you thought I was kidding!
How much do I need?
You're probably scrolling through all of this to know what ratios to use for your own wraps. My recipe was 100g Beeswax: 40g Damar Gum : 1 tbsp coconut oil. We used a total of 550g of beeswax, 220g of Damar Gum, and 6 tbsp of coconut oil to make 35 wraps, which calculates out to about 15 grams of beeswax per wrap. This, specifically, was quite a difficult nugget of information to find in other blog posts, so we ended up buying way more wax and damar gum than we needed. (I say we. It was me. I was paranoid we'd run out and I'd ruin my first and therefore only chance at crafts night). There is a bit of wasted wax in what sticks to the bowl, the brushes, and the parchment paper, but it's still a pretty material - efficient project which is awesome! If you use up all your fabric but still have wax mixture leftover, just pour it into a muffin cup and save to re-melt later. You won’t be able to use the brushes for anything else, but you can wrap them up in newspaper once they’ve cooled and store them until the next time you make wax wraps if you like!
A few weeks after we finished our wraps, I found a New Zealand website with a nifty little beeswax wrap tutorial, (very similar to my method and recipe) which also sells all of the ingredients, along with a host of over things to DIY things like deoderant, lotion, and bath bombs, if you’re interested and local :)
How do they work?
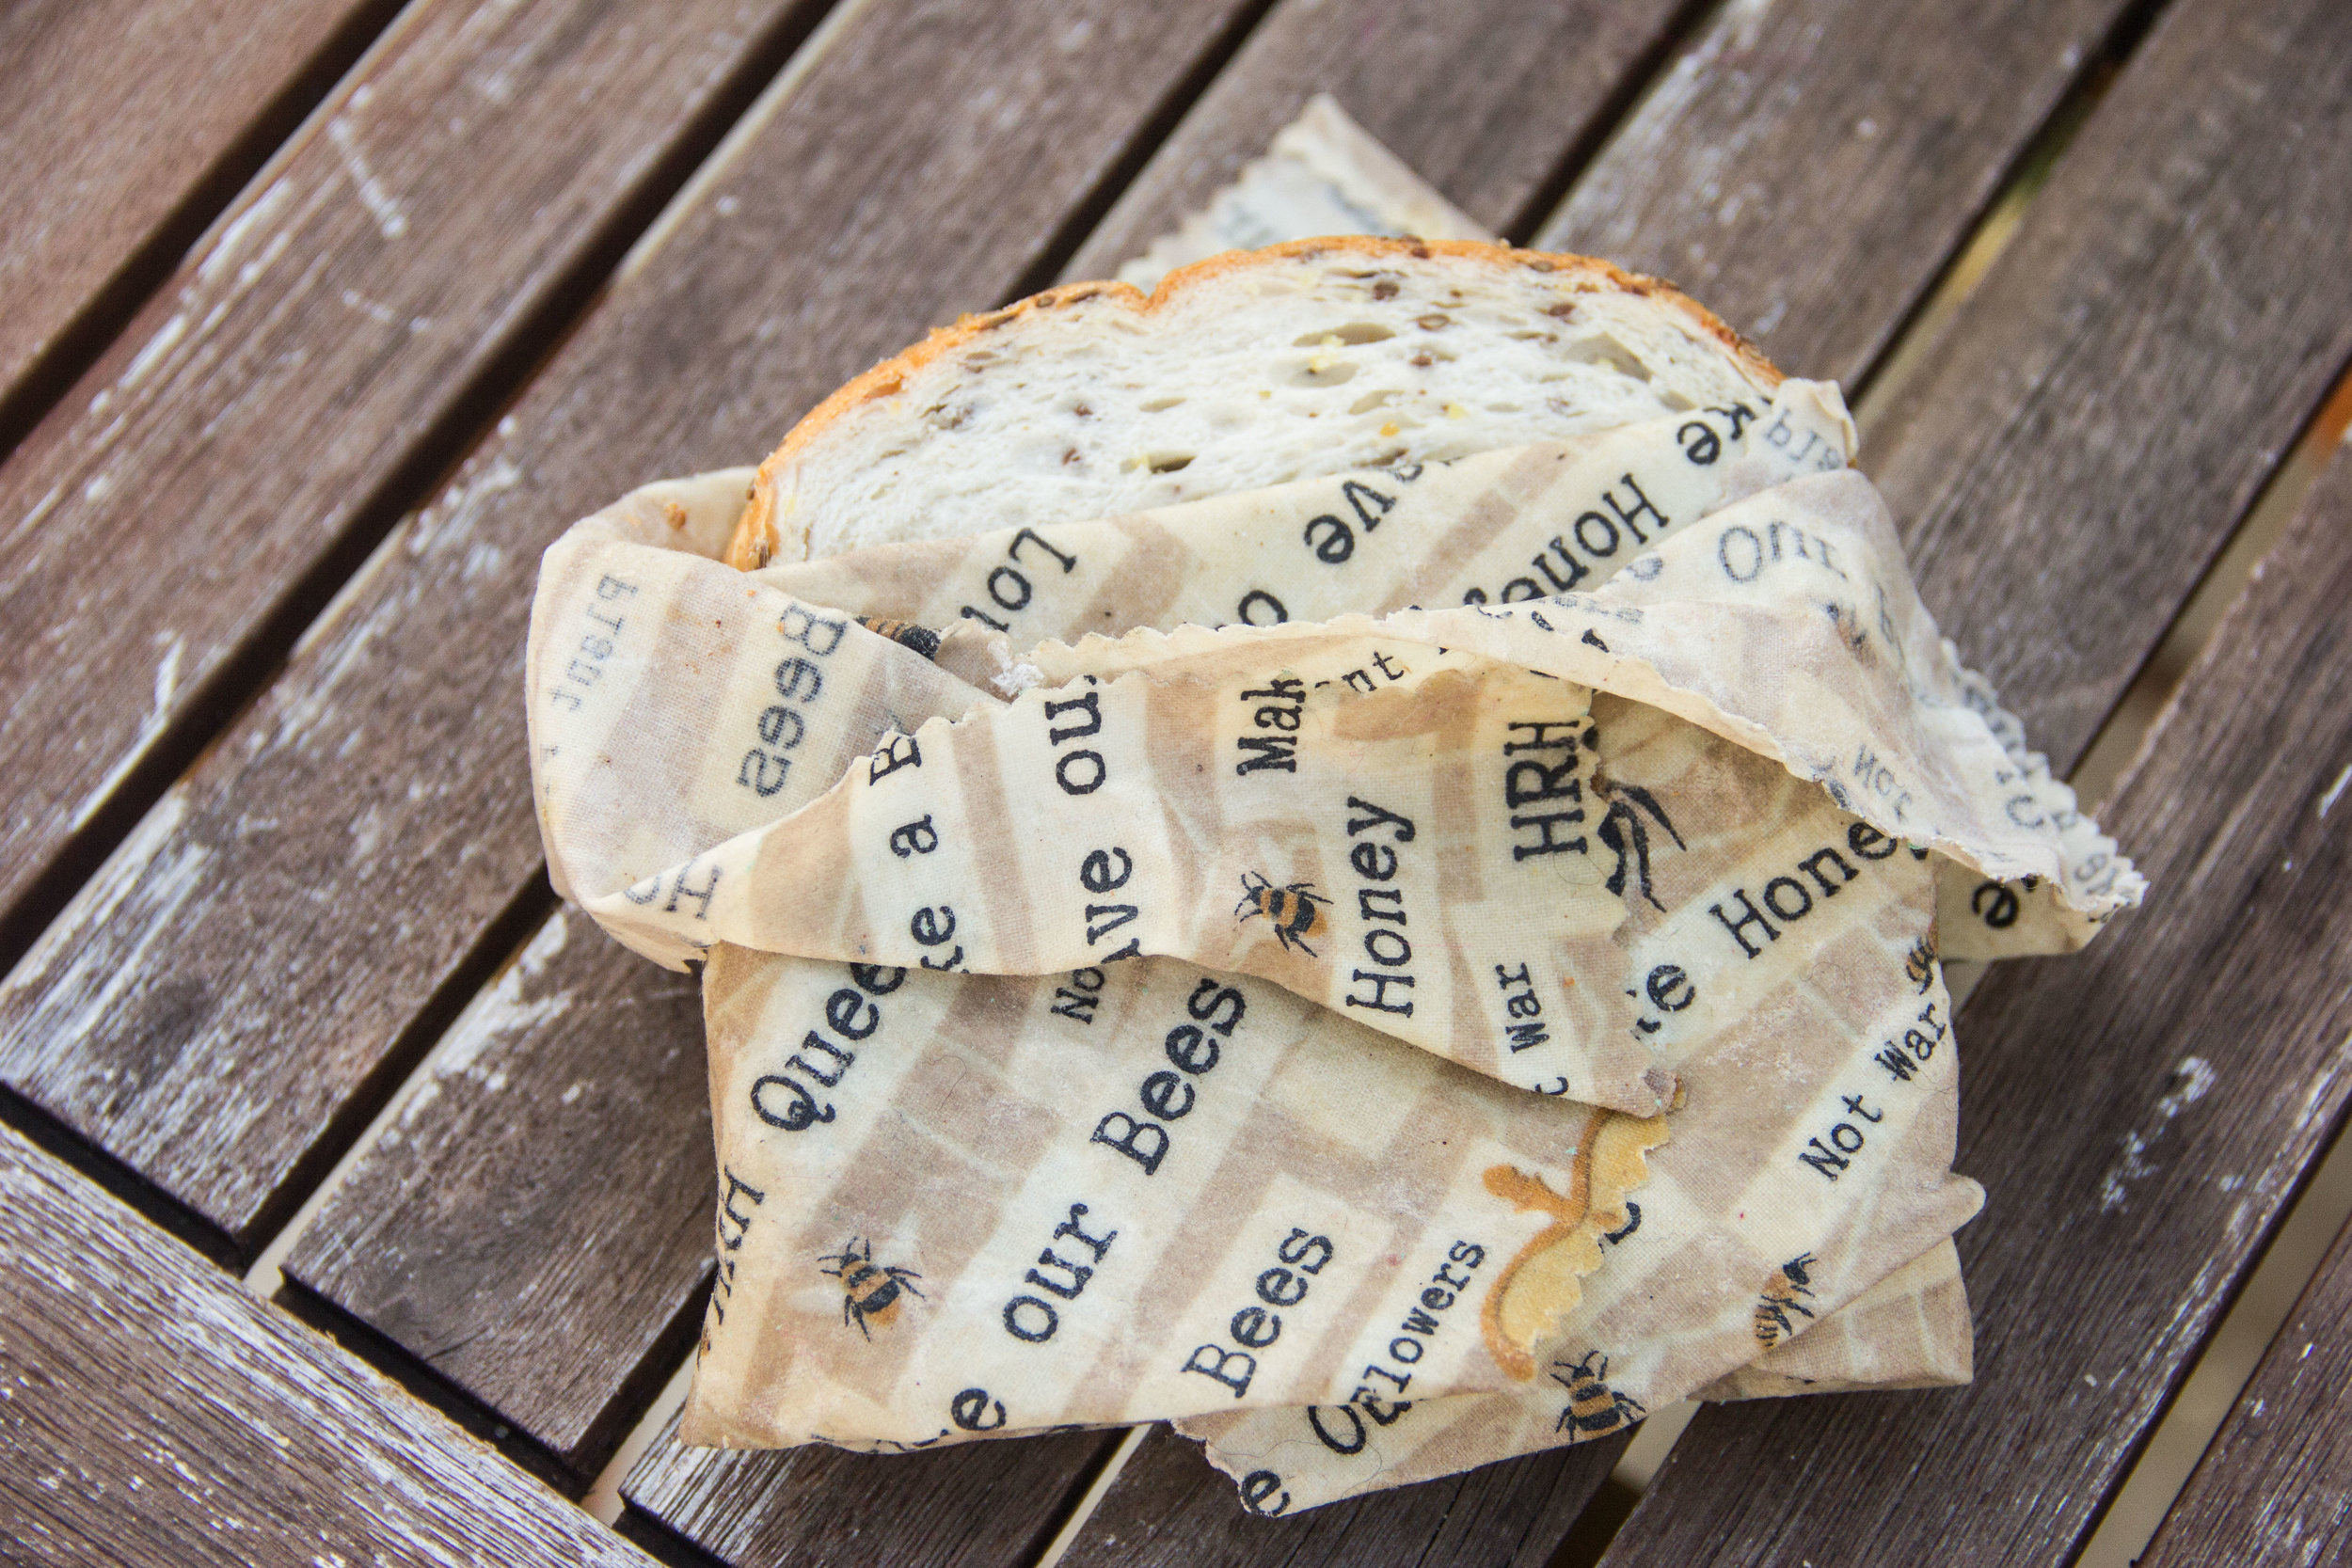
They're pretty cool! Ben and Sarah had some that they'd bought, so I was happy to be able to see how they compared. They don't really stick to themselves as aggressively as I expected them to, but they stick as well (if not a little bit better - they've been using theirs for a few months now) as the originals. They also definitely adhere well enough. If you wrap whatever it is you're wrapping and then hold it firmly in your hands for a few seconds, the wrap does stick and doesn't try to relax or come undone, which is good. They're easy to clean in cold water with a bit of soap if needed. Of course, you can't use them for raw meat or anything particularly saucy, but to be honest, we usually put those sorts of things in snap-lid containers anyways. According other blog posts (and a few FAQ pages from places that sell the wraps) they should last for 6 months at minimum - they can be refreshed by putting them on a parchment-lined baking tray in the oven for 3-4 minutes and then drying them like we did when we made them. After 9 months to a year, they may need to be re-coated. (that's why saving the leftovers is a good idea!)
In addition to being a pretty cool finished project, it was also a great project to do with a group for a craft night. We had 10 adults - there was a bit of prep involved in the melting (and I didn't pre-cut squares, because we didn’t know which fabrics people would choose - that was a full time job which I’d recommend doing ahead if you’re going to host). We also had take-out curry for dinner, so the kitchen wasn't in competition for multiple things, but everyone got to make their own wraps, and there was a good balance of being able to socialize with everyone who wasn't currently making them but also get into the process when it was your turn. Plus, since we had two trays going, each person who was finishing up could show the next person how to do it. Quote of the night from Jon was "It's really way more fun than it should be - but they turned out so cool!"

So what's the verdict? I've been lagging on the blog photos front lately and this post is no exception. Our wraps have been in rotation for a solid couple of months now, and I’d say they are a suitable replacement for clingwrap in about 80% of cases. I wrap my sandwiches and work snacks in them, and we wrap half-used fruit and veggies like onions, avocados, and melons in them - and at one point I made a little origami bag for a bundle of green beans out of one. That worked well. I don’t wash the one I take my sandwiches in unless something like jam leaks out of one, and then just give it a light wash each weekend. We still use cling wrap on occasion, but we’ve had the same roll sitting in the drawer for longer than we’ve had the bee wrap, and not bought a replacement, so usage has definitely decreased. I'll try to remember to post again when they need their refresh and let you know how I feel about them then! Practicality aside, 10/10 for boozy crafts night, and very much an instant gratification project - plus great for scraps! Would definitely recommend, especially with Christmas just around the corner ;)