• blog
  • What Kat's Made
  • The Wedding Dress
  • Tambour Embroidery
    • Workshops and Teaching
    • Shop
    • Beadwork Portfolio
    • Tutorials & Guides
    • About Me
Menu

Kat Makes

Kat Waters
  • blog
  • What Kat's Made
  • The Wedding Dress
  • Tambour Embroidery
  • More
    • Workshops and Teaching
    • Shop
    • Beadwork Portfolio
    • Tutorials & Guides
    • About Me

Blog: Kat Makes

Adventures in Obsession

katmakes wedding dress

Handmade Wedding Dress Chapter 10: Bodice Construction

March 21, 2019

The funny thing about this project is that for the majority of its in-progress time, it didn’t look like a dress at all. It looked like a pile of fabric and a funny looking embroidery frame. Today, I’m going to tell you about the weekend that started to change.

By this point, the corselet was ready and waiting and the embroidery was almost done - but I needed to construct the actual bodice of the dress. The fabric bodice is made of the same three layers as the skirt, which I did to ensure that the colors were cohesive throughout the dress. This meant cutting three of each pattern piece, of course. The fabric layers cover the corselet, but are visible through the embroidery. In my three wiggly silks (each of which behaved a bit differently), I had to be very careful when I constructed this piece, lest I end up with bubbling, which would turn to wrinkling when squished underneath the embroidery. Each piece had to be delicately cut, exactly on grain.

I did a lot of thinking about this, and a few tests, and decided on the following method (which I thankfully remembered to take approximately one million pictures of, you’re welcome :) You will, however, have to excuse my purple fingernails… some fabric dye from the Reception Dress that Never Was leaked into my gloves a few days prior… but that’s another story.)

marking the bodice pattern on silk

My technique was a combination of old school and new school: couture techniques meet new technology. First, (above), I carefully laid each of the three fabrics on top of each other, matching the grainlines. I used my dress bodice piece with zero seam allowance (the same one I’d used to thread trace the embroidery on to the invisible tulle) to trace the shape onto the dress using dots with my pilot frixion pen. I chose dots because the action of dragging the pen across the surface of the fabric caused the layers to shift, and I tested to be sure that the frixion pen (which disappears with heat) wouldn’t stain my fabric.

cutting the wedding dress silk

After tracing the zero seam allowance line, I lined up a second version of the pattern piece with a 5/8” seam allowance, and traced that line in the same way. Once the cutting line was traced, I ever so carefully cut out all three layers of the fabric.

basting wedding dress bodice

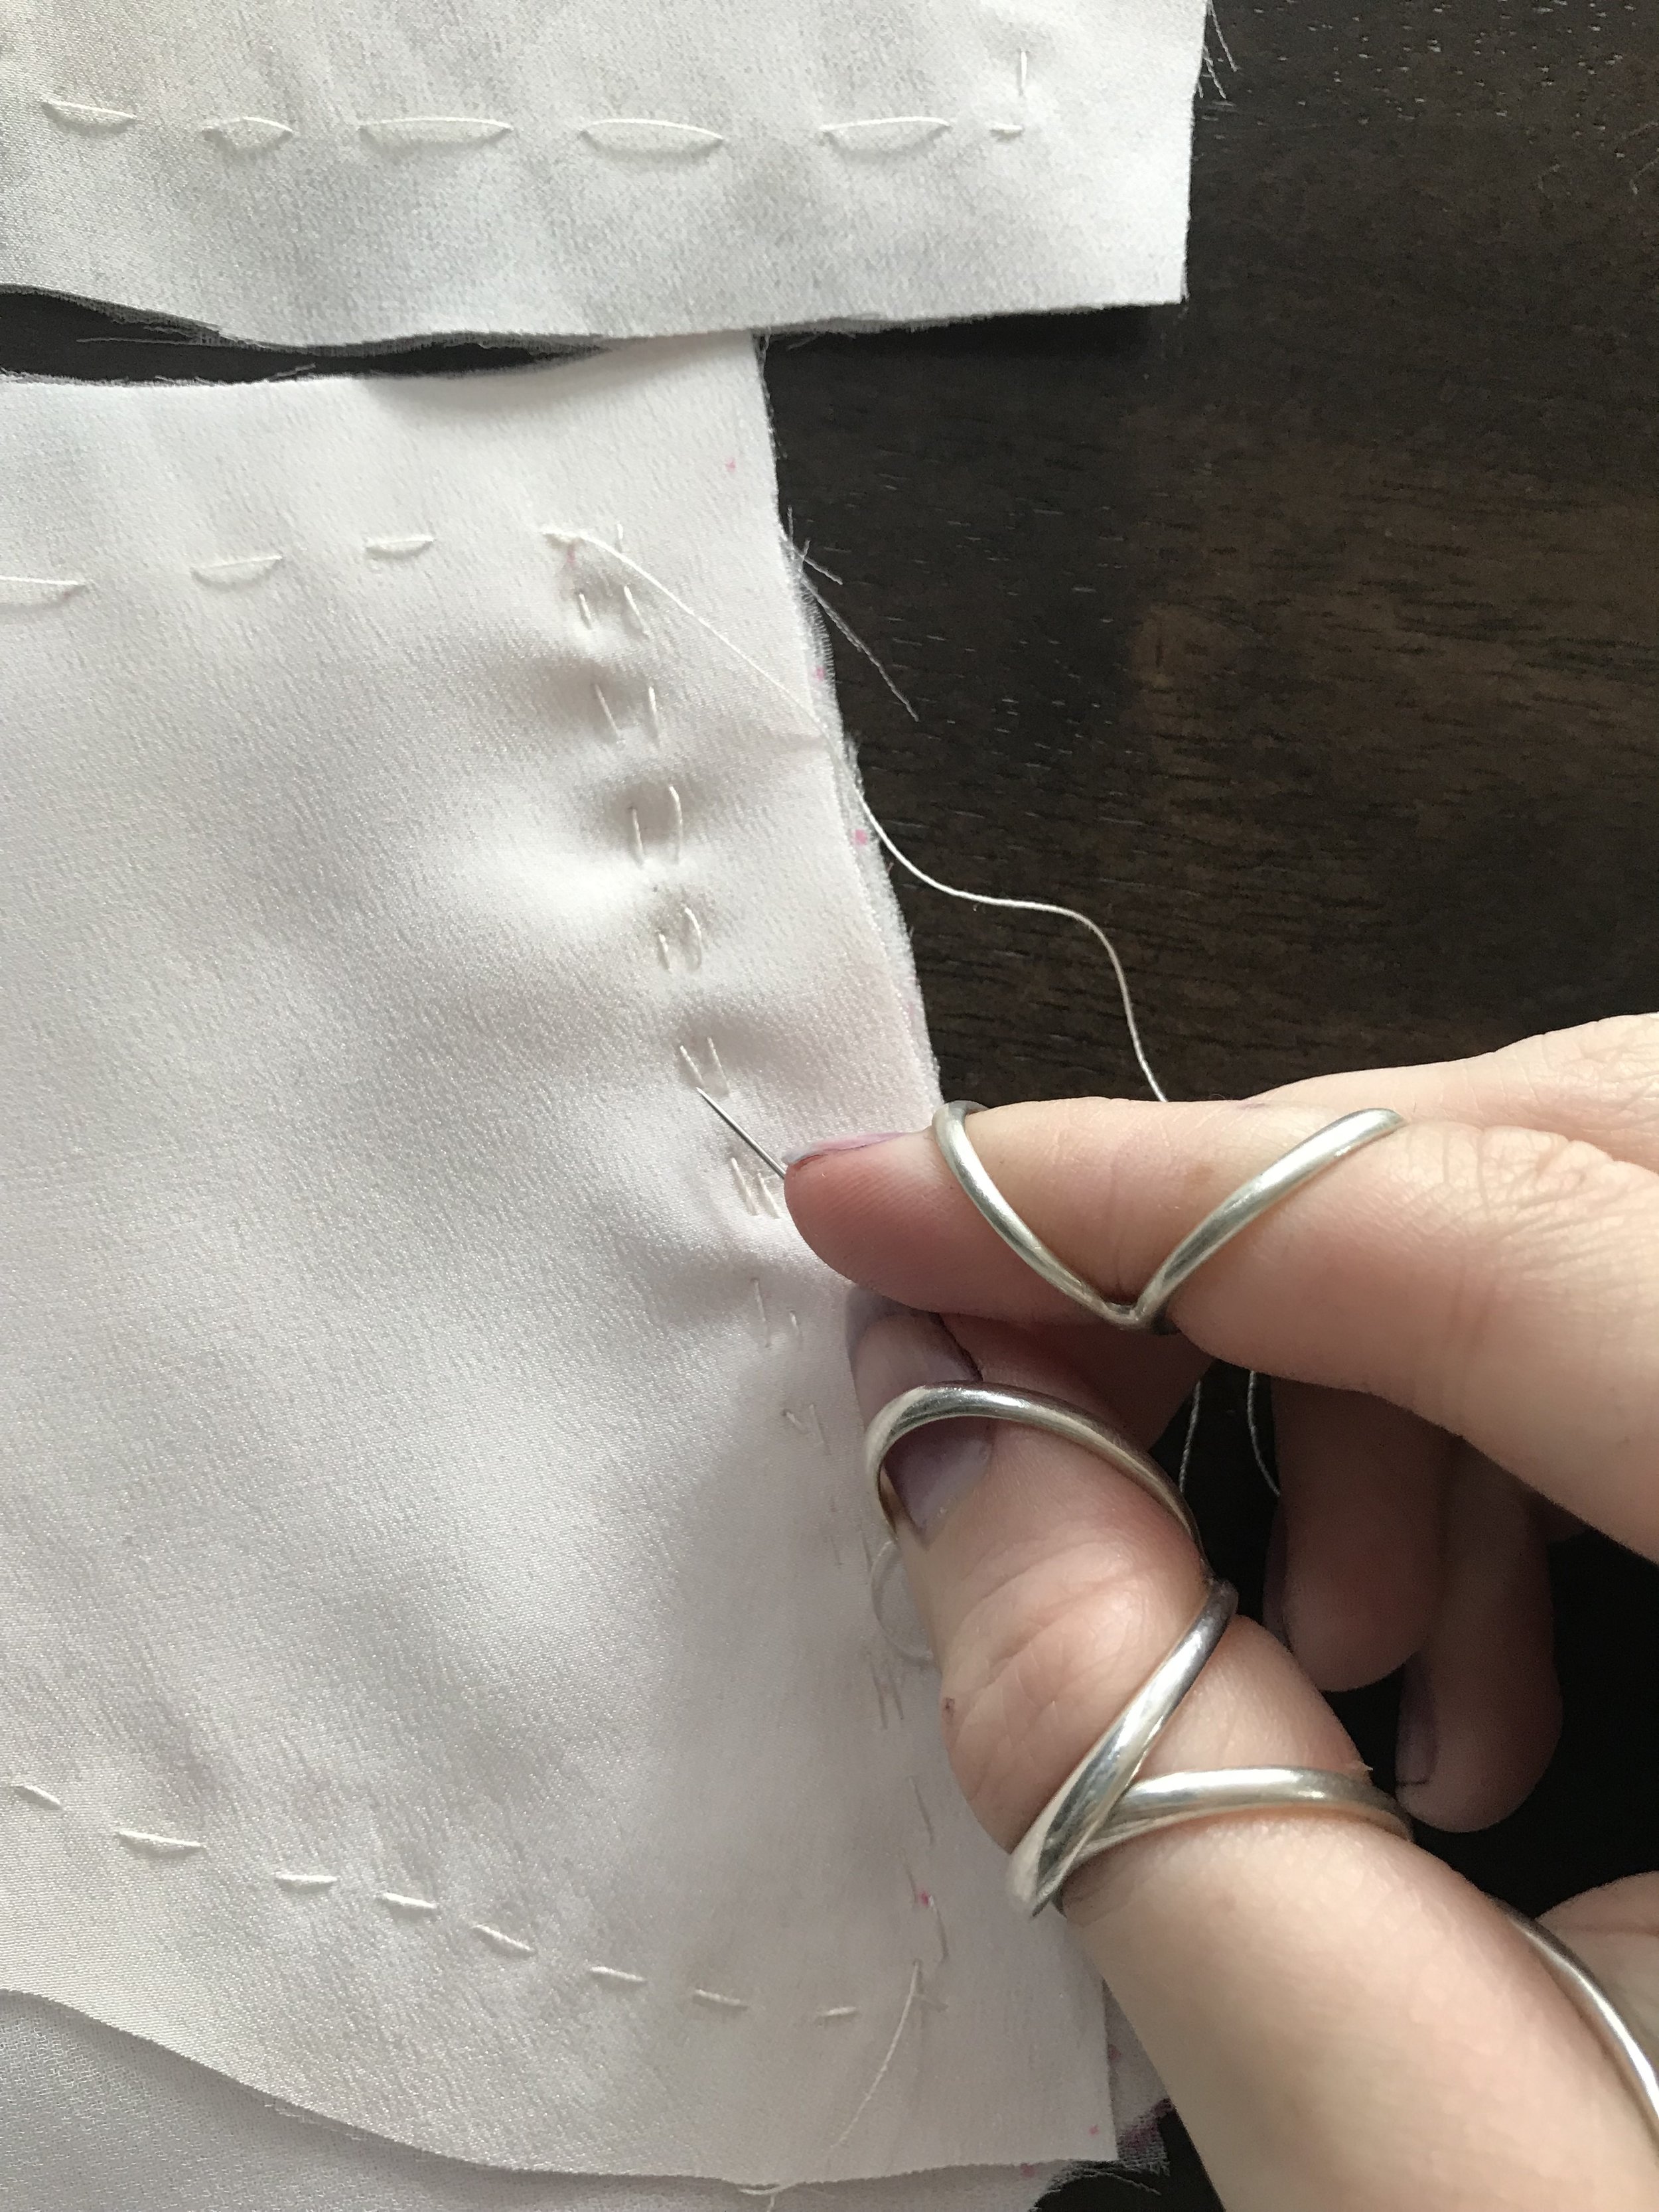
After cutting the piece out, but without moving the three stacked layers from the location where I’d cut them, I basted the layers together approximately 1/8” inside the sewing dotted lines. I used the smallest needle I could find, and silk basting thread for this step, and attempted to lift the fabric as little as possible until all edges were basted together. The purpose of this line of basting is to keep the three silks attached to each other - from this point forward I repeated the process with each of the 7 pattern pieces: Back, Side-Back, Side-front, and Front.

finished basted bodice of wedding dress

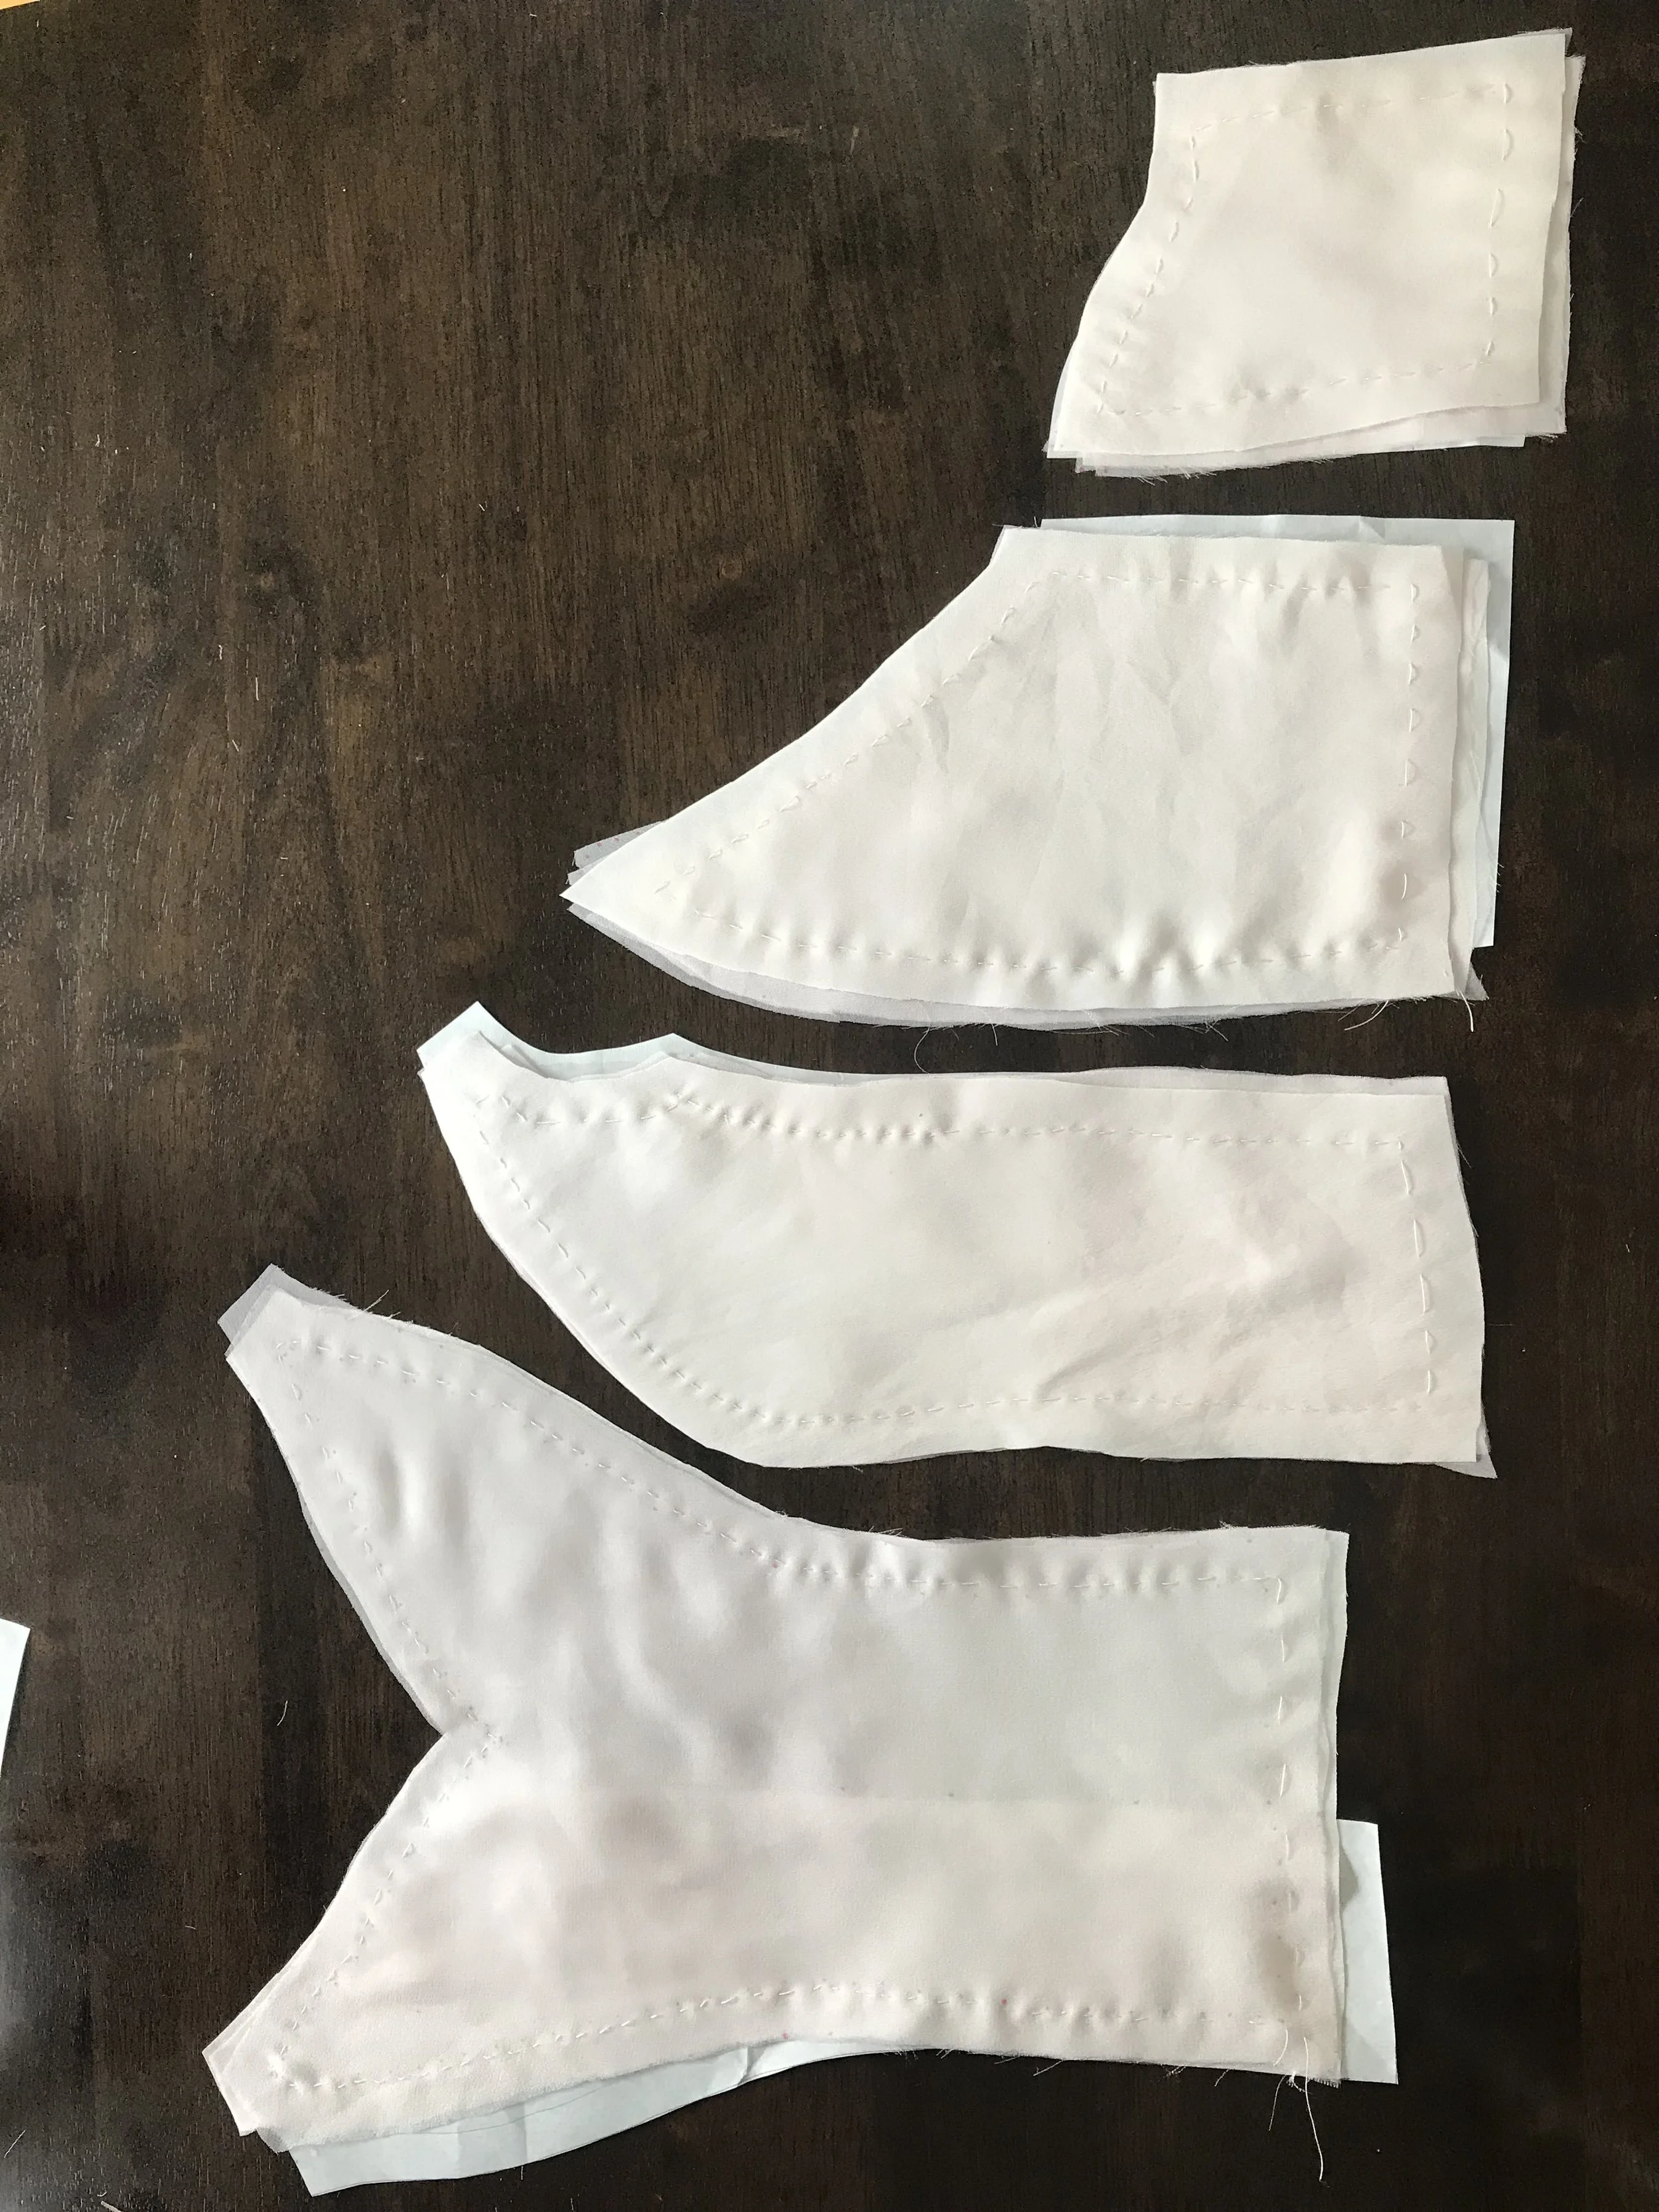
That’s all the first rows of basting finished! You can see that the strap connection points on the front piece had some shifting during basting - the top layer of gauze must not have been aligned on grain correctly, so it shifted - thankfully it stayed within the seam allowance, so this didn’t matter.

pinning wedding dress bodice pieces
pinning wedding dress bodice

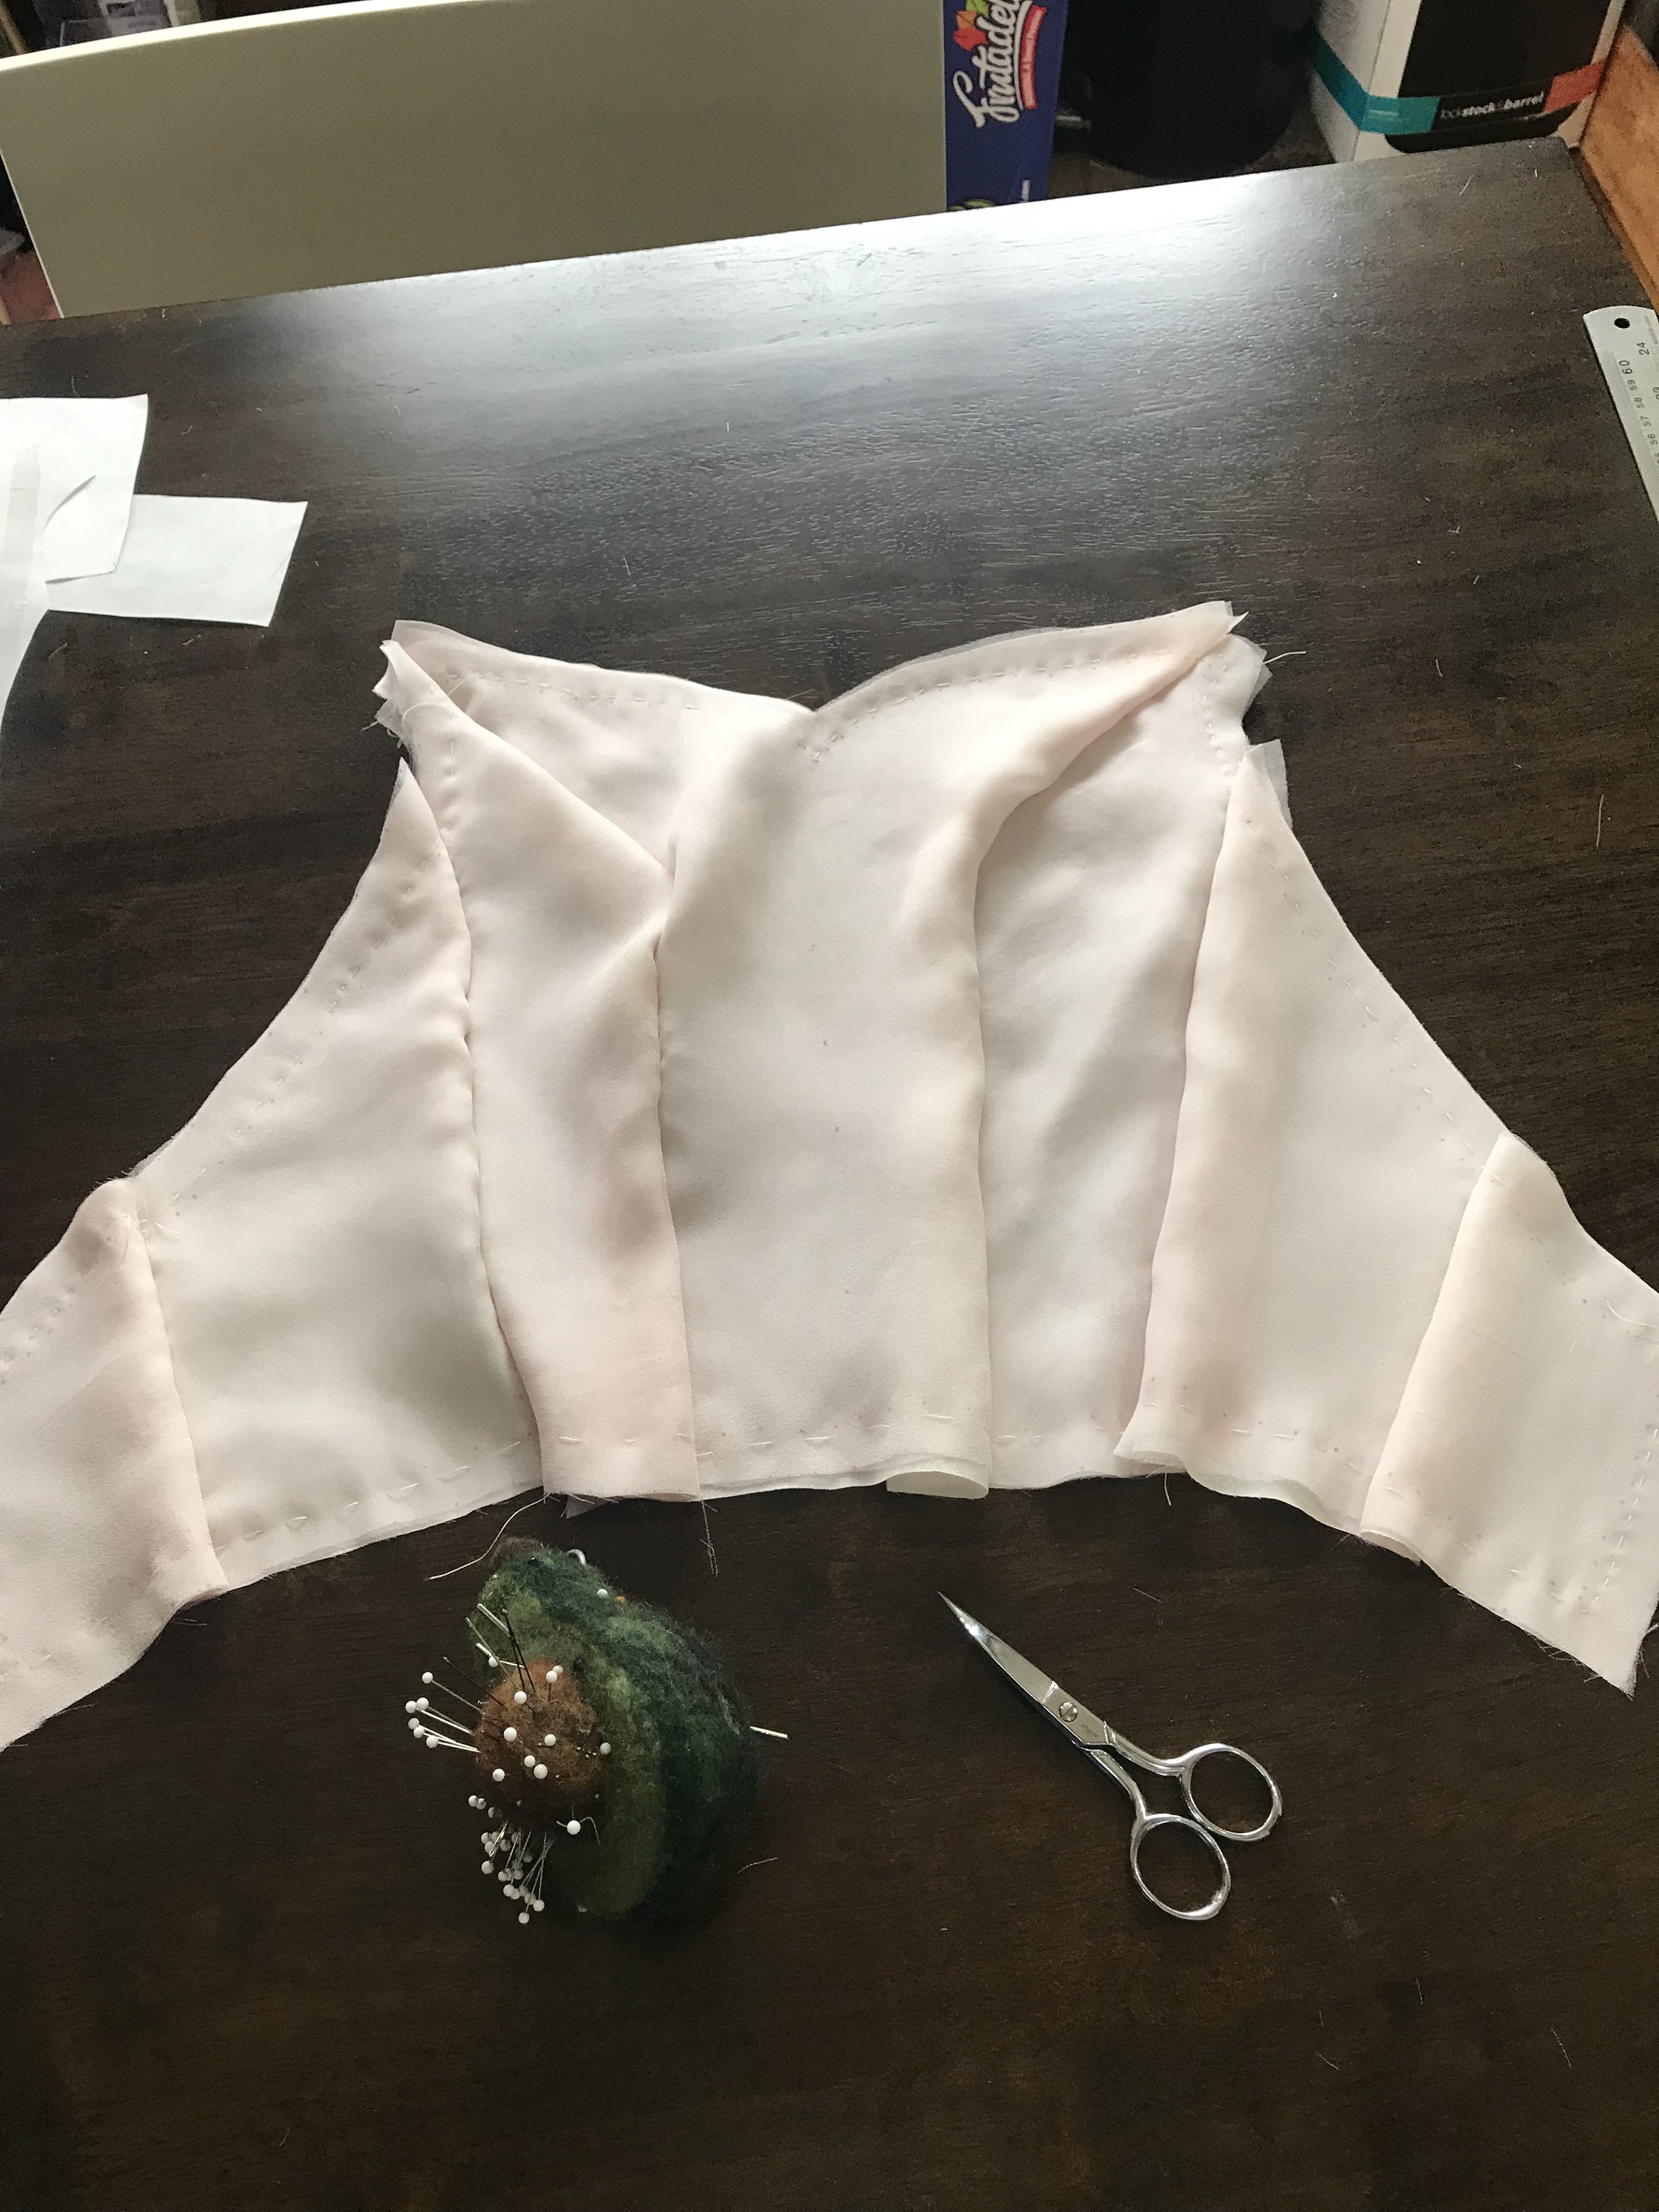
After the first round of basting, It was time to attach the pieces to each other, I tried various configurations of pinning so that I could hold them in the right place, and eventually decided that pinning along the seam (instead of across it) worked best and meant that I got stabbed the least. Always a good thing to keep blood off a white dress! I pinned the pieces right sides together, and then ran another line of basting 1/16” between the seam line and the first basting line, being careful to line them up on both sides. I could have basted on the actual seam line at this stage, but I chose not to because I didn’t want to risk not being able to pull my basting stitches out and having them visible on the right side of the bodice.

hand sewing wedding dress bodice

Once all the pieces were basted to each other, I carefully pressed the seams flat so that I could check the fit before sewing the seams permanently.

in progress diy wedding dress

Each seam was still 1/16” away from the actual seam line, but that was fine for a quick check to make sure I had no wayward bubbling or skewed pieces. At this point, because I’d used the same pieces for the corselet, there wasn’t really a question over whether it would fit. It also really couldn’t not fit, because the embroidery at this stage couldn’t change shape. I pinned the silk bodice to the corselet along the top edges, plus a few additional pins to line up the seams at the waistline, and gave it a quick try-on. Thankfully, everything laid exactly how it was supposed to!

completed basted wedding dress bodice

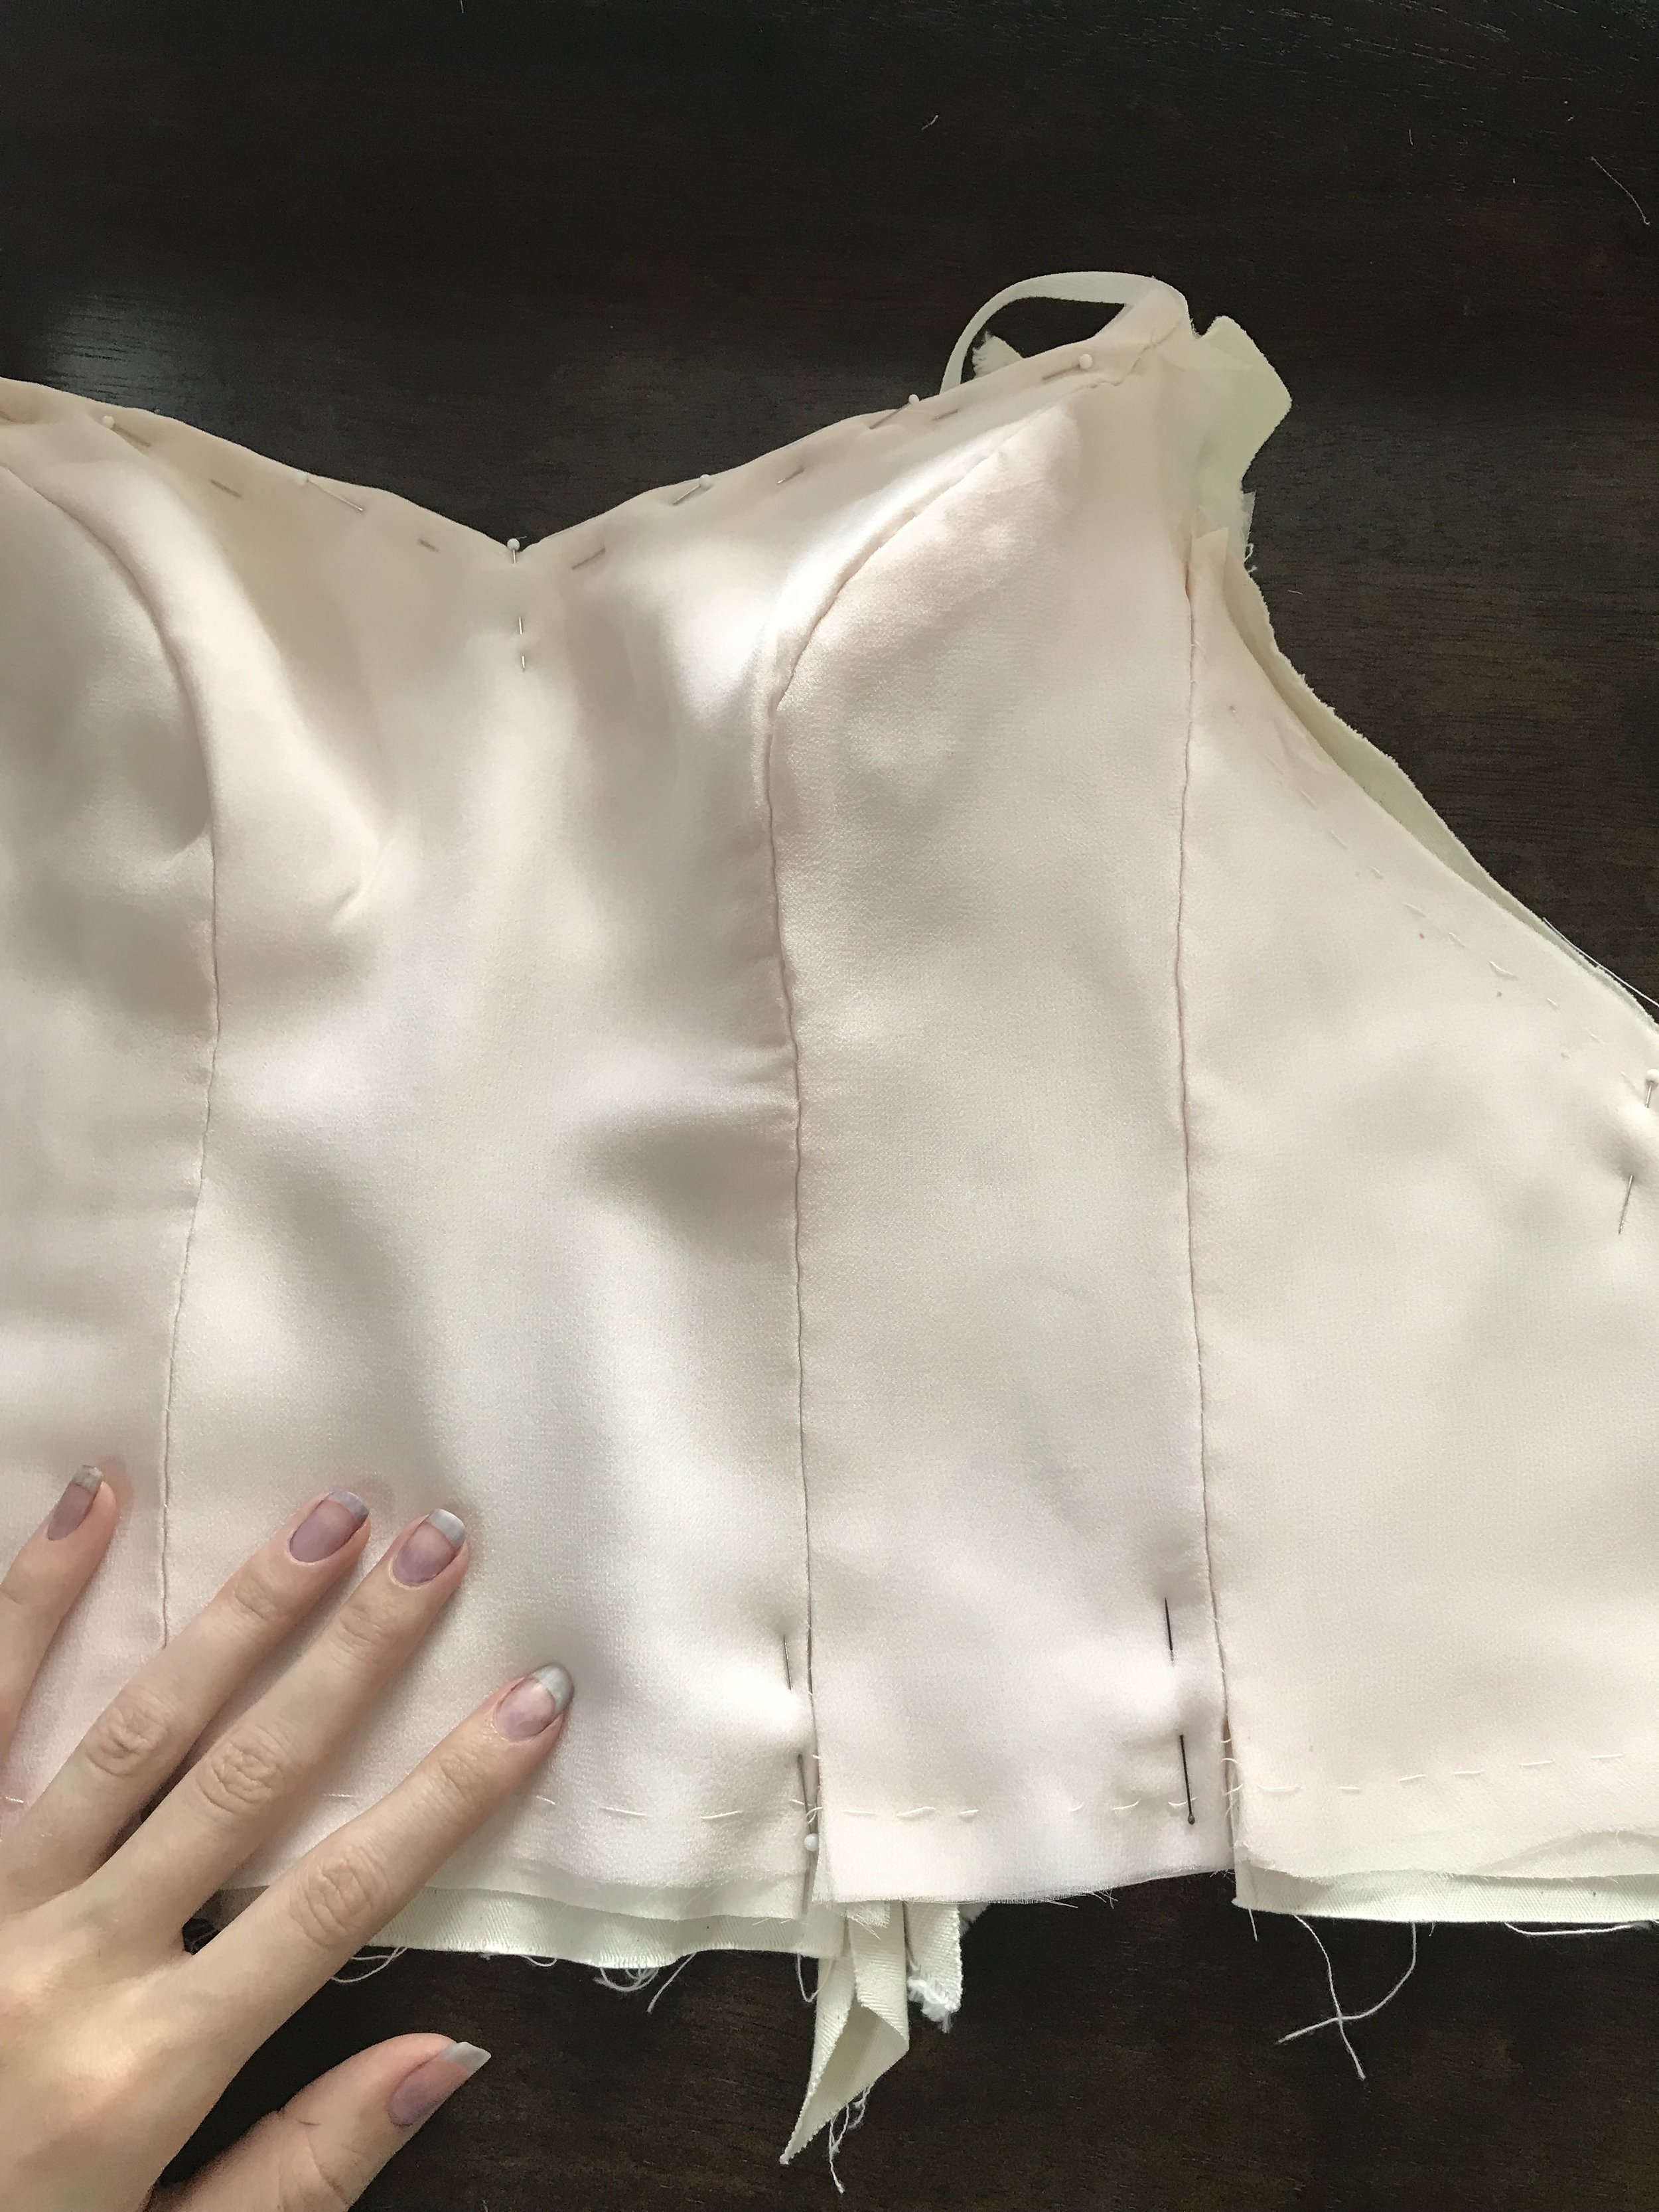
I pressed the seams back so that I’d be able to machine sew the final seams of the bodice, and then I - finally - after nearly four hours of basting - machine stitched my bodice together in under five minutes. I removed the second line of basting stitches, pressed and steamed my seams more aggressively flat, and with that, it was time to attach the bodice to the corselet!

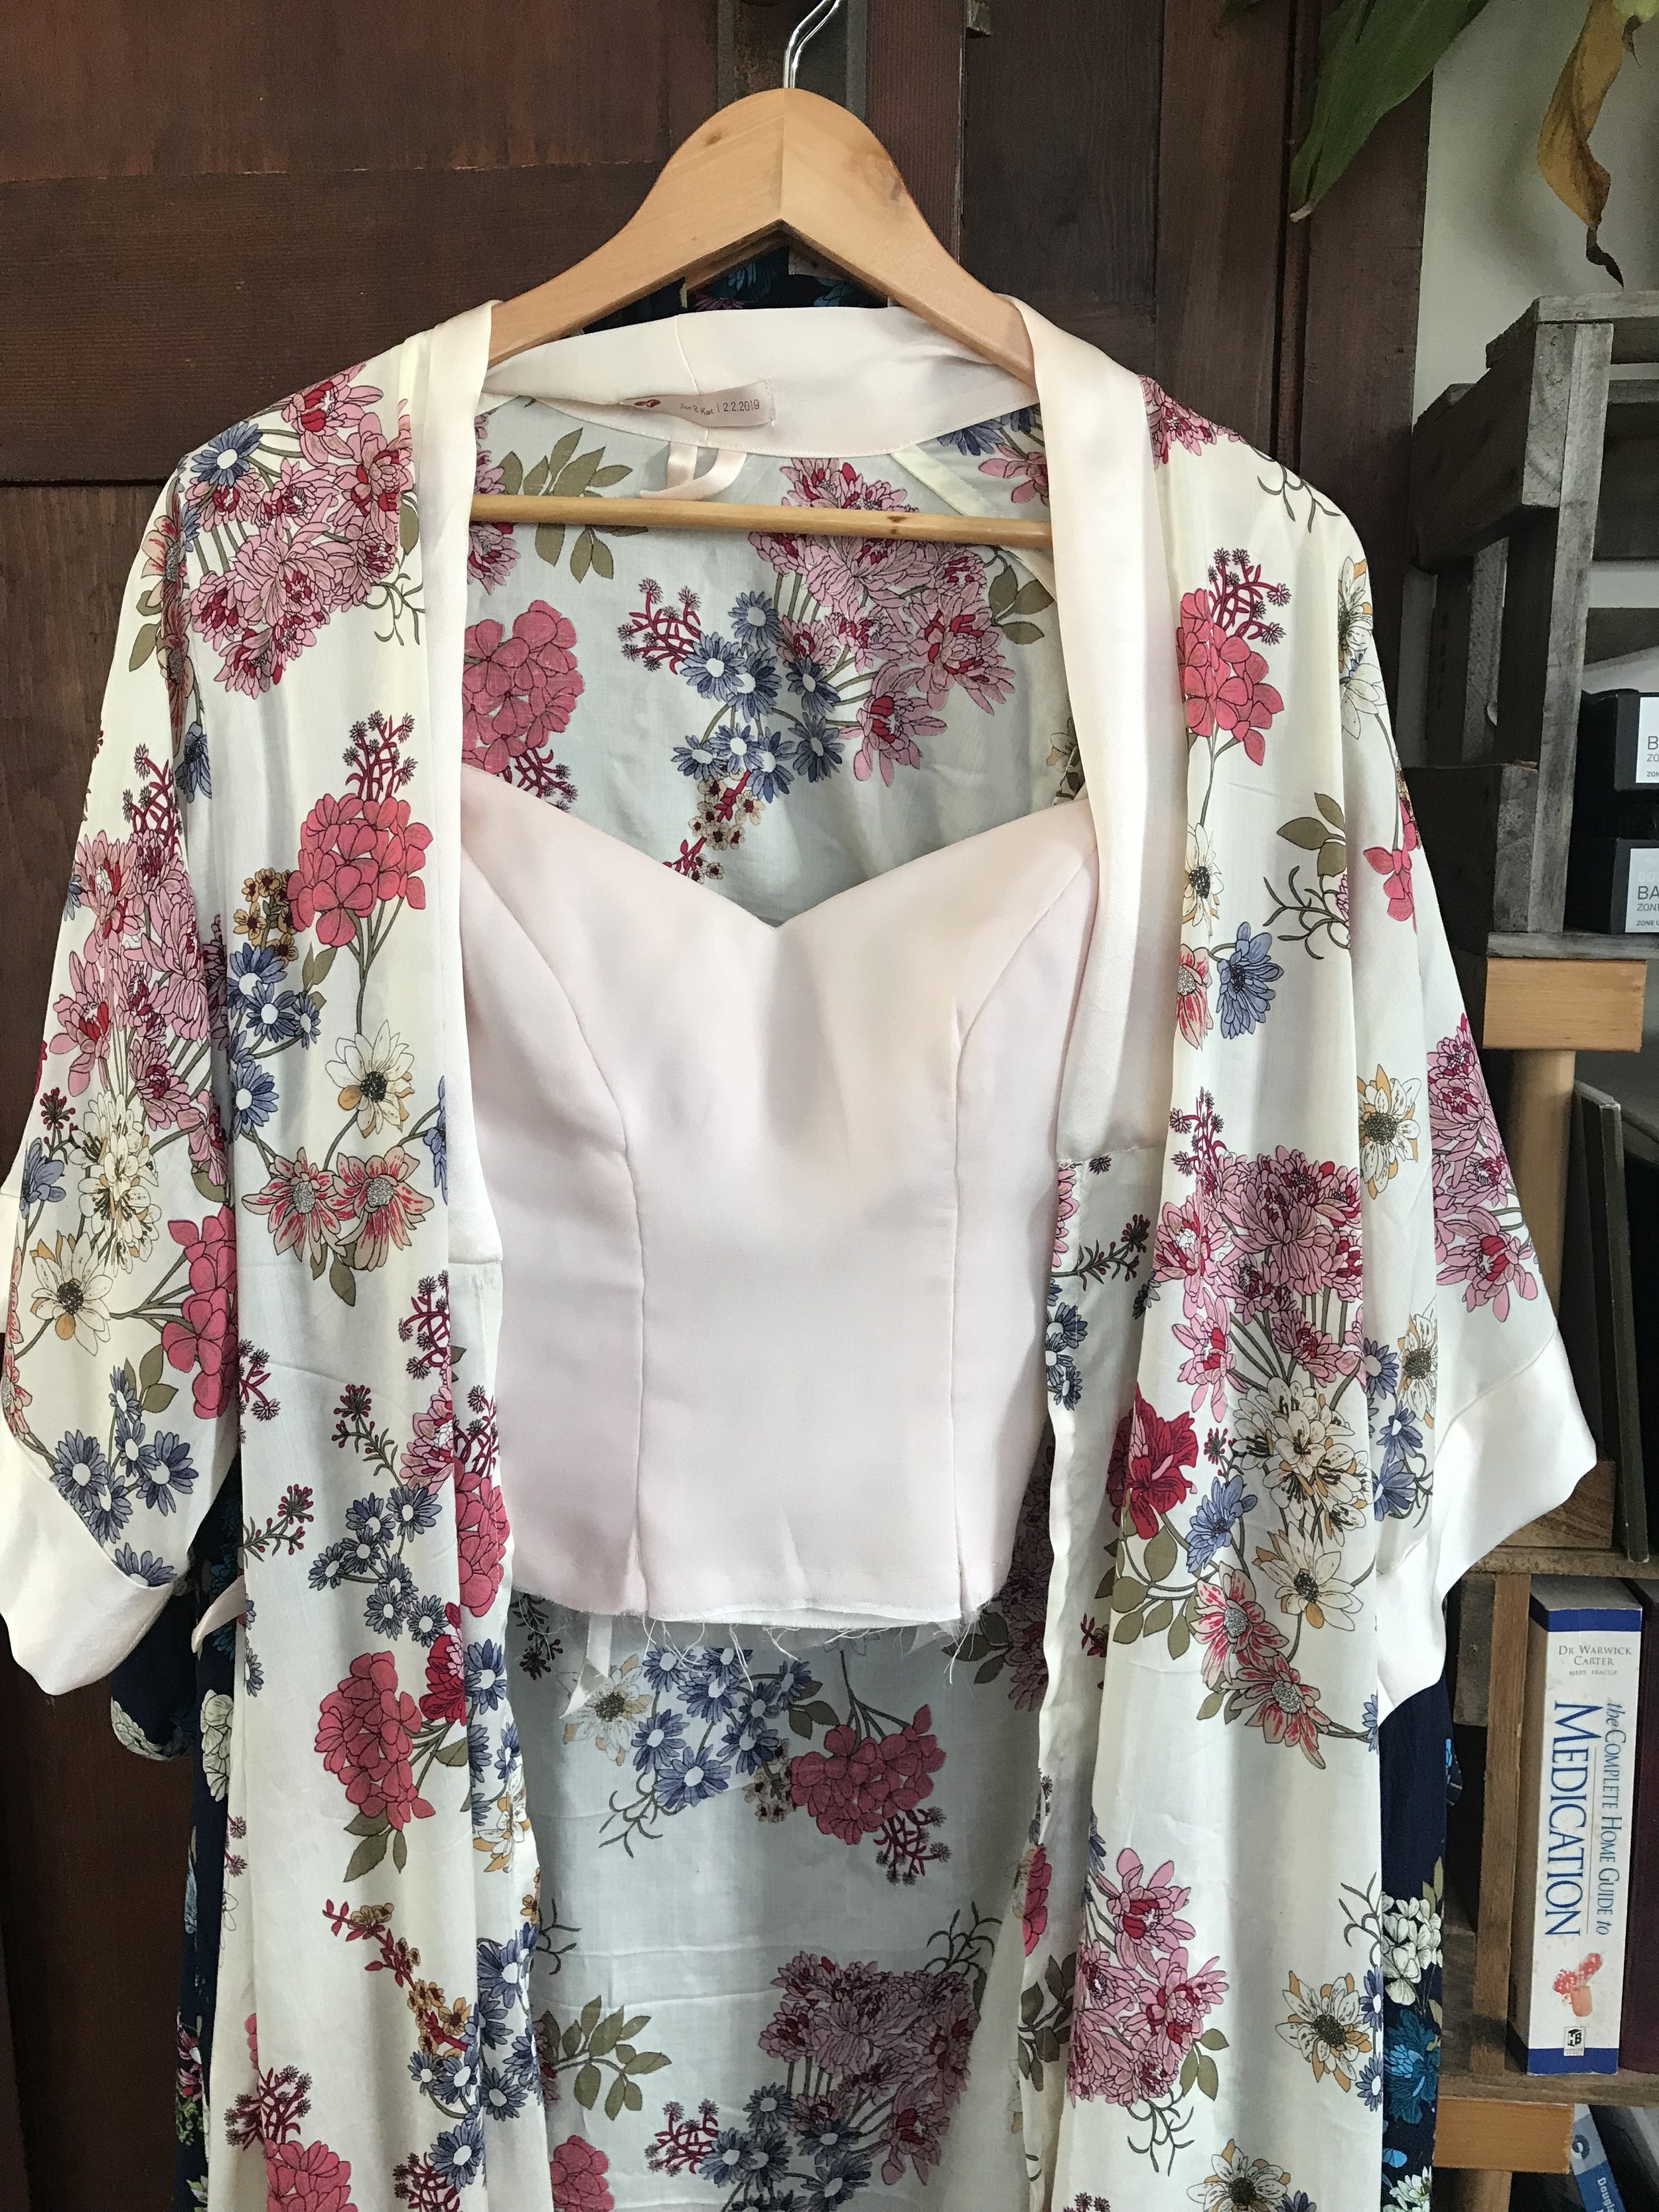
The bodice is attached to the corselet along the top neck edge and the zipper, but only one of those things could happen before I constructed the skirt. I attached the lining and bodice to the corselet (and added the self fabric straps, which are tubes of satin with a piece of twill tape strung through), and then hung the bodice up until I was ready to attach it to the skirt. Doesn’t it look particularly cute under my bridal dressing gown? (It’s a Suki Kimono - I promise I’ll blog about it as well as the four others I made for us to get ready in!)

hanging wedding dress bodice

The next step was to make the skirt, and then unite the top half of my dress with the bottom half! Next week’s post, she’s REALLY going to start to look like a dress!

In Making Clothes, Project Wedding Dress Tags handmade wedding dress, diy wedding dress, silk wedding dress, pink wedding, new zealand wedding blog, nz weddings, bodice sewing, couture bodice techniques, basting wedding dress, princess seamed bodice, hand sewing wedding dress, stabilizing silk bodice, handmade wedding, diy wedding, nz sewing, new zealand sewing blog
← Handmade Wedding Dress Chapter 11: Skirt Construction and Dress AssemblyHandmade Wedding Dress Chapter 9: Dyeing the Fabric →

Support me on Patreon

Hi! I'm Kat, I don't have any cats, and this is organized chaos. If you'd like to chat about catlessness, sewing, knitting, or other forms of world domination, I'd love to hear from you!katherine.klebenow@gmail.com

Hi! I'm Kat, I FINALLY have a cat, and this is organized chaos. If you'd like to chat about cats, sewing, knitting, or other forms of world domination, I'd love to hear from you!

hellokat.makes@gmail.com

Category
  • Bernina
  • Bramaking
  • Machine Embroidery
  • Making Clothes
  • Pattern Sewing
  • Project Wedding Dress
  • Projects
  • Self Drafted Sewing
  • Shoemaking
  • Tambour and Beadwork
  • The Monthly Draft
  • Travel
  • Tutorials
  • Yarn and Handknits
Subscribe on YouTube
Featured
Tutorial: Sewing a custom Cat Carrier Cover for your cat's travel box
Oct 9, 2024
Tutorial: Sewing a custom Cat Carrier Cover for your cat's travel box
Oct 9, 2024

Today's project is a cover, custom made to fit over my cats' travel carrier. This project has everything - custom drafting, magnets, hardware installation, problem solving: All in the name of keeping my kitties happy in transit! It's a long one - you've been warned.

Oct 9, 2024
Weaving your First Project on a Rigid Heddle Loom
Apr 26, 2023
Weaving your First Project on a Rigid Heddle Loom
Apr 26, 2023

My very first project on my new rigid heddle loom! I so enjoyed learning this new skill - here are a collection of tips as well as links to tutorials I found helpful as I made my first project!

Apr 26, 2023
DIY, Sewing, and Craft Supply Shops in New Zealand
Apr 13, 2023
DIY, Sewing, and Craft Supply Shops in New Zealand
Apr 13, 2023

Ever wondered where to get a weirdly specific hardware? supplies for making shoes, bags, or embroidered tea towels? Dye supplies or fancy zips? I've compiled a list of my favourite sources!

Apr 13, 2023
Sewing the Haptic Lab Constellation Quilt (again)
Mar 30, 2023
Sewing the Haptic Lab Constellation Quilt (again)
Mar 30, 2023

I’m making a northern stars constellation quilt to match my southern stars one! This one has started quite a bit differently from the last one - so I’ve shared my process in case it helps you with a similar project!

Mar 30, 2023
The Tambour Embroidery Hoop Holder: A Woodworking DIY
Mar 23, 2023
The Tambour Embroidery Hoop Holder: A Woodworking DIY
Mar 23, 2023

In which our intrepid tambour embroidery fanatic once again attempts woodworking in the name of beads. (Also, in which fortunately the attempt is once again successful!)

Mar 23, 2023
The Home Sewist's Guide to Snap Fasteners for baby clothes, bag making, and more
Mar 15, 2023
The Home Sewist's Guide to Snap Fasteners for baby clothes, bag making, and more
Mar 15, 2023

A deep dive into the world of snap fasteners! Did you know there were so many options to choose from? We go through five popular options for fasteners and discuss the pros and cons, as well as applications, of each

Mar 15, 2023
Lillian's Embroidered Wedding Veil
Mar 1, 2023
Lillian's Embroidered Wedding Veil
Mar 1, 2023

Making Lill’s cathedral length floral embroidered wedding dress - all in one monster post!

Mar 1, 2023
Art Deco Wardrobe Collection
Feb 19, 2023
Art Deco Wardrobe Collection
Feb 19, 2023

This was going to be the year I finally attended the Art Deco festival in Napier - here’s everything I made to wear for the weekend, all in one place!

Feb 19, 2023
Tutorial: Pullover Hoodie with Cat Pocket
Nov 9, 2022
Tutorial: Pullover Hoodie with Cat Pocket
Nov 9, 2022

Do you have a velcro kitty like me? I made my very own cat-pocket hoodie so I can carry my little guy around wherever he wants to go, and it’s a tutorial now so you can make one yourself!

Nov 9, 2022
The Prick and Pounce Method for Tambour Embroidery
Nov 9, 2022
The Prick and Pounce Method for Tambour Embroidery
Nov 9, 2022

Today we’re exploring one of the oldest methods of embroidery design transfer - the prick and pounce method!

Nov 9, 2022

Get the Updates!

Customize Updates
choose 'Blog Updates' to get an email whenever I publish a new post, and 'Newsletter' for the newsletter. Or choose both!
Thank you!

Instagram

Woven scarf number two! For this one, I tried weaving with laceweight which I was *certain* would require a 15 dent heddle but the wpi math said 12.5 so I went with it. Woven on my @ashford_wheels_looms 16” rigid heddle loom using alpaca yarn w
Pink scenes from a weekend of sewing: I’m having a summer birthday for the first time in almost a decade, and the occasion calls for a summer birthday dress! I’m tackling the bustier style, which i anticipate may be a bit of a mission bec
Happy first Gotcha Day to this little dude! It’s been so fun to watch him grow up from a tiny little puffball into a Whole Cat, who is somehow also just a tiny human fellow in a cat suit 💕 here’s to another 365, and may the future, perha
Finished Scarf!! It took a while for the weather to cooperate for these photos but that’s all good because it gave me time to write my blog post! 

This is my Very First Ever project on a rigid heddle loom- mine is the @ashford_wheels_looms 16&
Archive
  • October 2024
  • April 2023
  • March 2023
  • February 2023
  • November 2022
  • March 2022
  • January 2022
  • November 2021
  • September 2021
  • July 2021
  • January 2021
  • April 2020
  • March 2020
  • August 2019
  • July 2019
  • June 2019
  • May 2019
  • April 2019
  • March 2019
  • February 2019
  • December 2018
  • November 2018
  • October 2018
  • September 2018
  • August 2018
  • July 2018
  • June 2018
  • May 2018
  • April 2018
  • March 2018
  • February 2018
  • January 2018
  • December 2017
  • November 2017
  • October 2017
  • September 2017
  • August 2017
  • July 2017
  • June 2017
  • May 2017
  • April 2017
  • March 2017
  • February 2017
  • January 2017
  • December 2016
  • November 2016
  • October 2016
  • September 2016
  • August 2016
  • July 2016
  • June 2016
  • January 2016
  • December 2015
  • May 2015
  • April 2015
  • March 2015
  • December 2014
  • November 2014
  • October 2014
  • August 2014
  • June 2014
  • March 2014
  • January 2014

Get the Updates!

Put your Email Address in the box, and I'll ask the friendly internet robots to send you a message when I post an update!

I'll send an email for each new post.

Thank you!