

The big scary shoe lasting post is here! Technically, my shoes are finished now, but I’m saving that little fact from this post so that I can show you all the pretty photos of them in all their finished glory, and also so that I can go through everything I’ve learned that will change the way I do things in the future, (read: mistakes) along with some opinions once I’ve had a chance to wear them a bit more.
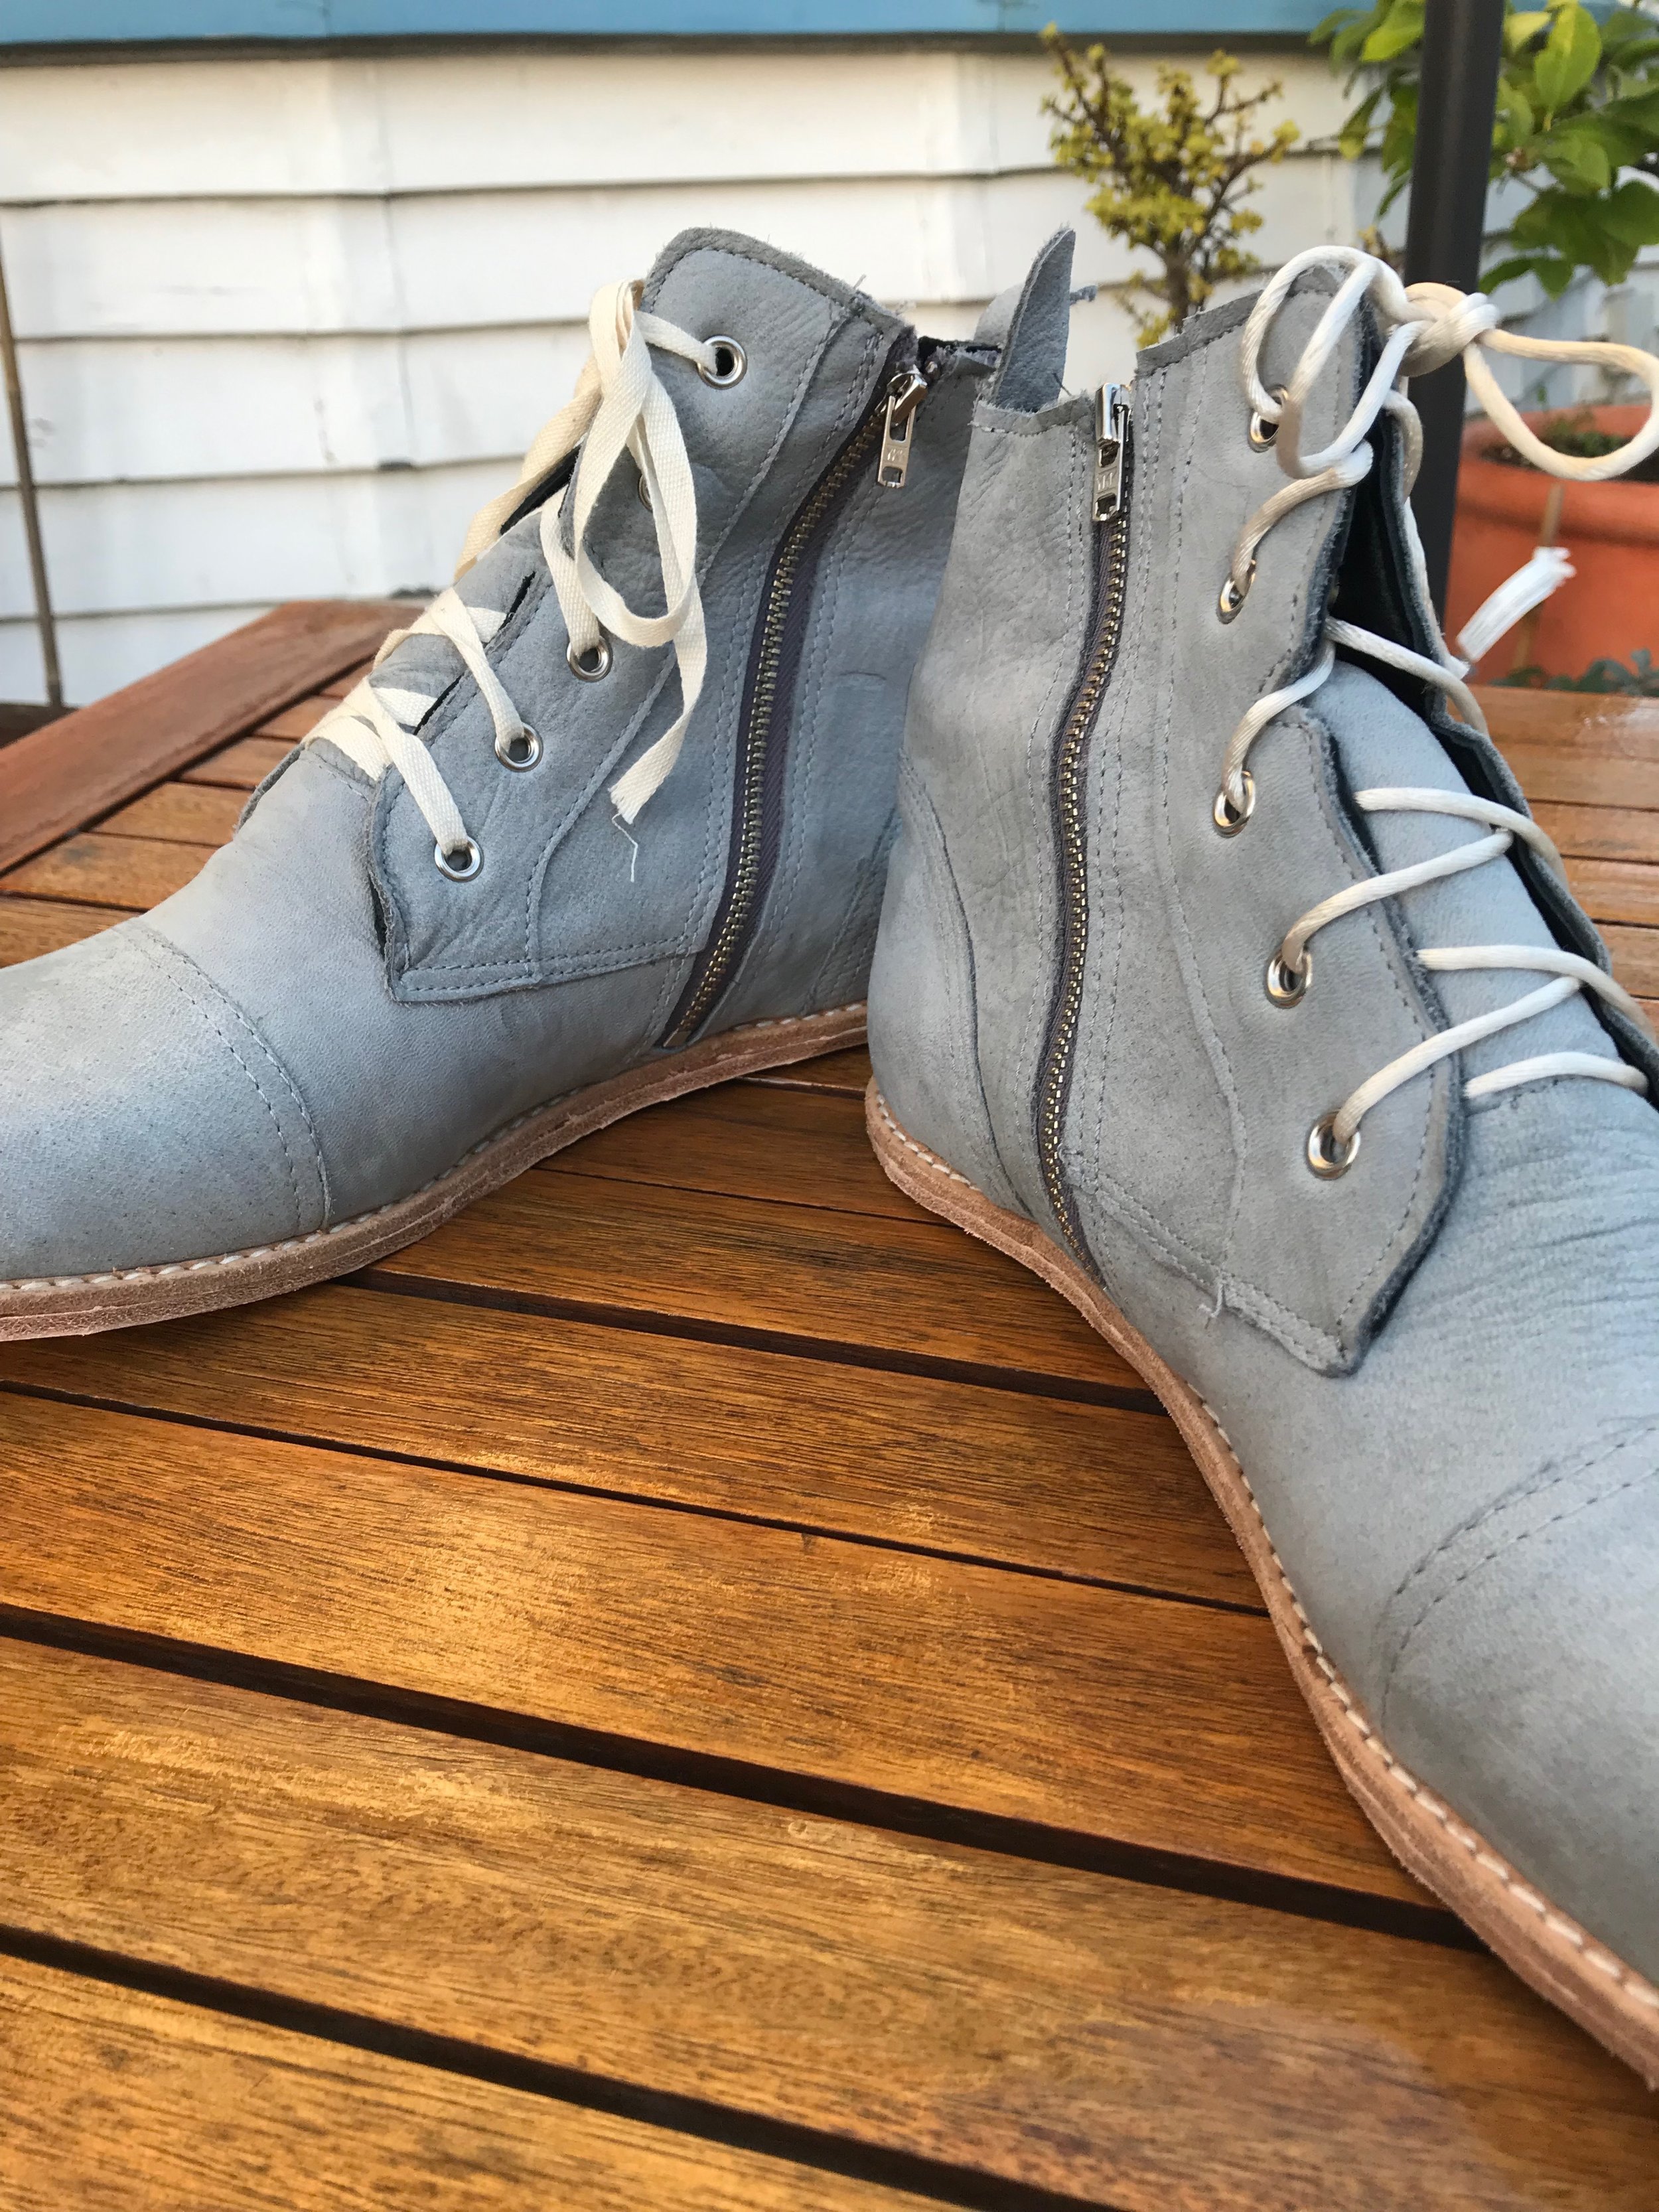
This post is the finishing-up of the construction process though. At this point, my shoe uppers are complete, but they’re still in the floppy shoe-pancake stage, so they need their shoe shape, their structure, and most importantly, their soles and heels!

First, I cut two pieces of insole board to the shape of the bottom of my last. The insole board is the inner structural component of the bottom of the shoe. When I remove the last at the end of the process, I’ll be able to see the insole board inside the shoe - until I cover it up with the cushion layer. The insole board is tacked to the bottom of the shoe to keep it in place during the lasting process. I drew the 2cm lasting allowance on to the insole to make it easier to line things up while I was lasting the shoes.
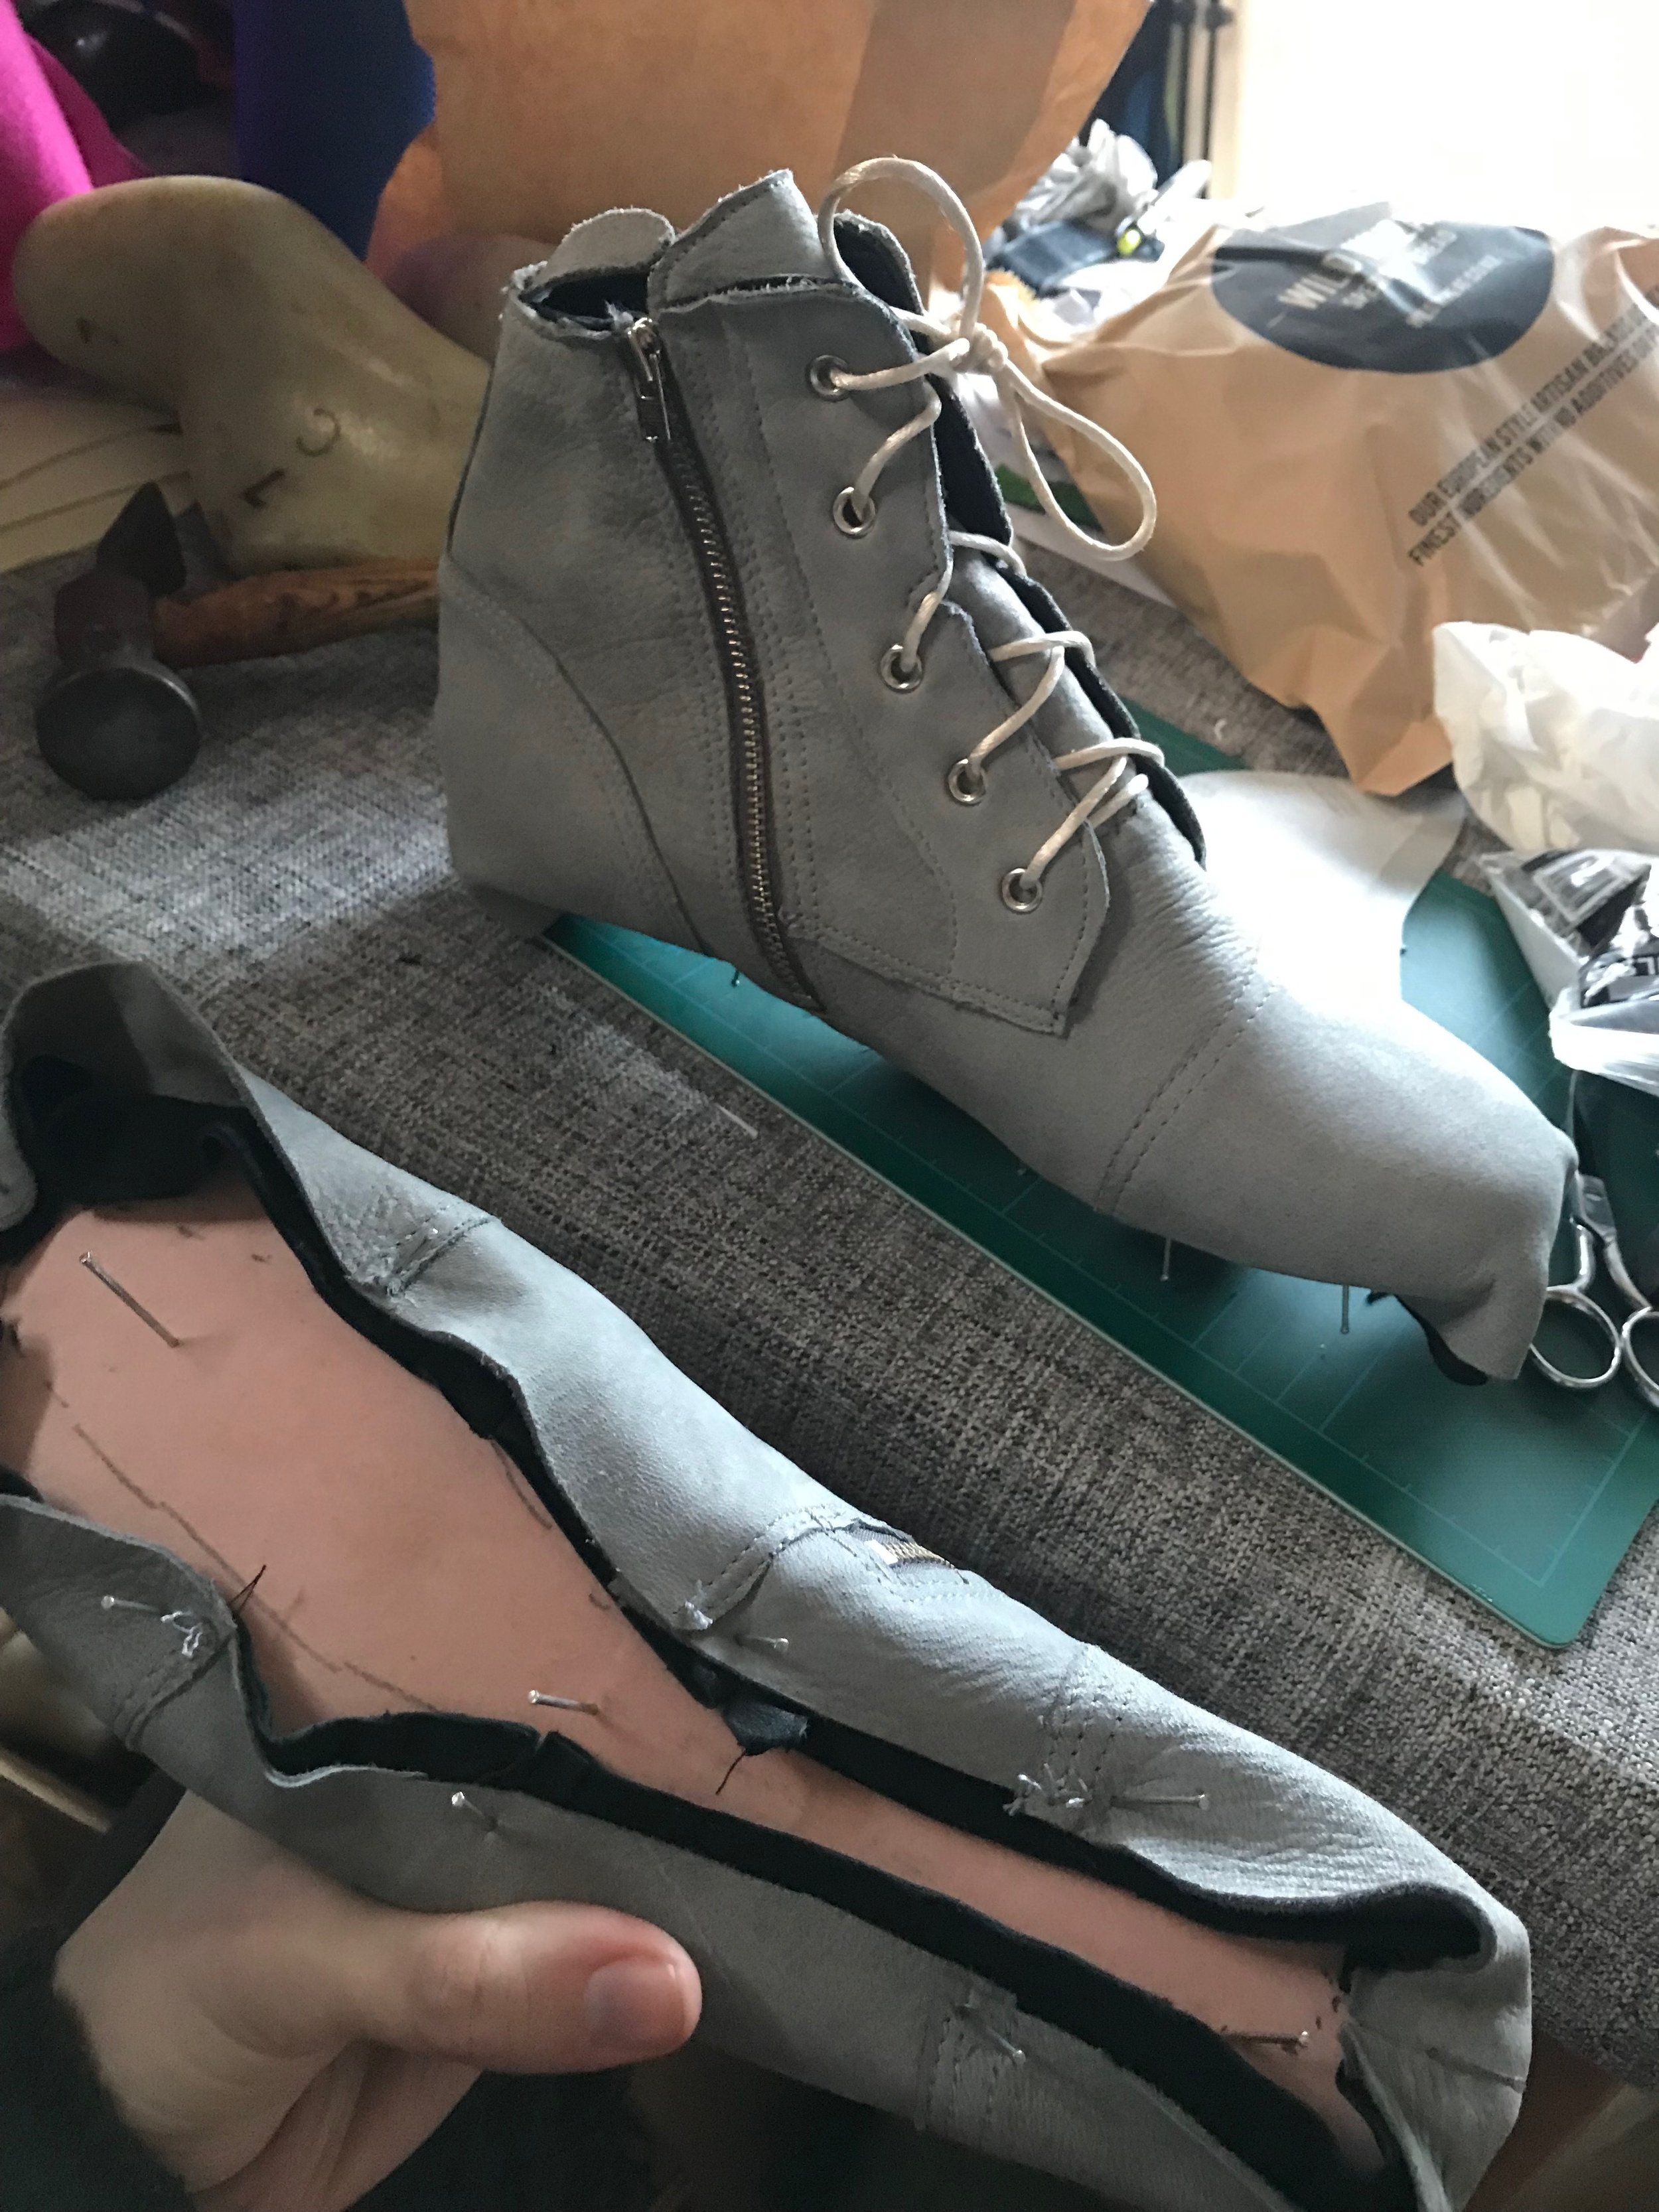
Next, I ‘dry lasted’ the shoe. I’m not super sure if there is a technical term or name for this step, but basically I nailed the upper to the last (through the insole board) in a few strategic places on the base, so that everything is held in the correct place. Throughout the lasting process, these nails aren’t removed until I’m ready to permanently attach that section (and never removed all at once) - which keeps the shoe from ending up crooked. This was the magical moment at which the shoe started to look…well, shoe shaped - and it’s also a moment to take slowly. Each section and seam should be compared to the other to make sure the two shoes are as symmetrical as possible.
I actually did my dry-lasting the day before I started the process of lasting the shoes. I don’t think it mattered in my case because the leather I used was so thin and flexible, but I have read that it is good to dry-last and then leave the shoes for a few days as it helps the leather start to mould to the shape of the last.
As a reminder, the method of construction I’m using is called ‘cemented construction’, which means you use a glue (cement) to last the shoe and attach the sole. My cement is a neoprene-based solvent glue - very nasty if you inhale the solvent. I wore a mask rated for paint fumes, and ended up doing my lasting inside the house, but sitting in between the open front door and the extractor fan above the stove, which was on full blast. The can of glue sat directly underneath the extractor fan. All this, I suppose, is to say that you need to take all of the precautions you can think of when using this type of glue! There is a variety that is water based and non toxic, but it’s made in Germany and although the glue itself is cheap, shipping it to New Zealand is really, really not. It’s called Renia Aquilum and it comes highly recommended if you live in Europe and can get your hands on it.

So. The glue is open, the mask is on. The first step is to last the sides of the shoe - lining only - to the insole board. To use the glue, I painted the two surfaces that I wanted to stick to each other with glue, waited for the solvent to evaporate (this doesn’t take too long - 5 to 10 minutes, and leaves a tacky, shiny, but not wet surface), then heated each piece with a blow dryer and stuck them together. Whenever I say that I glued something for the rest of this post - that sequence of events - paint, dry, heat, stick - is what I mean. It worked well to paint one shoe, then the other, then grab the first shoe again for the heat and stick portion so there wasn’t a lot of sitting and waiting for it to dry.

So. First, glued the inner and outer sides of each lining. These go on very easily as the surfaces aren’t too curved. Next, the heel linings. You have to pleat the leather on to the insole board to make it match the tight curve of the heel, but none of the pleats are allowed to extend to the edge of the shoe.
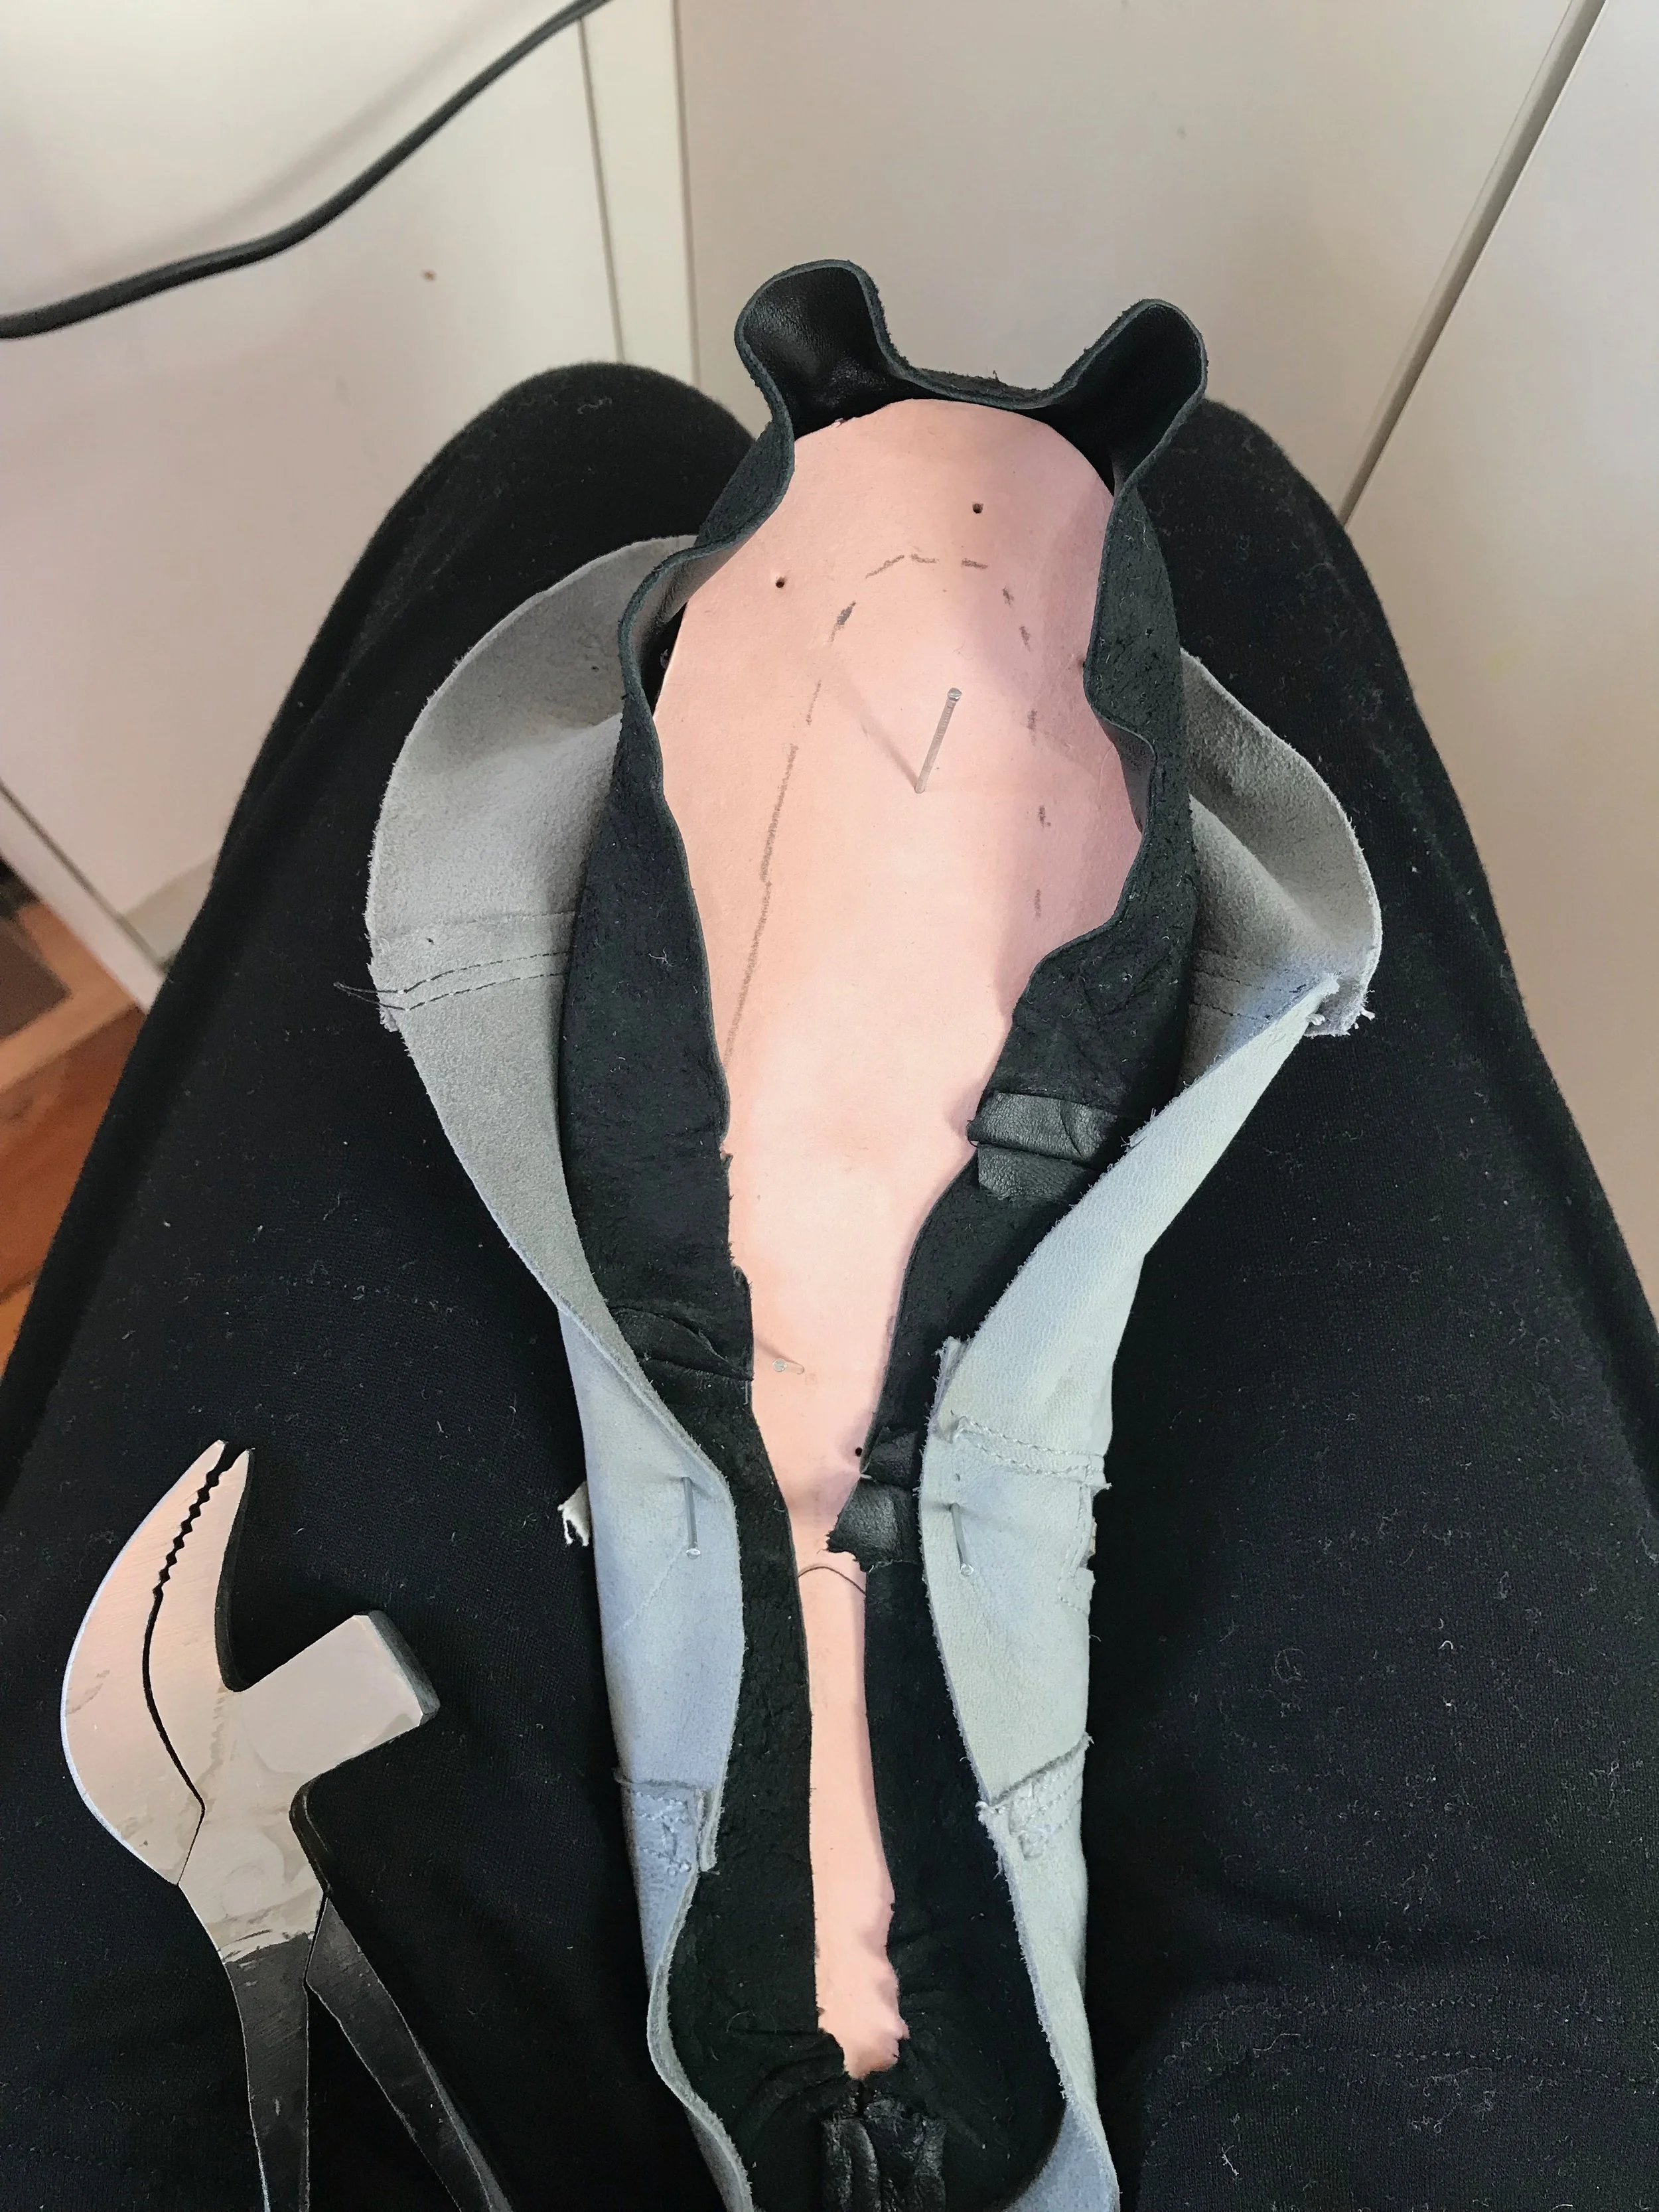
After the heels, the toe linings. I think doing the toes last gives you as much practice as possible - it’s the most visible part of the shoe. All of the instructions I read said to glue and then nail the leather in place while the glue dries - but I found my leather was so soft and malleable that by the time I could reach for a nail, the leather was already well-stuck. It seemed like overkill. I let the lasted linings sit for about an hour before skiving down the heel and toes as much as I felt comfortable with - there were a lot of layers to go so I tried to make them as flat as possible.
At this point, I glued down my shanks. Shanks are like the ‘backbone’ of a shoe sole. Your shoe bends as you walk, but only under the ball of your foot: the rest of it has to stay firm to provide support, and so the space between the ball and heel don’t sag. The shank fits to the shape of the bottom of the shoe, and once it’s sandwiched in it gives that structure.
Here, the linings are all lasted, and the upper hangs free!

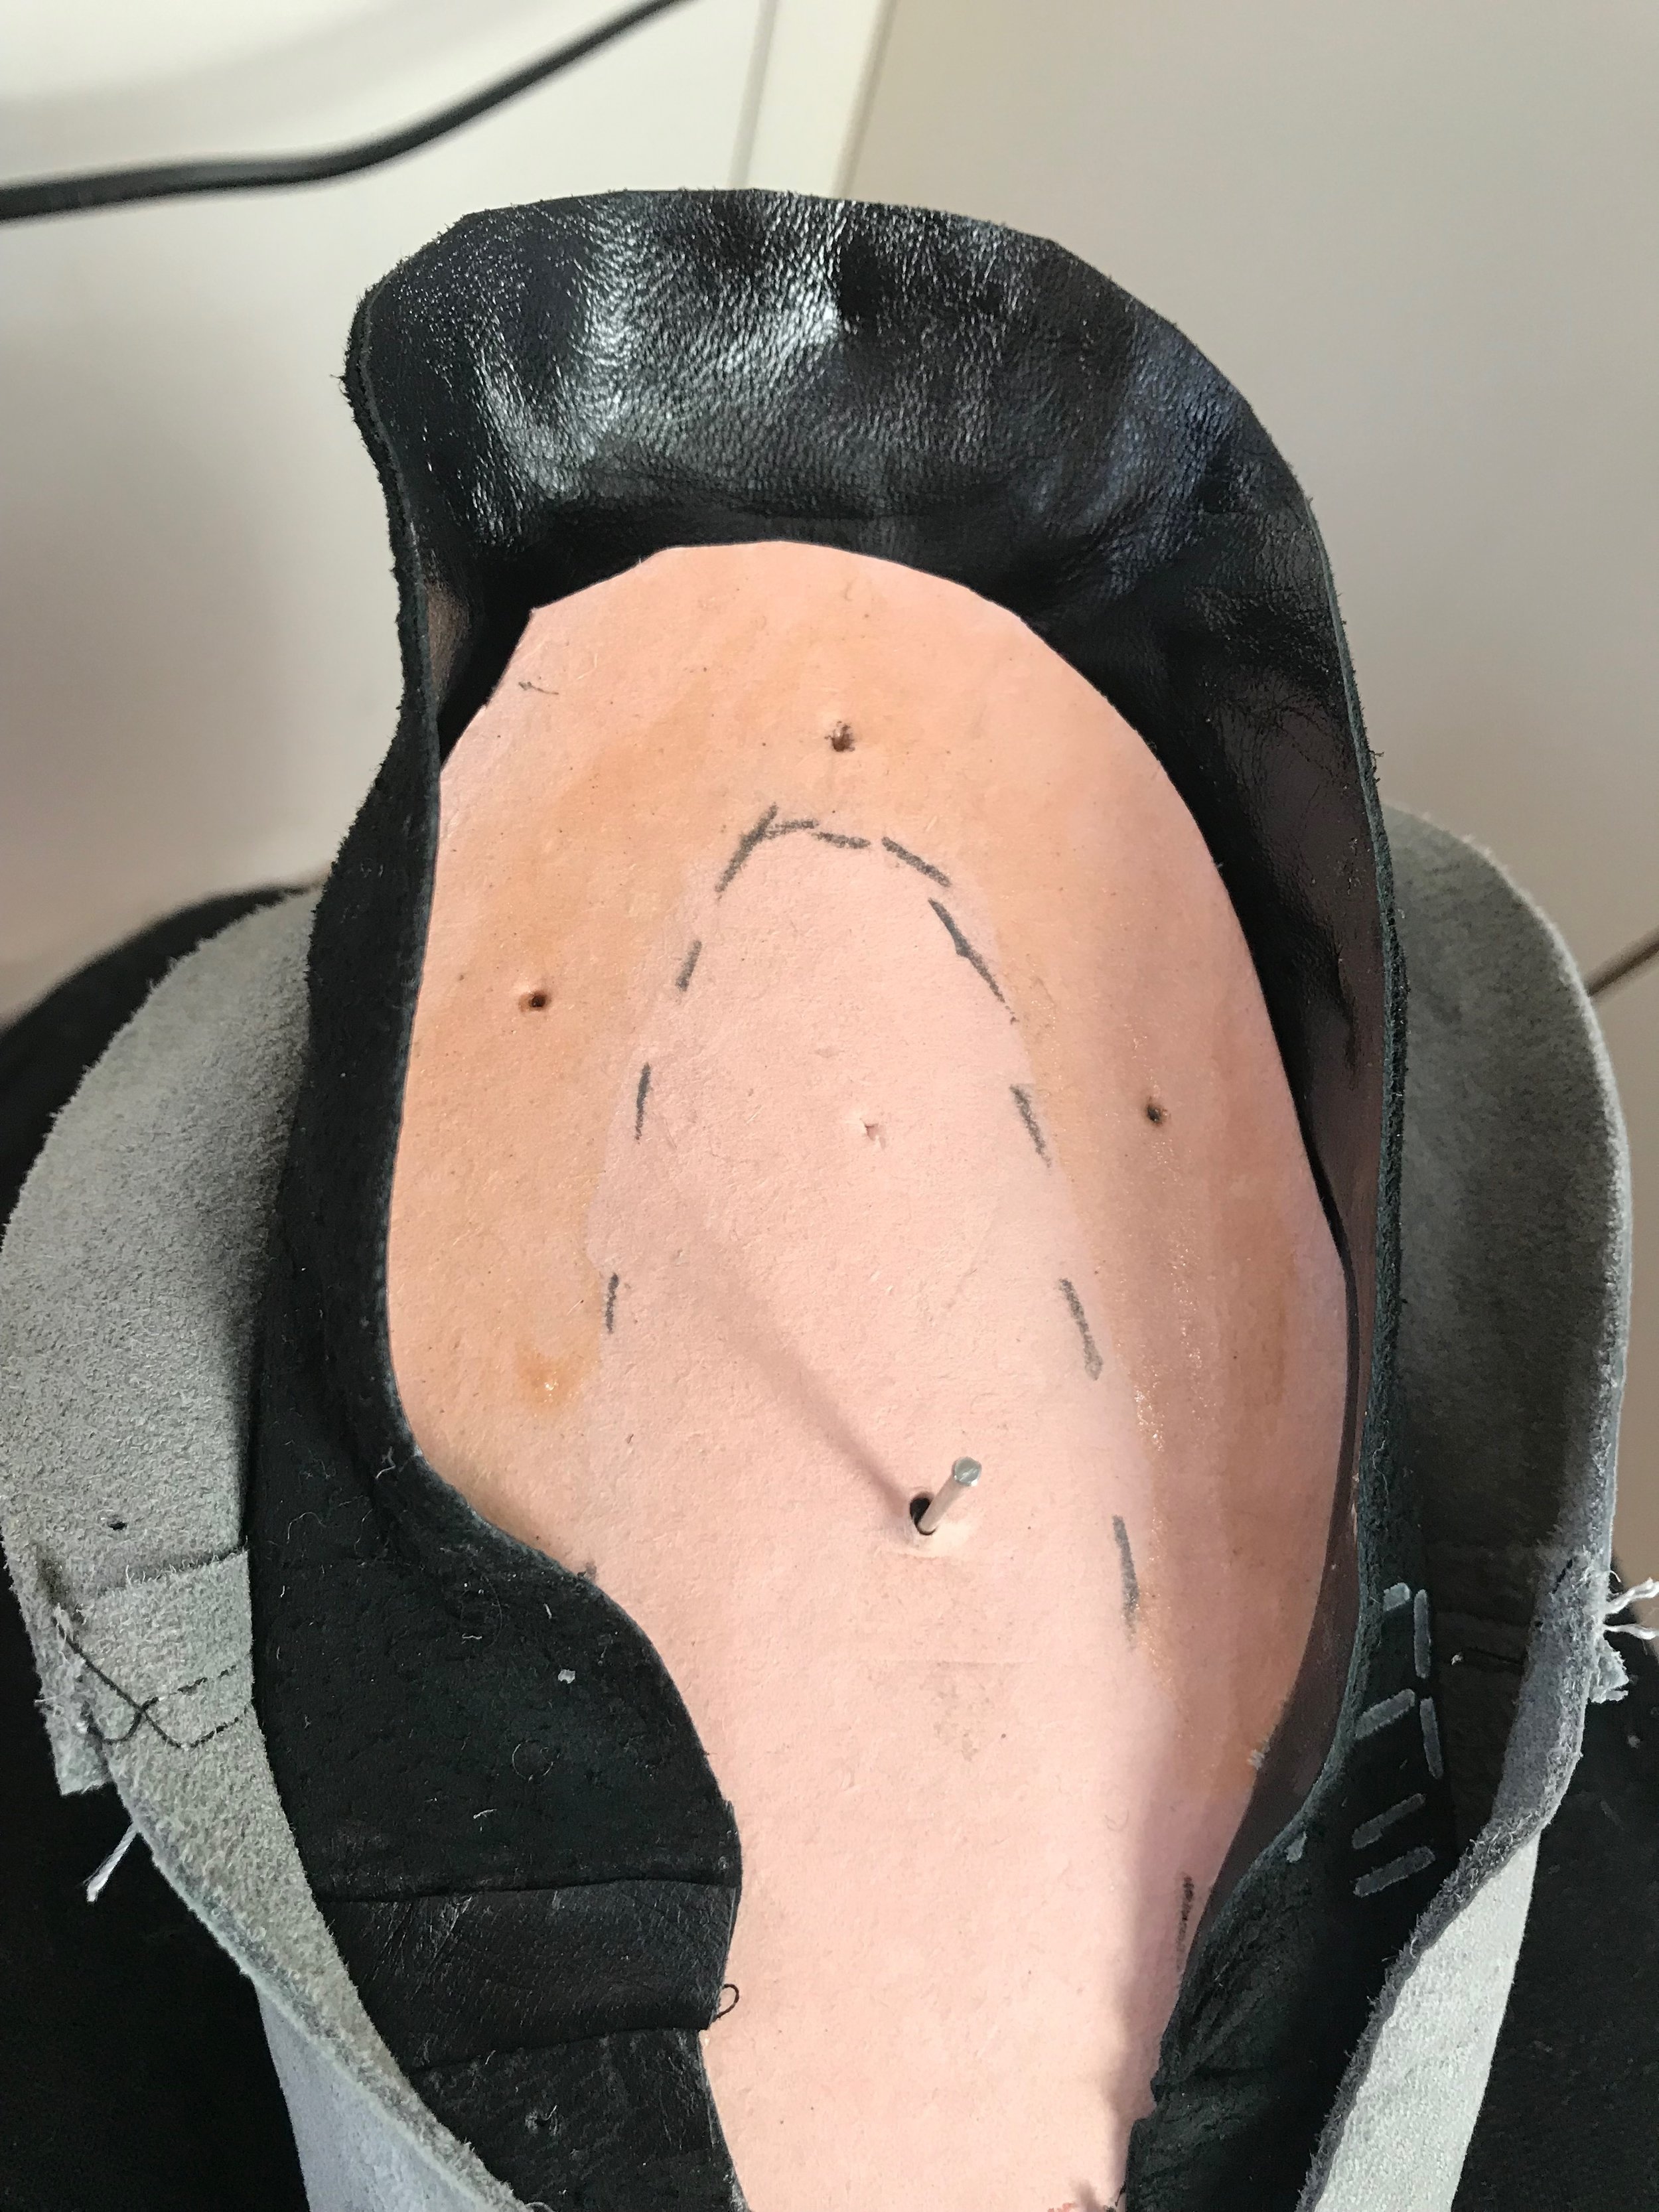
Next, I added some internal structure - two stiffeners are hidden between the lining and the upper, so they go in next. I bought pre-cut heel counters and toe puffs (That is actually what they’re called) from the place I got my lasts, but you can also buy this stuff in sheets and cut it to size yourself.
I ended up cutting the counters down because they overlapped my zipper. I also found it interesting that the toe puff was a different type of thermoplastic from the counter - the counter was much thicker, and was also what can only be described as ‘gloopy’ when heated up. It got ALL over my fingers. It peeled off once it cooled down, but I must say it wasn’t the most pleasant thing to work with. The toe puff was much nicer. I will report back next week on what they feel like to wear, and whether my opinions on the heel counter have changed at all.


I did manage to heat them up enough to apply them with a hair dryer - I really didn’t want to go out and buy a heat gun for this specific purpose, but I do think it would have made my life a bit easier. Specifically, I didn’t heat up the first toe puff enough to get it to fully mould, so there are some wrinkles right on the top of the toe which you can just barely make out through the top leather - I couldn’t peel it off because it was already stuck to the leather and looked like it might tear. But anyways - heat the heel counter, apply it to the heel, and pleat it in the same way as the leather around the bottom of the last. Wait for it to cool, and then skive it down flat.

Same deal for the toe puffs. The nice thing about the thermoplastic is that if you don’t get it quite right, you can just warm it up again and have another try. Skiving the plastic completely destroyed a second safety skiver blade, so I’ve now gone through two blades: one for the upper and one for the lasting.


Finally, the outer layer of leather is lasted over the toe puff and heel counter. Finally! It’s probably good this bit happens last, since now I’ve essentially lasted eight tight curves. That’s a lot of practice! Same as the lining, I started with the inner and outer edges, then the heels, and then the toes. I did use a few sporadic nails here, but really my leather was so soft and supple that it barely needed nails. I watched a LOT of lasting videos and they all used leather that was a lot firmer than mine. This makes me a bit nervous about how my very soft leather will hold up, but the stiffness of my new boots compared to the inspiration ones is nearly identical so I’m not sure how nervous I have any right to be.

Everything is skived to within an inch of its life once it’s glued down to make it as flat as possible. Next, the entire sole needs to be filled so that the sole has as smooth of a surface to stick to as possible. The lasted edges are on a higher level than the insole board, and the shank sticks up as well, so the rest of the bottom of the shoe needs to be filled with something to get it to the same level. Apparently, you can get diced up cork bits for this very purpose, which does seem like it would be a perfect filler, with a good firm bounce, but I could not for the life of me figure out where to source the elusive cork filler in New Zealand. I tried, I really did. In the end, I decided that the best thing to fill the footbeds with was the scraps of leather I had left over after cutting out my uppers. This turned out perfectly! The leather was already the right thickness, and I already had these tiny little otherwise-unusable pieces (we’re talking less than 2 square inches here) - I am so glad I didn’t throw them away!

I chopped them down to fit into the spaces like a little puzzle, and kept layering until everything was as level as I could make it. I’d used so much glue in this process that I decided it was possibly sensible to let everything cure up for 24 hours before locking everything in with the sole, so I let it sit until the next day. According to the tech sheet for the glue I used, the strongest bond is achieved only once all the solvents have evaporated so I wanted to give it plenty of time.

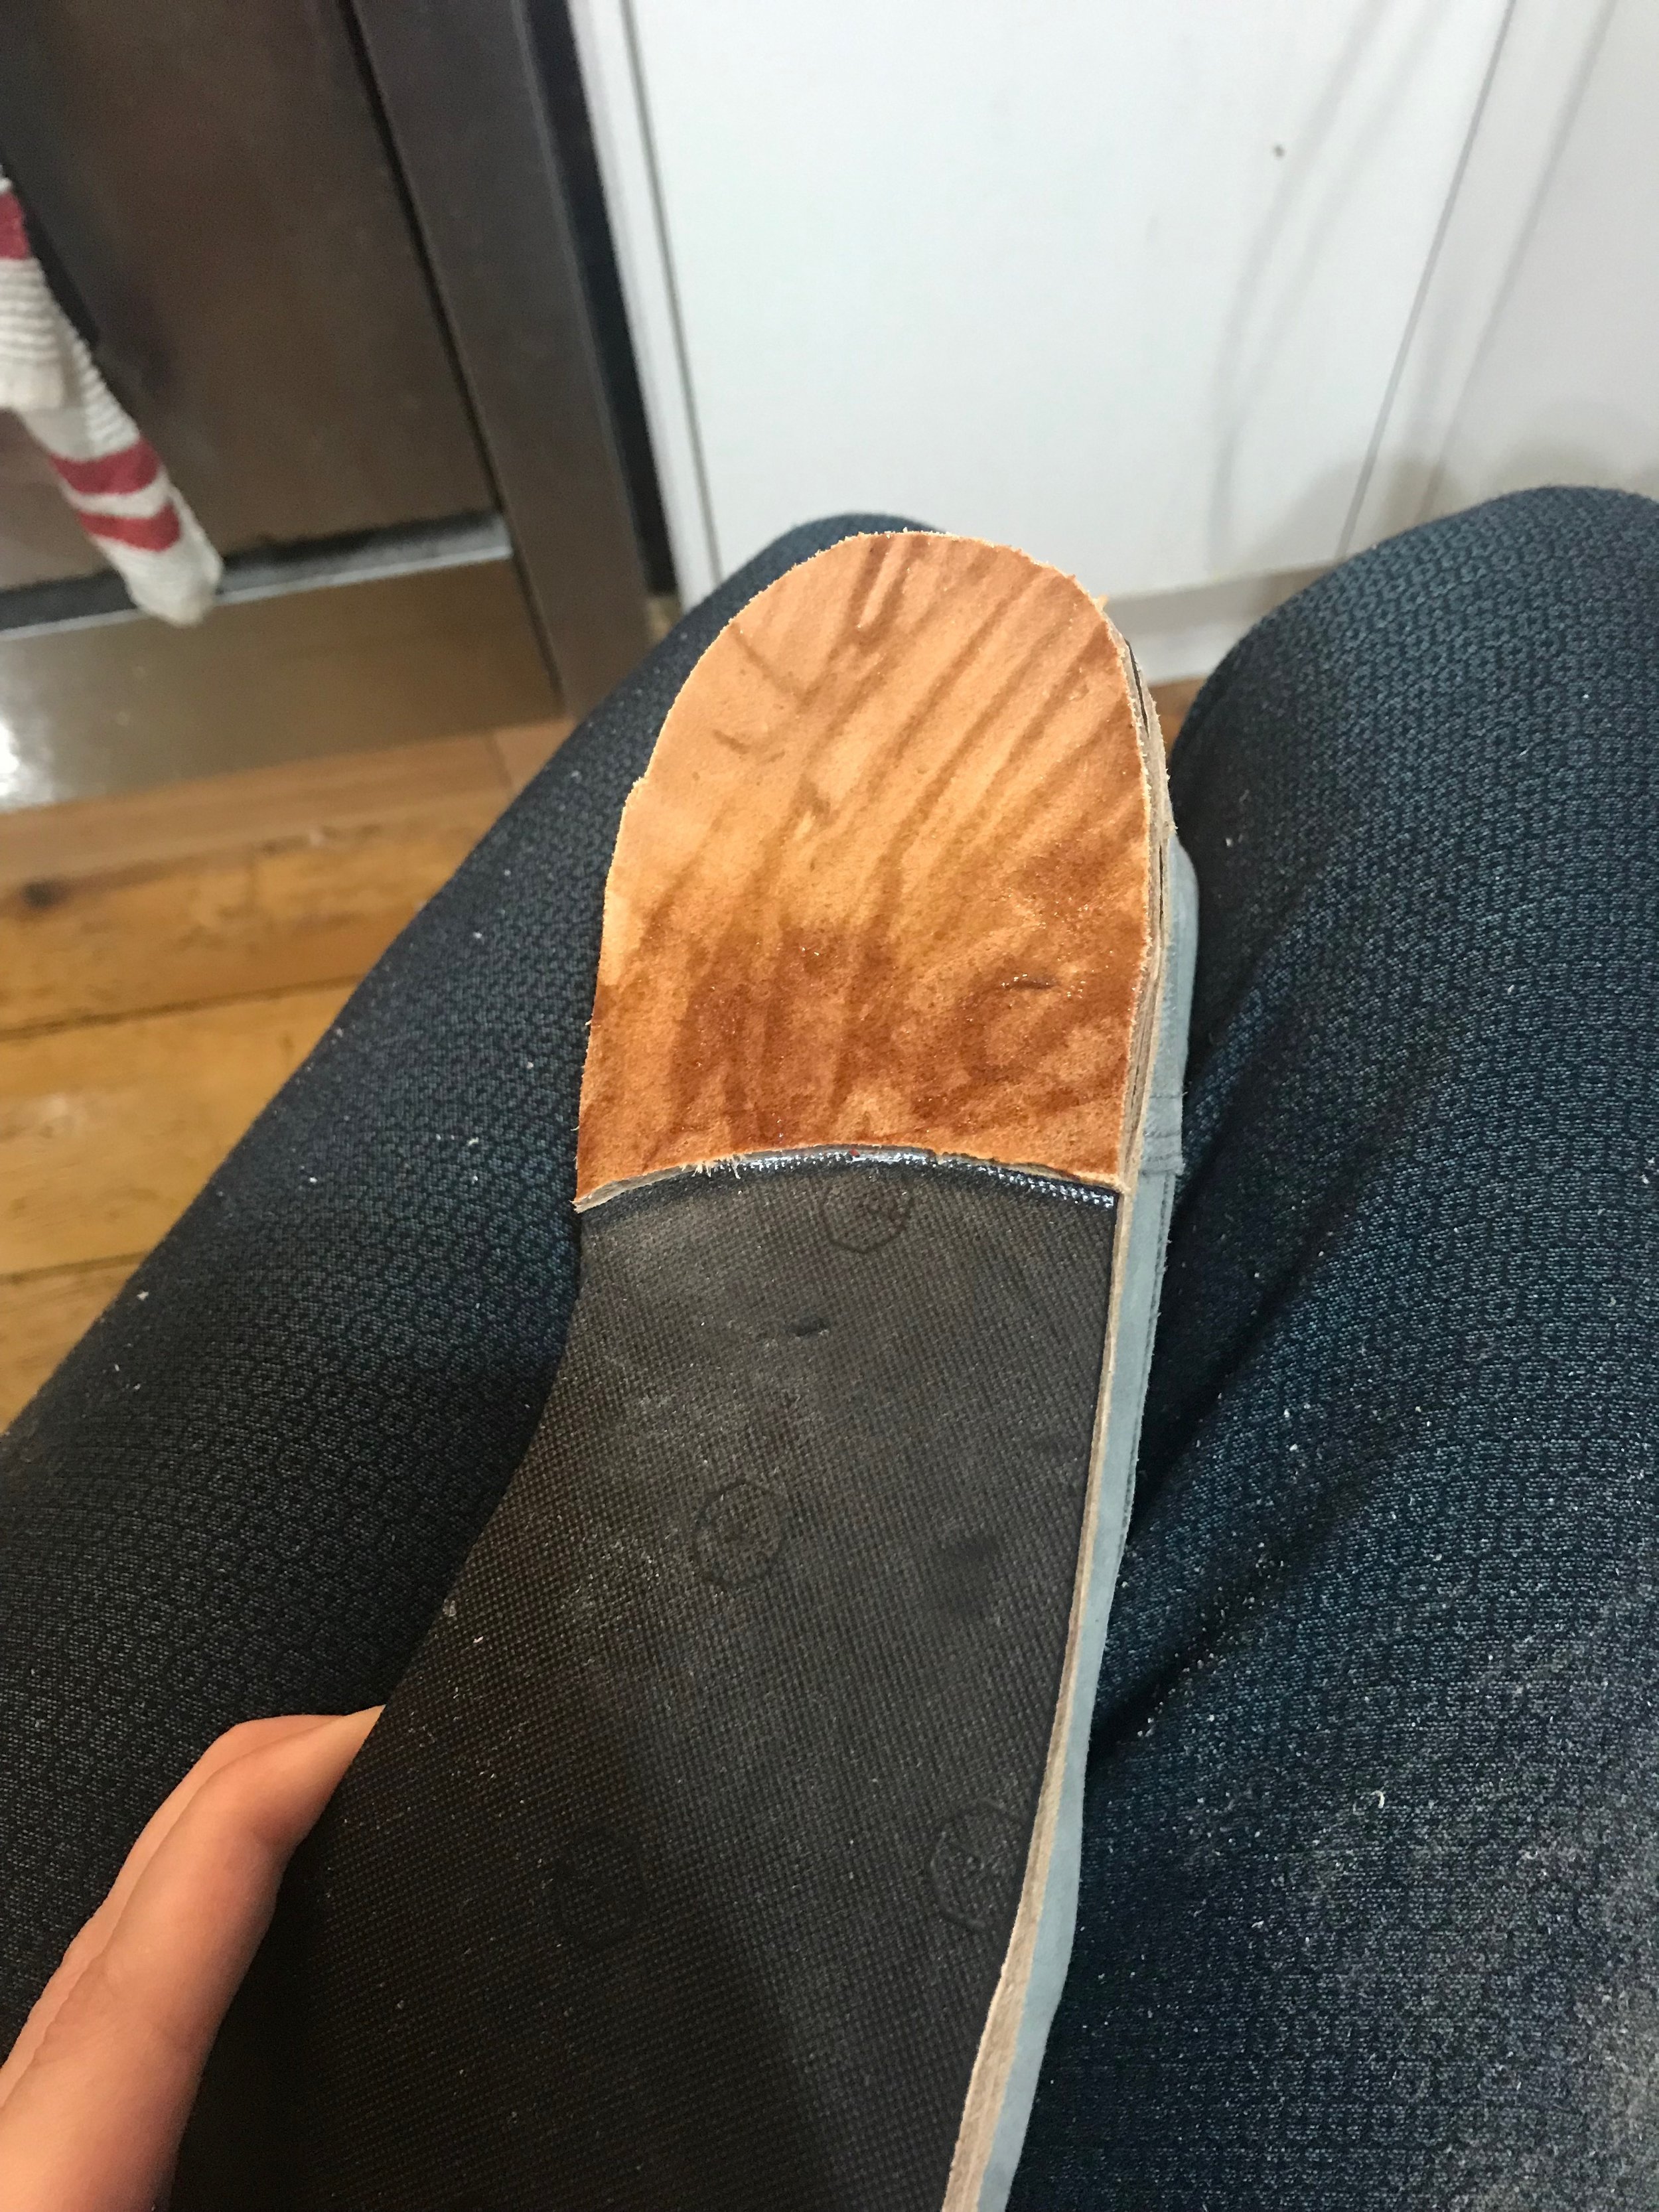
The next evening, I roughly cut two slightly-larger-than-required pieces from my sole bend. Sole bend is a VERY thick, very firm vegetable tanned leather that is specifically designed for the bottoms of shoe soles. It is compressed during the tanning process so it’s really strong and abrasion resistant, and it could absolutely be the part of the shoe that touches the ground, but I chose to add a layer of soling rubber to the bottom because if there’s one thing sole bend isn’t great for, it’s traction. So. The sole bend becomes the midsole.
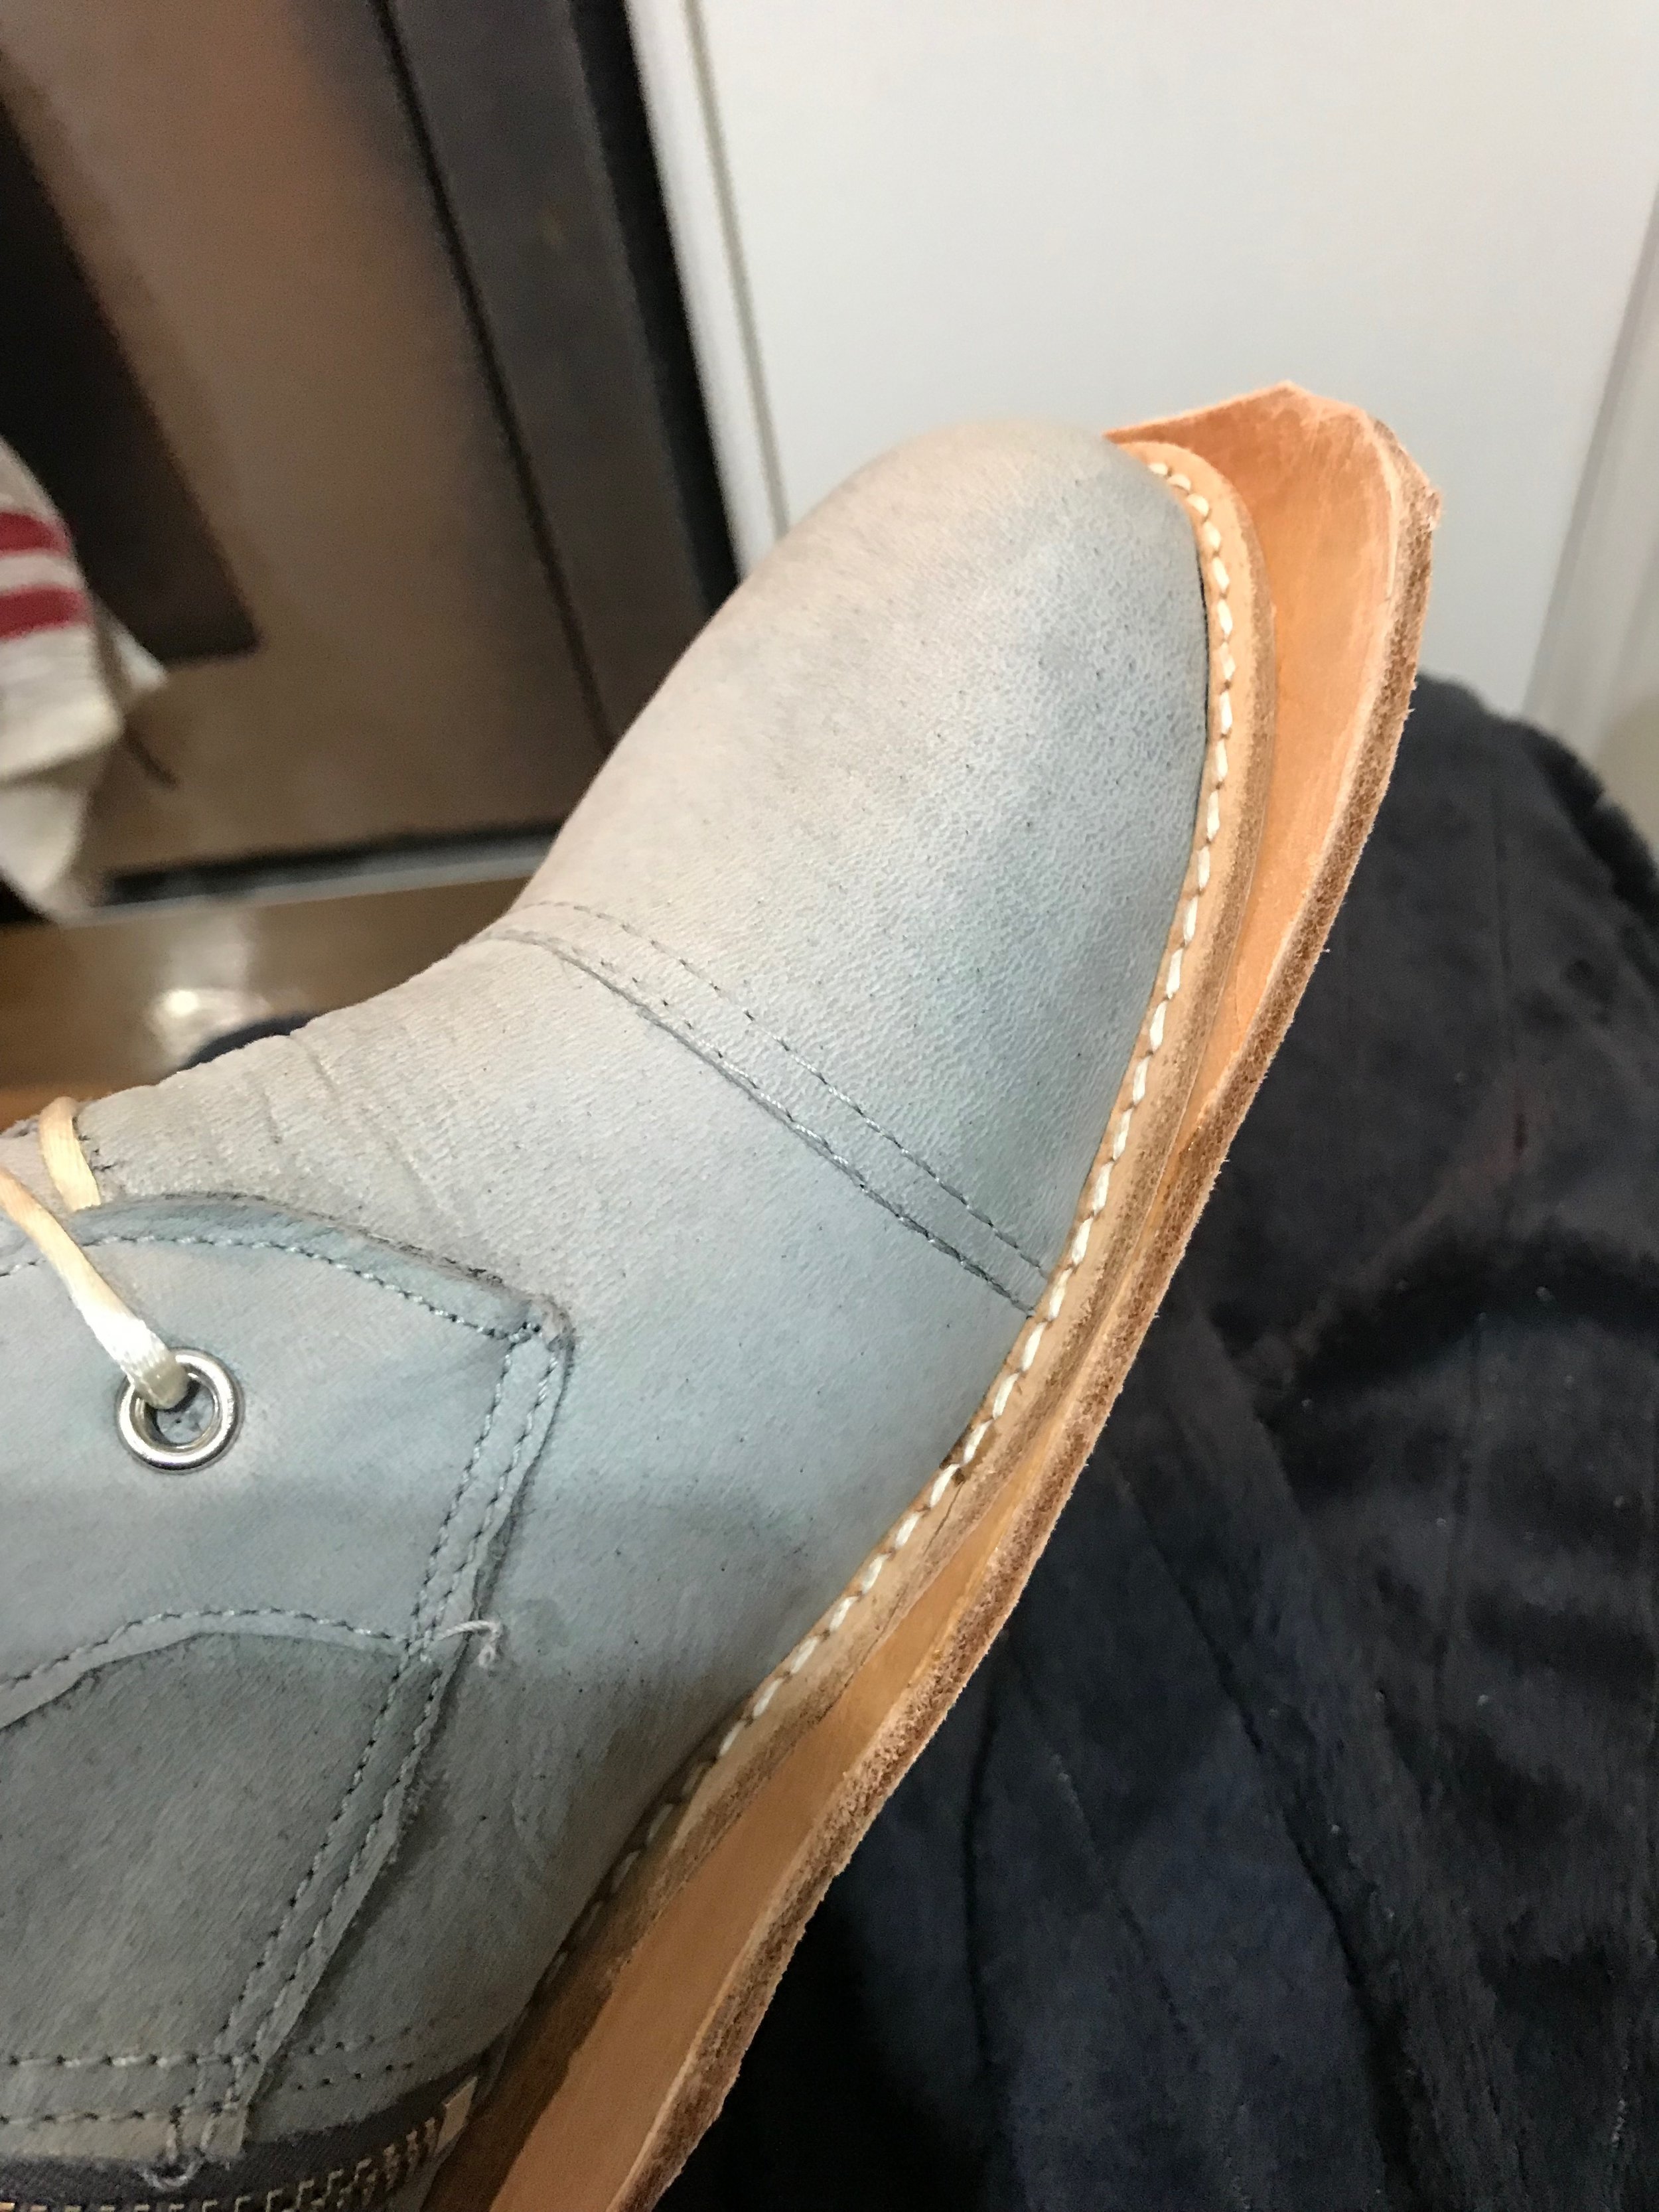
Before applying the sole bend though, I glued on some Rand. Rand is a stitched trim used for cemented construction shoes. It’s kind of like piping a seam in sewing - a decorative edge finish with a detail that makes it look like your shoes are stitched - but it also does a lot more than that. Rand is glued right on to the curved edge of the bottom of the shoe, and it provides a barrier that keeps dirt and water from working its way between the sole and the shoe upper, and also provides a flat, defined edge to attach the sole to.

I glued the rand to the perimeter of each shoe, starting and stopping under the arch with a little diagonal cut. I was careful to make sure the rand didn’t curve up or down - it has to stay parallel to the floor. Rand is available in a lot of different colors and materials - rubber and eva foam, for example, if you’re using those materials for your sole. If you get the leather kind, you can also paint it with leather dye before it’s attached so that it matches your shoe. I also learned from an Instagram friend that ‘rand’ is the Dutch word for ‘edge’ which I think is an amazing fact, since that’s exactly what it is!

Once the rand was glued, I set the shoes down while I prepped the sole bend - roughly sanded one side of the leather with some 80 grit sandpaper to cut through some of its slick surface finish and give the glue something to bite into. Then, I painted the entire piece of sole bend with glue, and the entire bottom of the shoe - dried, heated, and stuck together.

The reason the sole bend is cut larger is because it’s very hard to line up the two sticky surfaces correctly on the first go, and it’s even harder to pry them apart once they’re attached if it’s crooked. My glue’s technical data sheet says that a firm, steady pressure is best for the strongest bond, but I’ve read that some glues (like barge cement, which is one of the more commonly available shoe cements in the US) prefer to be hammered at this stage. I did not hammer mine, I just stuck it to the shoe with as much pressure as I could possibly muster.
The next bit is scary, but it’s only scary if you think about it too much. You know how beginners often take on sewing projects that are way above their ability because they don’t really know what they’re getting in to? I think this is a really awesome thing - you don’t know that you’re supposed to be scared of something, so you just go for it. This was like that, I think. I needed to cut the excess leather off the sole bend, carefully and smoothly in line with the rand to form the edge of the sole. There was a high probability I might cut too far in to the sole, and this is pretty much impossible to fix. I just went for it. It was actually not as bad as I thought it was going to be, though I absolutely gouged the bottom of one of the pieces of sole bend with my knife, and also managed a tiny scratch in one of the uppers. You wouldn’t see it unless I pointed it out, and the gouge in the bottom was covered by the soling rubber in the end. All things considered, I think it went really well for a first attempt! This is definitely a step to be treated with respect.

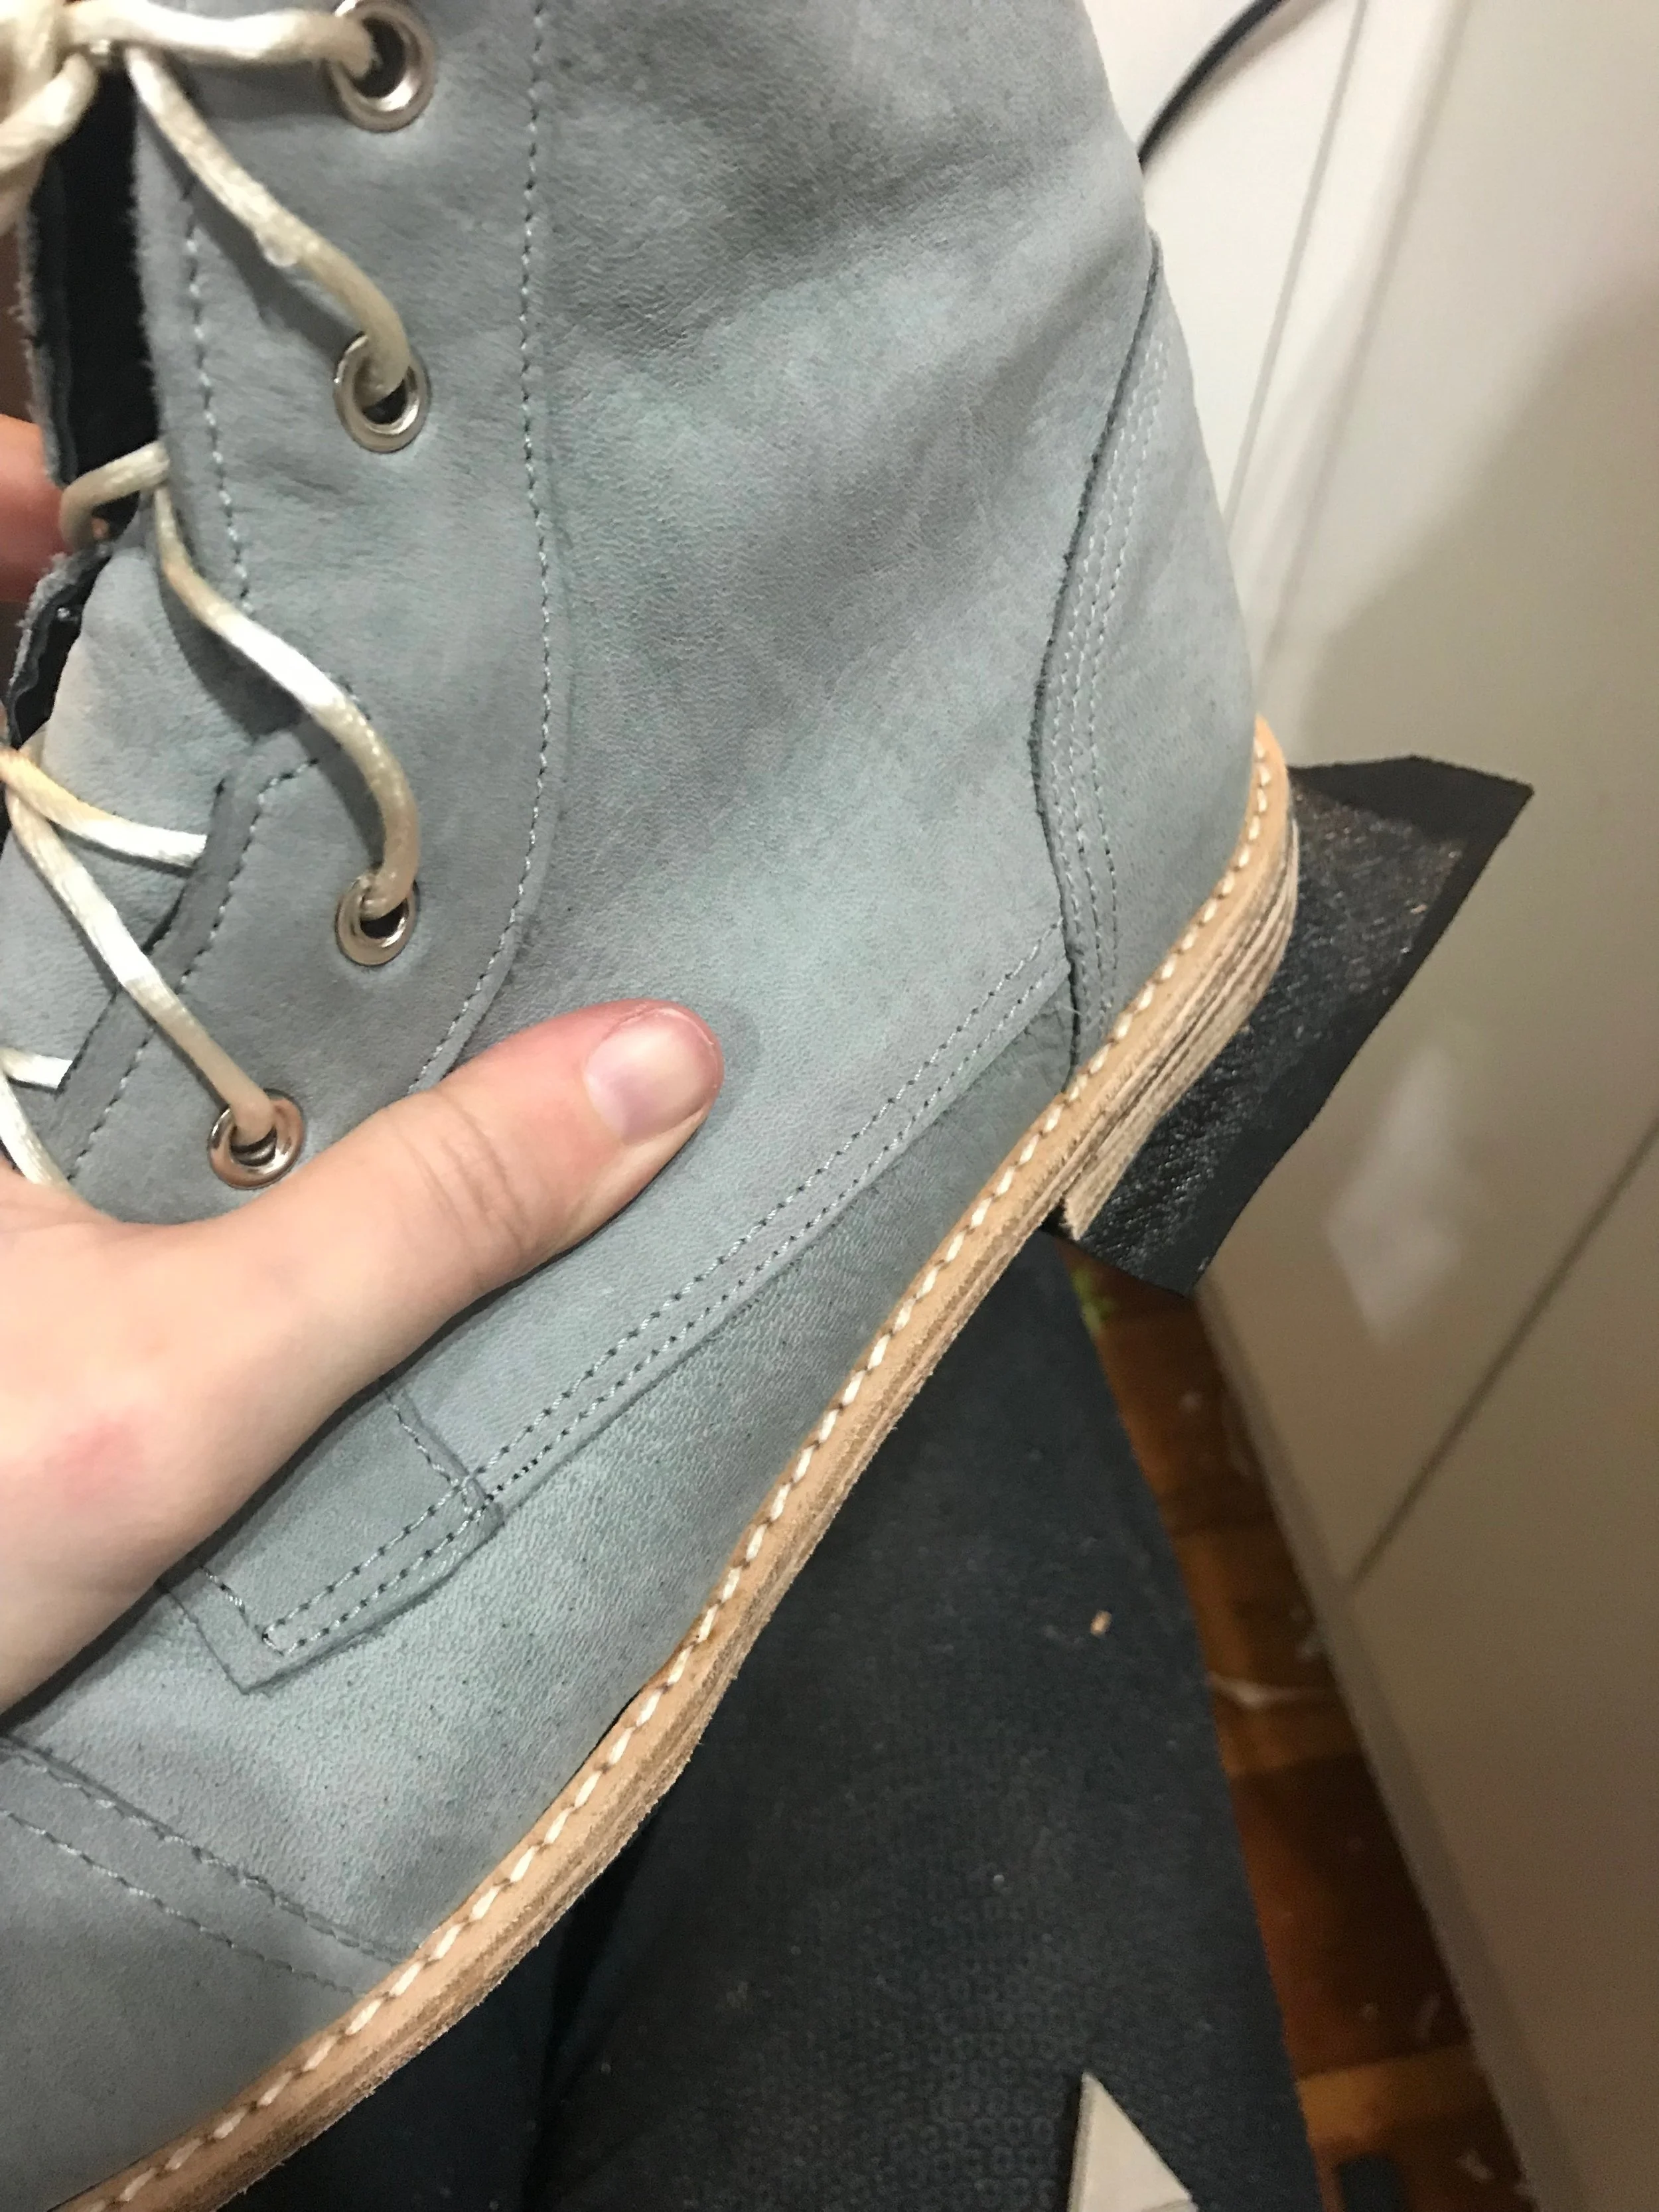
We’re getting close to the end now! The uppers are done and lasted, the bottom is enclosed with the sole bend - all that’s left is that soling rubber and the stacked leather heel!

I decided to add the soling rubber to the front of the shoe, have it extend all the way into the heel, and then apply my stacked leather heel on top of that. This was pretty much entirely an aesthetic decision - I liked the idea of having that thin black edge at the top of the heel. I glued the rubber on in the same way I’d glued the sole bend - trimming to fit after it was attached. While it was setting up, I cut some heel-shaped pieces of sole bend, and stacked them under the heel to figure out how many I needed (plus one extra layer of rubber at the base) to give me the correct height. I sanded down the heel area of the rubber to give the glue a better surface to stick to.

Next, the process of stacking, gluing, and trimming. I trimmed each layer of the heel to have a slightly curved front before gluing it down, because trimming this bit after the fact would most certainly have resulted in me gouging my rubber tread. The other edges all had a bit of overhang which I trimmed one after the other, as they were applied.

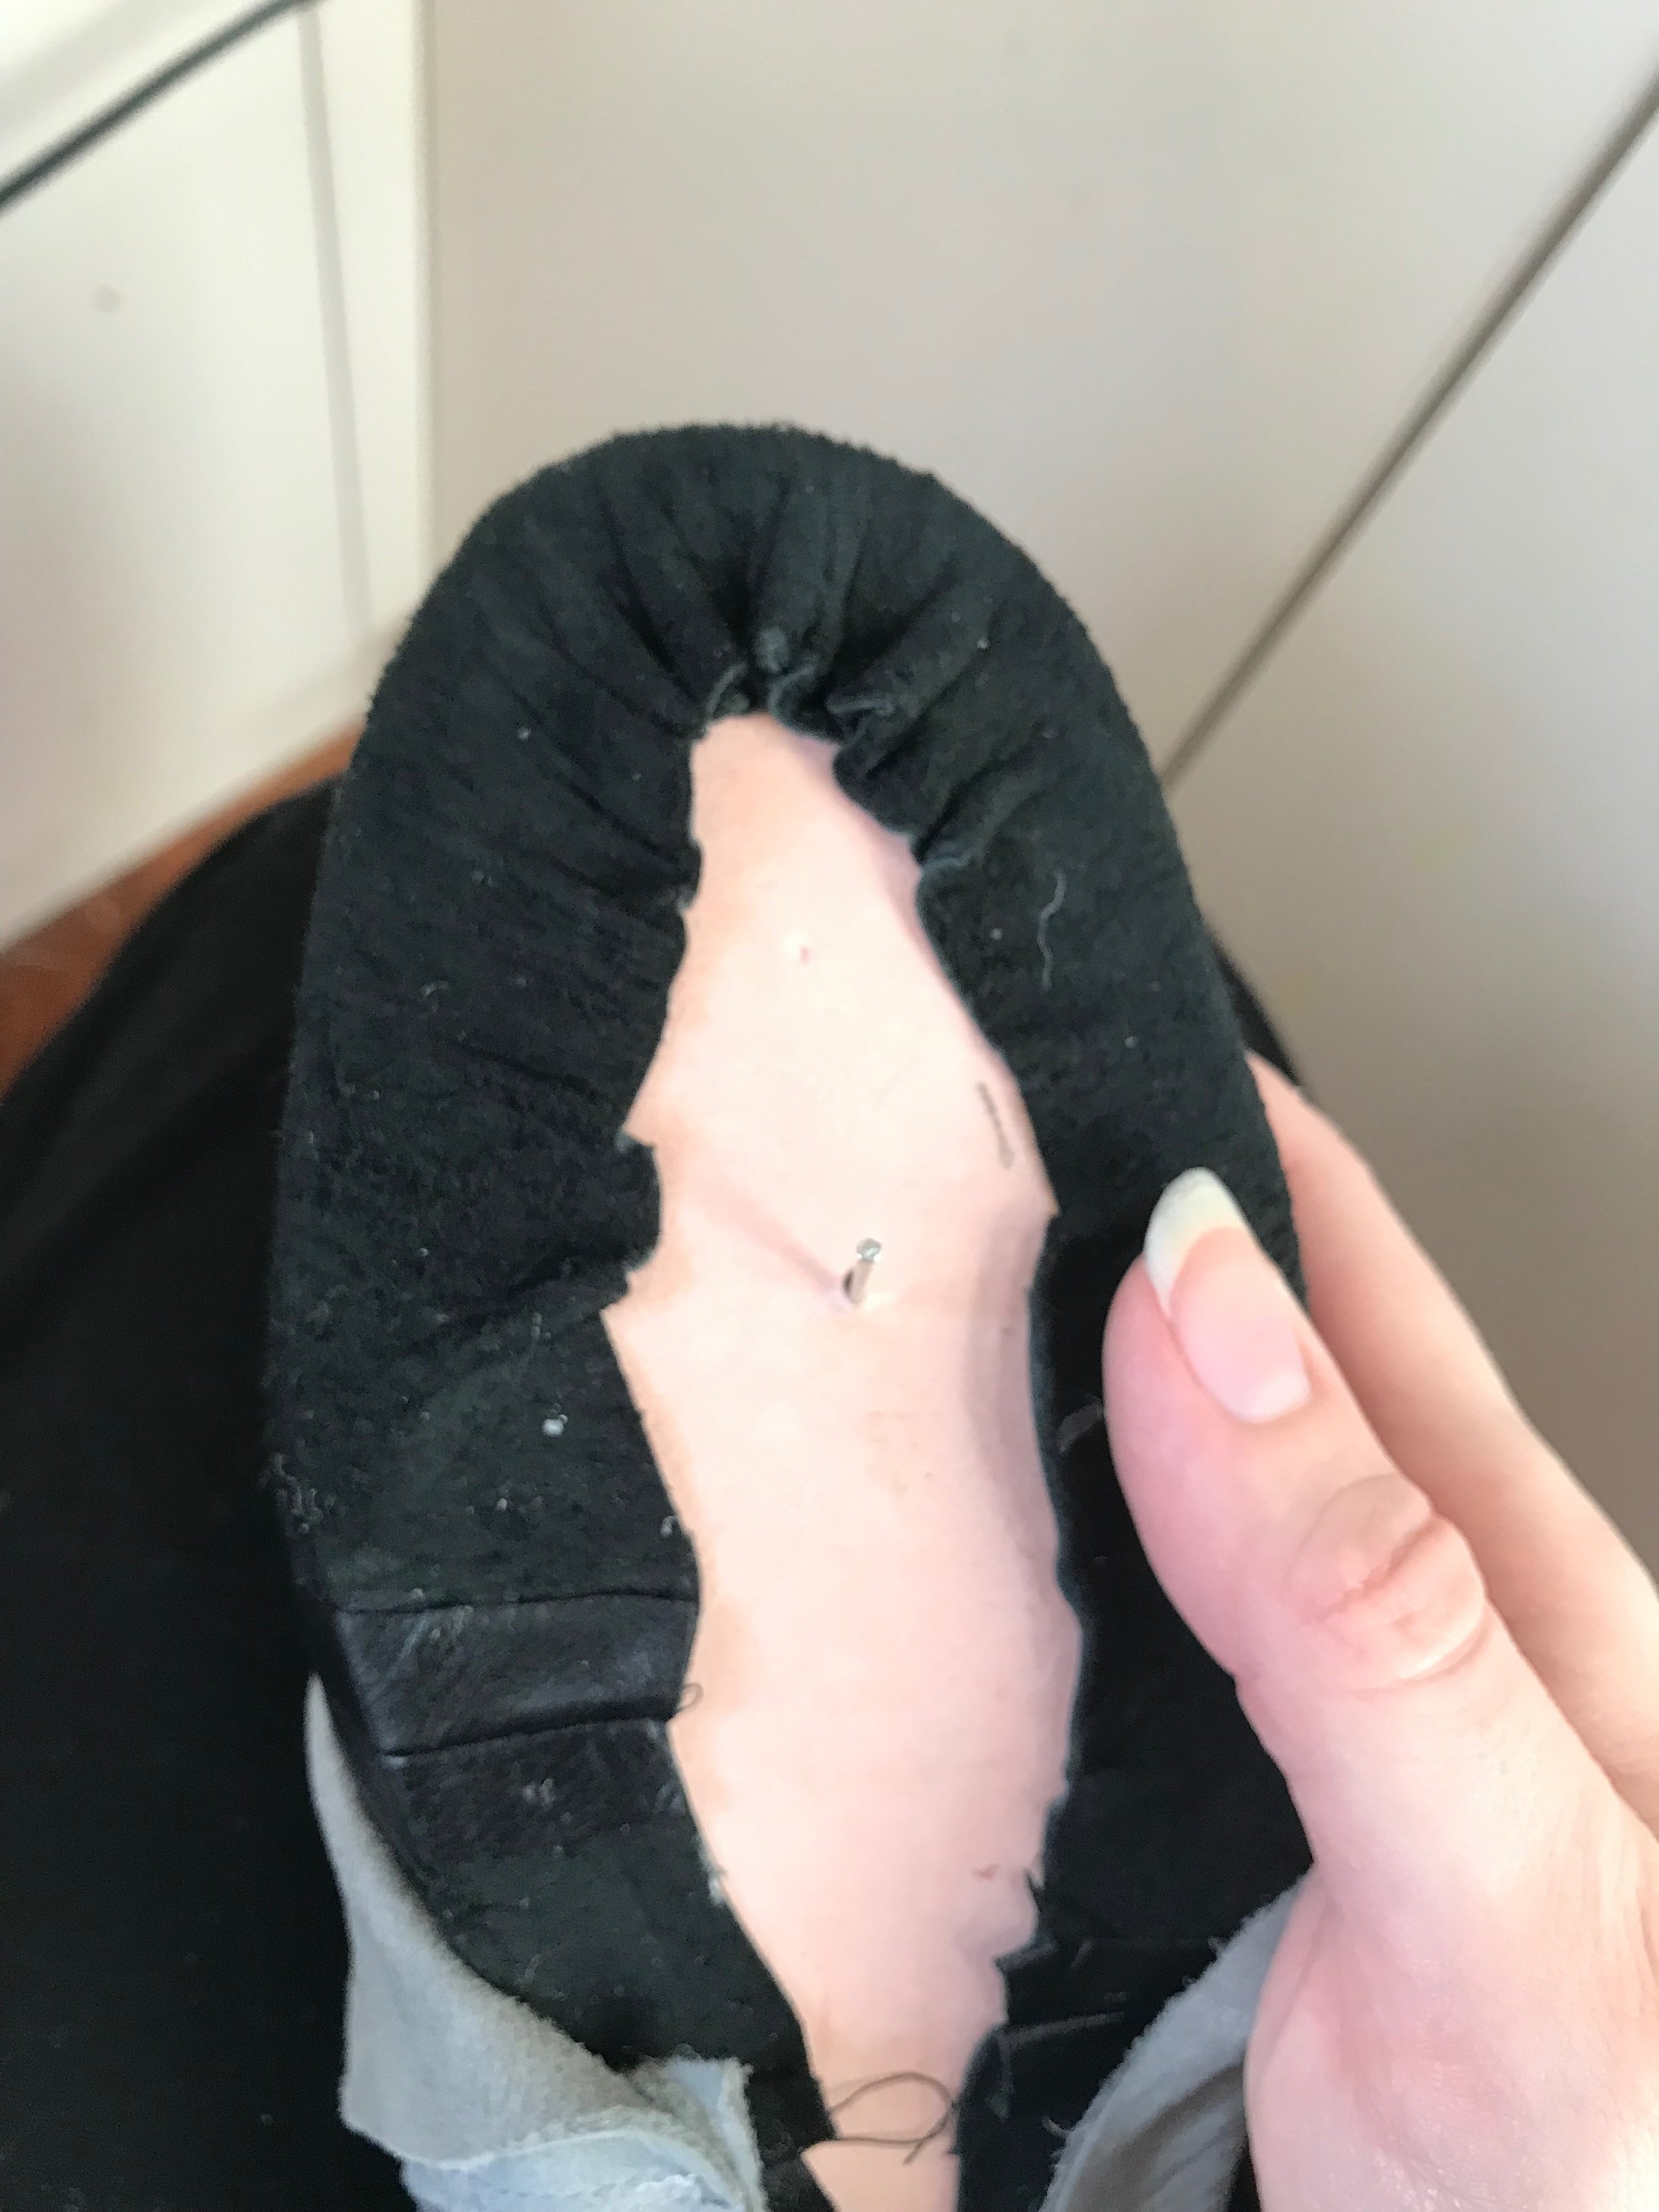
Once all the layers of sole bend were applied and trimmed, but before the rubber tread was glued on, I added some tiny nails to further solidify the heel. They’re nailed in at a slight angle towards the center of the heel, in a crescent shape around the perimeter. I’ll add more nails from the top once the shoe is off the last. The nails clear the top layer of the leather, so there’s no chance of anything poking me in the heel when I’m wearing the shoe - even if the leather compresses a bit over time.

With the nails in, the last layer of rubber is glued on, trimmed, and then the heel is finished!
I did a bit of final cleaning up of the sole layers at this stage - a bit with the knife, some sandpaper, and then finished it by buffing it with a bit of beeswax. I’m really happy with how well the beeswax darkened the heel, and hopefully it will give it a bit of protection as well!
At this stage, the shoe has to stay on the last for 24-48 hours so that all the components cure while the leather is held in the correct shape while the glue cures. This, let me tell you, is incredibly frustrating, since the shoe is basically done and all I really wanted to do was try it on!

Once that time is up, I’ll pop it off the last, add a few extra nails to the heel from inside the shoe, and then glue in the cushioning layer (which is very confusingly called a ‘sock’) and then they’ll really be finished! Next post, I’ll cover all that plus what it’s like to actually wear them - and like I said, the things I’ll do differently next time.