
If you’re arriving at this post fresh from a google search result, my first post in the shoemaking series is here, and is all about sourcing the materials and the knowledge that I needed to get myself to this point. Hopefully that will be useful if you’re embarking on a shoemaking journey of your own!
Today, I’ve made - and am perhaps unreasonably excited about - a silly cardboard and felt mockup shoe!
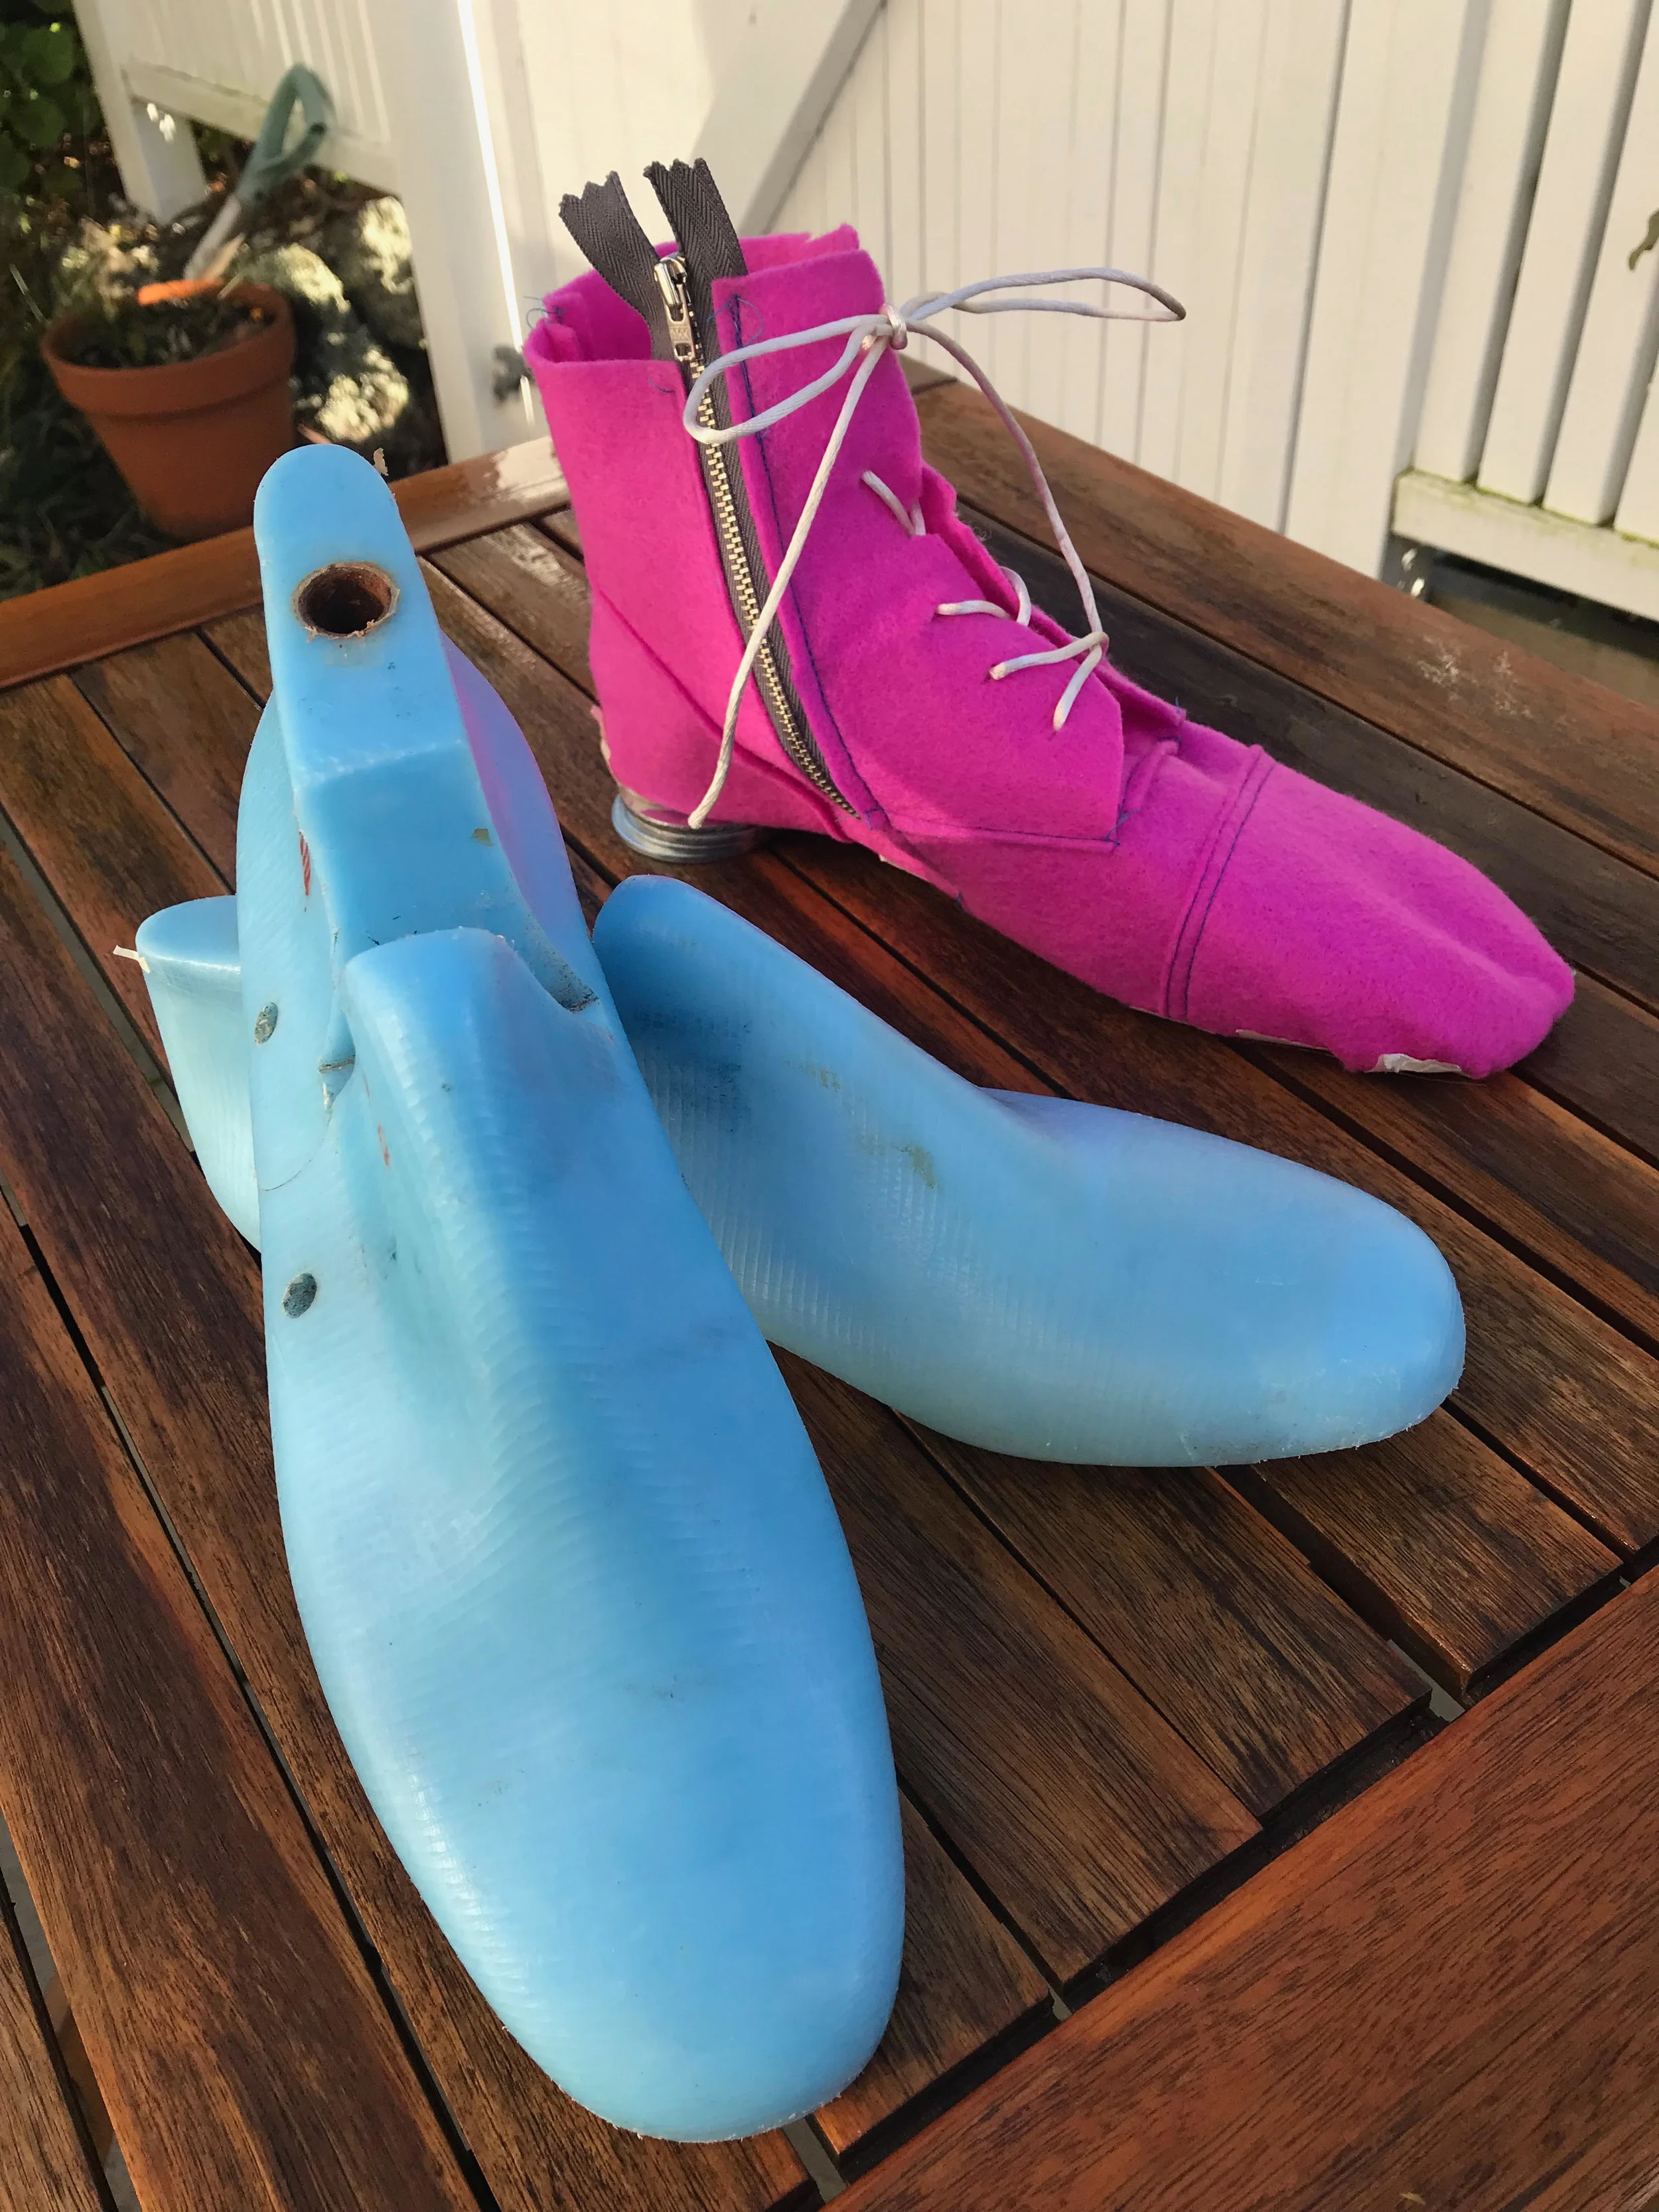
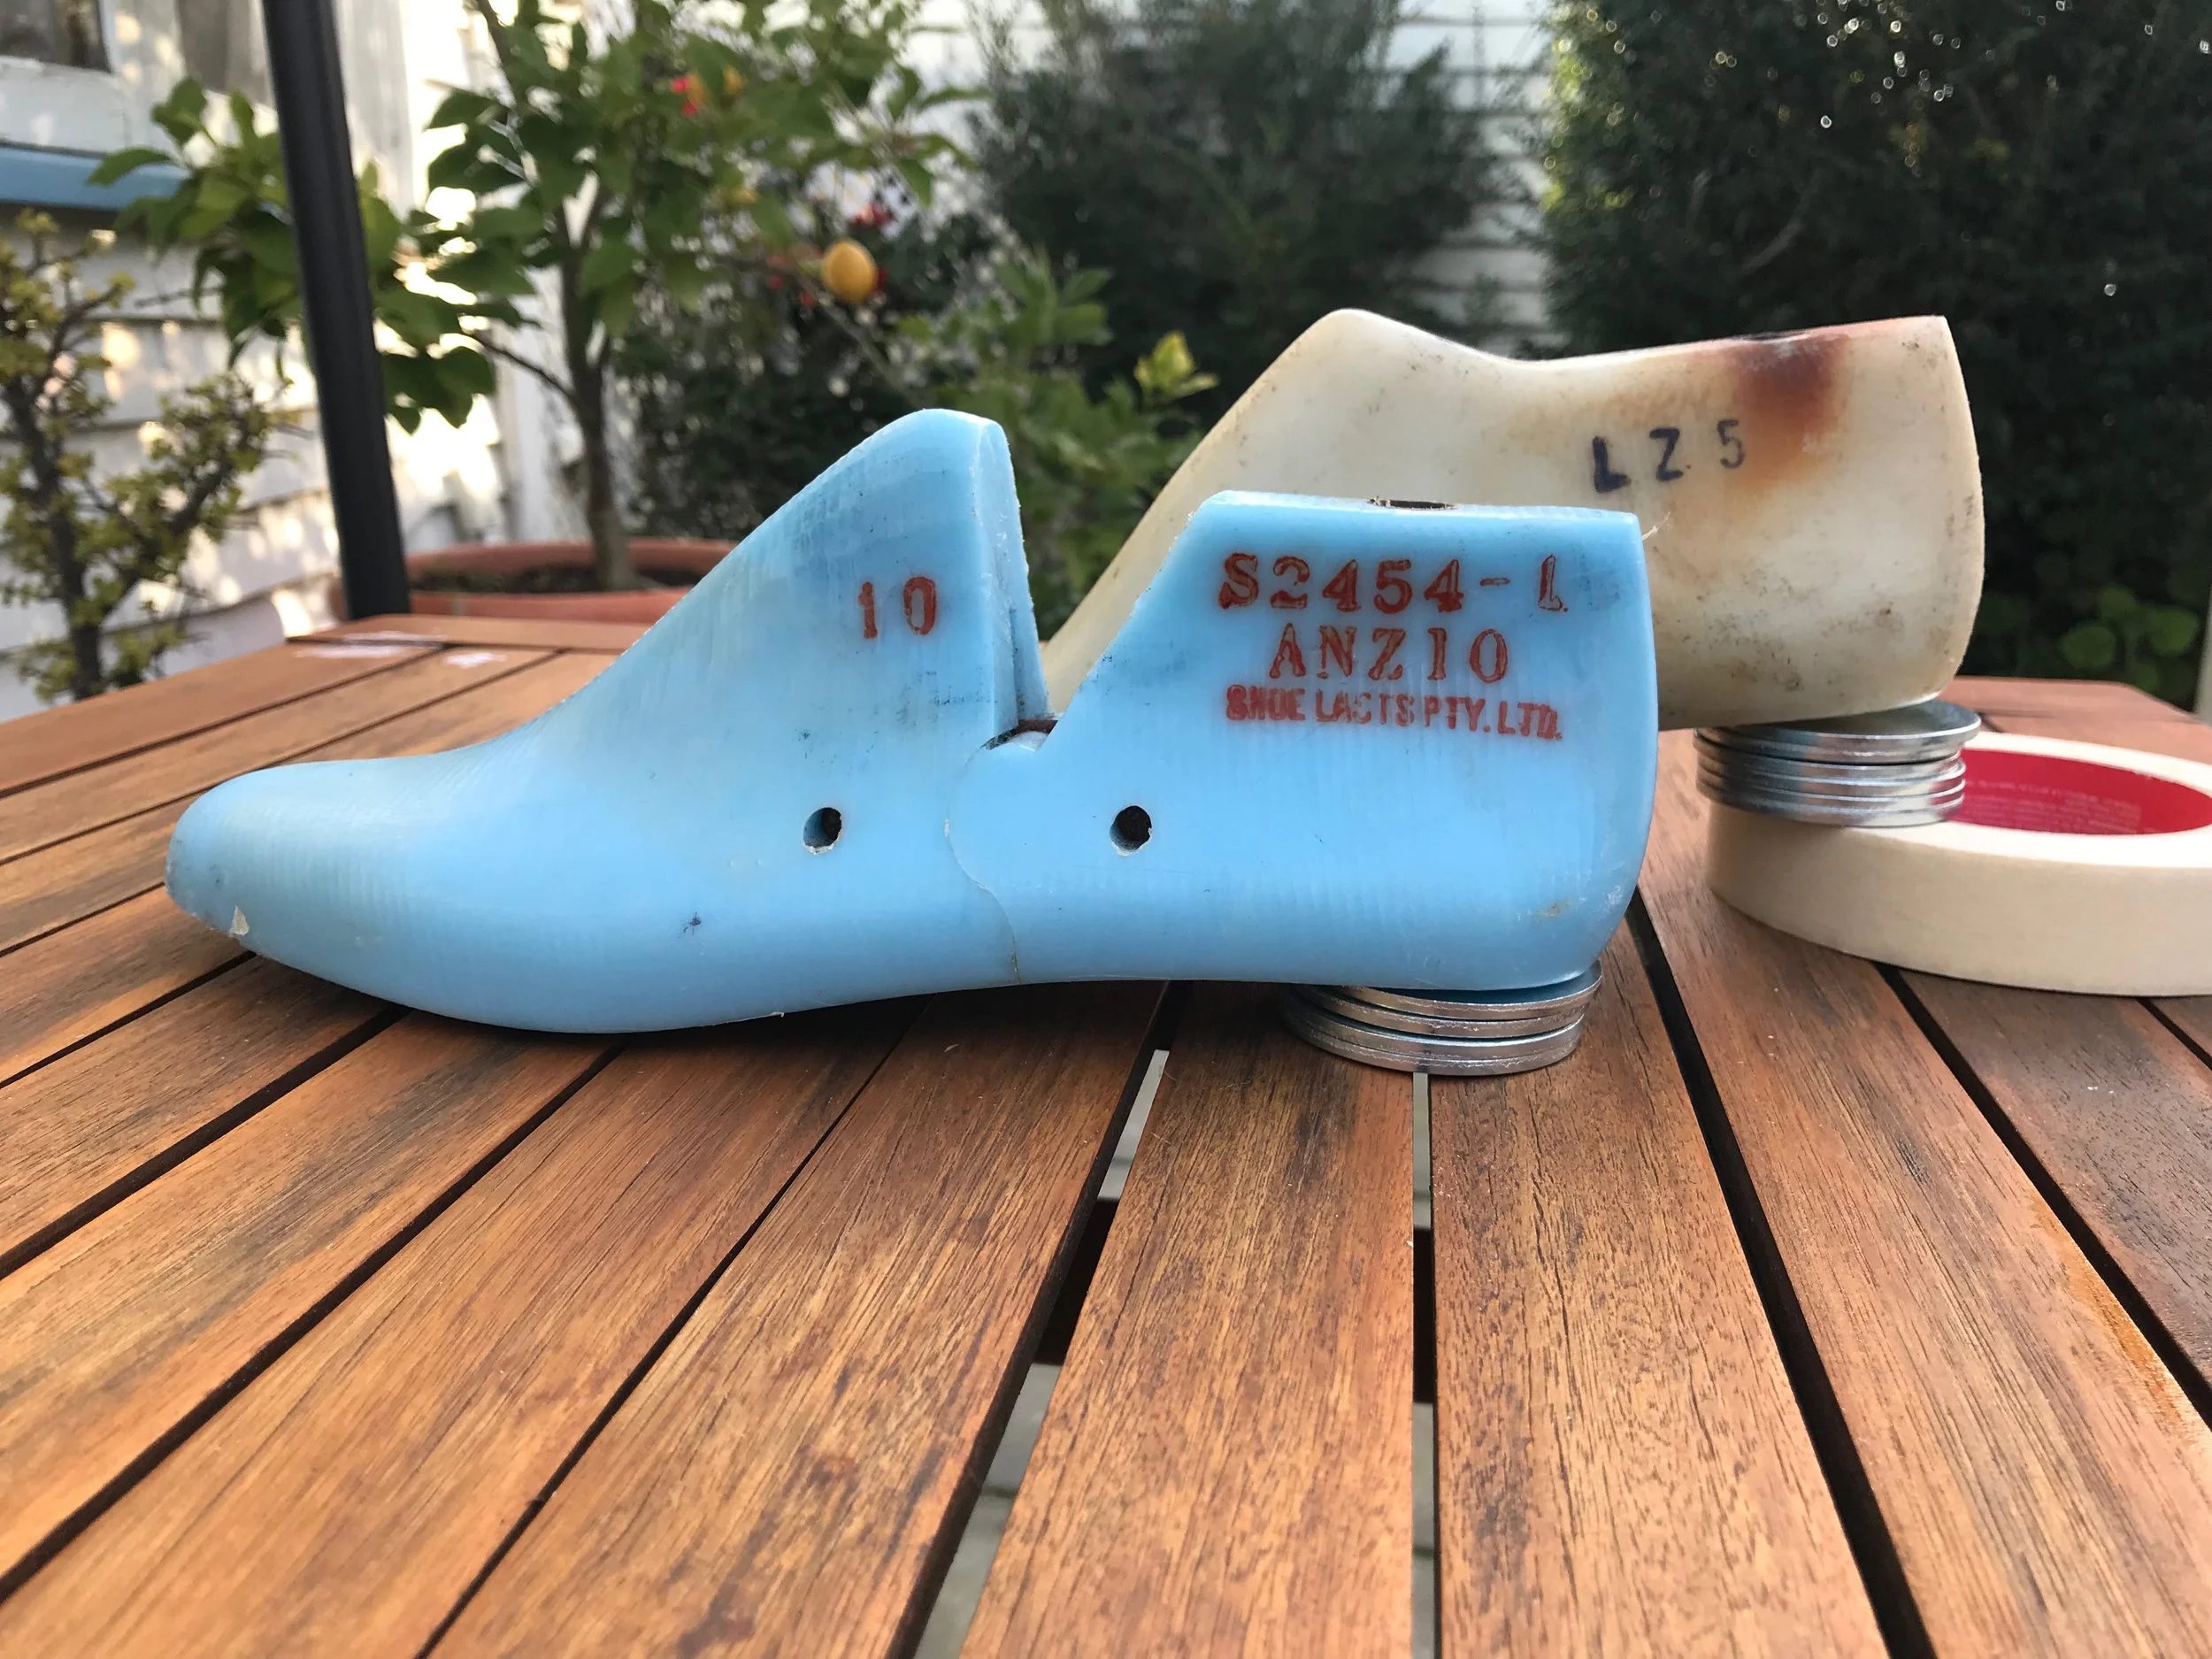
Picking up where I left off in that post, I’d gathered all the materials, including a few bonus pairs of lasts from a factory that was shutting down, and I was ready to start actually making things happen. However - I was left with one particular thing that was making me a bit nervous. The lasts I’d ordered from Lisa Sorrell were a size 9C - I sent her a foot tracing and she sized them for me, so I was pretty confident they were the right size. However, based on my foot measurements and the measurements of the secondhand lasts, I was a 10B in those. Now - it’s absolutely possible that I’m a 9 in one and a 10 in the other - different last manufacturers size differently, just like different shoe manufacturers shoes do, but I was still nervous. I’ll have to wait until those lasts arrive before I find out. I also wasn’t confident in my process as a whole, so I decided to make a mockup. The goal was to test sewing together the pattern, have a go at lasting the shoe in a low stress way, and also to make sure that my last was the right size for my foot.
I decided to use some craft felt for my mockup, plus some cardboard. I figured felt was a good option because it’s nonwoven, so it doesn’t have a bias - leather also doesn’t, in the traditional sense - although it does matter which direction you cut out your pieces… I will tell you about that when I get to that step though, and thank you Steph for correcting my ‘leather doesn’t have any bias at all’ comment on Instagram! The felt also has a bit of give, but not too much, just like leather, so it makes a good stand in. Plus, it’s cheap… unlike leather.
A lovely reader also pointed out that I forgot to share photos of the inspiration shoe in my last post - whoops! Here she is, in all her much-loved and much-worn glory!

I started by taping my last, and drawing the design lines on to the tape with a ballpoint pen.

When I was happy with my scribbles, I cut along the lines with an x-acto knife and carefully peeled the tape off the last, sticking it down to my pattern paper - leaving spaces to add in seam allowances. You could definitely use normal paper here, but the pattern paper I use is waxed on one side (it’s the wrapping paper that our reams of paper come bundled in at work - I just take it on home with me instead of recycling it) - and the wax means you can reposition the tape, which was super handy when I ended up with wrinkles.
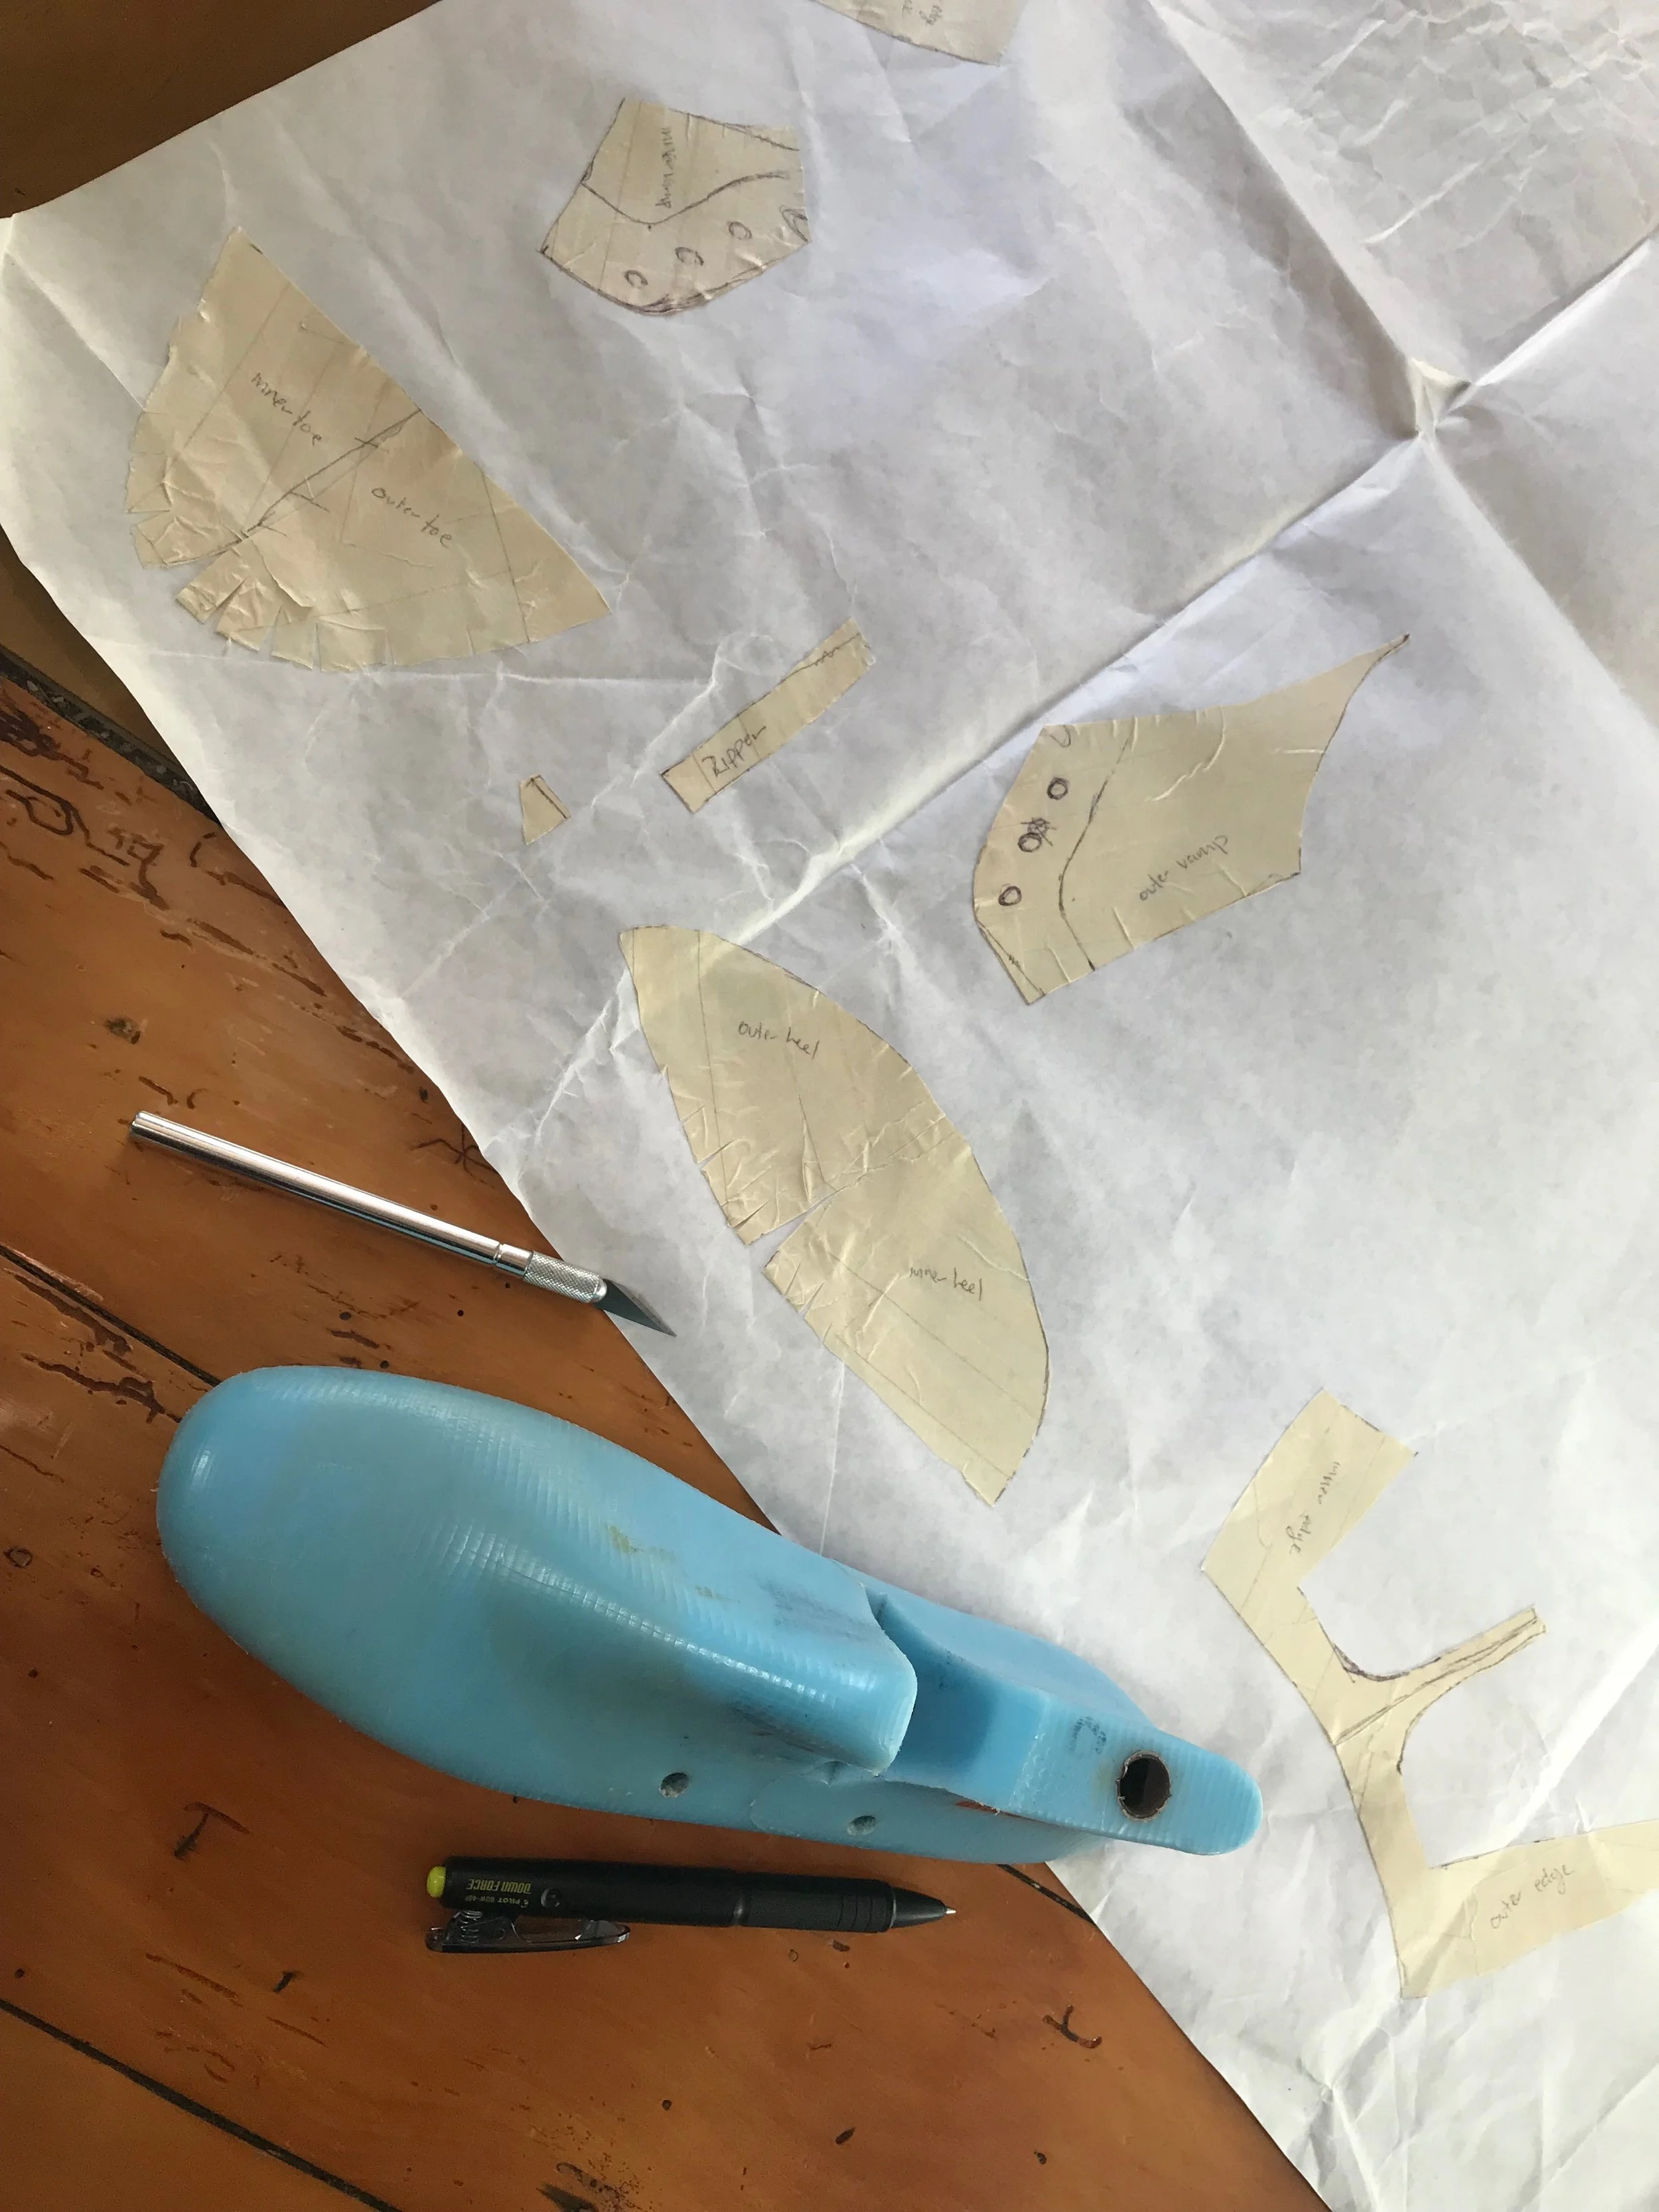
The goal is to stick them down as flat as possible - areas around the toe and heel get snipped (kind of like notches along a curved line in sewing) and the excess gets stretched into shape when the shoe is lasted.
Next, I added allowances, and increased the pieces to boot height. Lasting allowance was 2cm, so each edge that will wrap around the bottom gets that, and then I added overlap/underlap allowances depending on how I wanted to construct the shoe. Given my distinct lack of experience, it was insanely helpful to have the inspiration shoe right in front of me. I’m definitely one of those people that learns a new skill by looking at the way it is ‘traditionally’ done, so it was very much a case of ‘when in doubt, consult the original’. I was able to measure off points of the shoe to get everything almost exactly right, with very little room for guessing whether things were going to work out. My inspiration shoe also happens to use the same cemented construction method that I’ll be using - which I know because it’s falling apart a little bit, so I can see the inner bits of the sole - so I’m able to pull sewing technique ideas from the shoe as well. As a bonus, now that I know more about shoe construction, I’m pretty sure I’ll be able to re-glue the sole, repair the cracks, and replace the heel soling so that I’ll be able to continue wearing the original shoes as well! I’ll save that plan for after I’ve successfully recreated these, though, just in case.


When I was happy with my pattern, I cut it out of the felt, knocked it together really quickly, including my zipper, and then laced it up in preparation to be lasted! I was pretty surprised at how quickly it came together - I suppose for some reason I anticipated the sewing portion of shoemaking was going to be quite an endeavour (and I think it probably still will be, when I’m terrified about poking the wrong holes when I’m sewing up my leather) but it was a very easy thing to put together, which I wasn’t expecting.
Here’s the resulting shoe-pancake:

Using a cut out piece of regular old cardboard as my insole, I lasted the felt shoe using masking tape and craft glue. It started to look like a shoe SO quickly!

It only took the glue about 20 minutes to dry, and of course it has no structure, no heel, and no internal support, so it’s not really a shoe you can walk around in, but I was able to get it on to my foot and test that it did actually fit - and it did! Also, as expected, I did end up with a few modifications to make to my pattern - the most obvious is that the zipper is uneven, but also the toe seam and the back seam were both a bit crooked, so I’ve gone back to my pattern and straightened them out.

The bottom of the shoe definitely isn’t as pretty as the top! I used the masking tape as ‘nails’ to secure the felt until the glue had a chance to dry (the real deal uses nails but this seemed…extreme… and the masking tape was available!
You’ll also note there’s no sole to speak of - just the cardboard insole. This also will not be the case in the actual shoe. This last has a 1/2” heel so it will have that, plus its layer of sole bend leather, and a layer of soleing rubber.

The best news? The shoe fits! I can’t walk in it, and there are wrinkles when I put the heel down all the way on the floor (this is to be expected, given the absent heell) but my toes have a good amount of room to move (but not too much), and the entire thing is a really nice shape! I’m so pleased I don’t have to make any changes to the last, but also really glad that I decided to do a mockup, because I would have been very upset if I‘d had that uneven bit at the top of the zipper cut into my leather!

I still have a fair amount left to do - after I modify the pattern to solve the unevenness and small crooked bit at the back, I will need to make the lining pattern (and none of the seams are allowed to overlap, so I’ll basically be creating an entirely separate pattern). Plus, I’ll need to sort out sewing the lining to the outer. My inspiration shoe doesn’t have a full lining, so this is a part of the process I won’t have that to fall back on - hopefully it will more sense to me when it’s in front of me than it currently does in my head! I’ll be sure to take lots of photos of this stage of the process for you.
Now.
Here’s a thing. After I finished doing all this, and writing up pretty much everything up above - something very interesting happened. Zoë, a blog reader, left an INCREDIBLY lovely comment on last week’s supply-gathering post. Her comment was positively packed with a whole bunch of awesome tips for a beginner shoemaker, but one point in particular worried me a bit. She basically said that the best was to guarantee success is to acknowledge that the first pair has a very good chance of not working out… and to take everything you learn and apply it to pair #2!
That probably sounds a bit dismal, I guess, but I think she’s right. I tried to plan for as much as I could by making my little felt mockup, but in the end there’s really no accounting for all the other things that are going to be happening with this shoe. The individual behaviors of the leathers, my machine’s yet-untested ability to sew them, using new-to-me glues, heel counters, toe puffs, and other materials, the lasting process with a more resistant material, the entire soling process… the list goes on. At this point, the best way for me to learn is to just make the pair of shoes, but I need to acknowledge that my first pair likely won’t be winning any awards. Might not even be wearable, and I need to make them out of leather that I haven’t developed an emotional attachment to. I’m going to go fourth and conquer pair 1, hope that I’ll be able to wear them when they’re finished, but try my best to prepare myself for the fact that they probably won’t work out.

Interestingly, in the last week while I’ve been mulling Zoë’s comment, I’ve decided that I’m not emotionally attached to the grey leather I had pegged for this project. It’s a fairly recent acquisition which I scored for 40% off in a sale, and can get more of. Besides, I’ve since gotten my hands on several other pieces of leather that I happen to like more. So. The plan moves forward, with the disclaimer that no first attempt was ever perfect, and hopefully I’ll learn a LOT from this first pair. Wish me luck!